Temujin
 Banned
So yeah, does anyone else have a rather standard way of fighting?
I tend to divide my army in categories between troops who are expendable, troops that I like to keep alive but don't mind if they get slaughtered and precious troops of whom every killed soldier is mourned intensely.
My cavalry is completely expendable as I have never liked cavalry in any war game, doesn't matter which time period I'm playing, my cavalry is always expendable and I allow them to charge the enemy head on to make him waste shots , or to keep his troops occupied, at the same time I allow my "fodder" group to follow the cavalry and charge the enemy.
The fodder consists of any melee unit, (those Turkish mercenaries are pretty good), all the militia units and eastern European rebel units and those Scots. This group charges the enemy to give me time to form my actual battle lines.
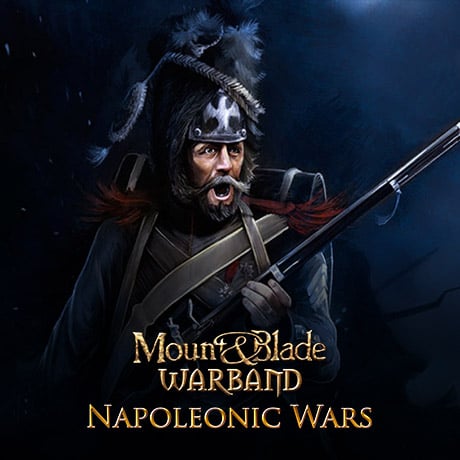
If I don't have cannons, I search the nearest hill and position my Prussian regiment behind it so they are out of the line of fire and sight forcing the opponent to march his troops on and over the hill, when they are within my Prussian's line of sight I unleash close range volley wait till they reloaded and order all fire again and again and again, mass firing is pretty effective from close range.
I also have a skirmisher group of the not really expendable but not precious like my Prussian soldiers troops, and if the enemy has too many troops I have a tendency of just placing the Skirmisher group on top of said hill to weaken the enemy and make it waste shots (loading a musket takes time) if my skirmishers give me an advantage I'll march my Prussians up the hill and let them unleash volleys.
If I have cannon, I just charge in the fodder and let my artillery bombard the enemy. Whilst keeping my skirmishers close to the cannons to protect them, and keeping my Prussians far far far away.
My skirmish group consists of any heroes I recruit, and Irish and Swiss mercenaries.
It rarely comes down to the Prussians though, I've discovered that those Jacobites are pretty tough, and those Turks my god they are murder machines.
If the AI camps the hill, I tend to do things rather differently, I'll again charge in the cavalry and fodder groups. At the same time I'll have the skirmisher group follow me with the fire on my command order, and flank the enemy, march my troops close by and have them unleash volleys. I carry 2 grenades and so do some of the heroes so having the AI distracted by the fodder and throwing grenades at groups and having my skirmishers shoot volleys is pretty effective. again, I've never had to use my precious Prussians so far.
I have to admit that I fought rather small battles so far, against opponents I outnumber, or on the side of allies in which case I just stand back, watch the carnage and send in my fodder and cavalry when the ally is in trouble.

