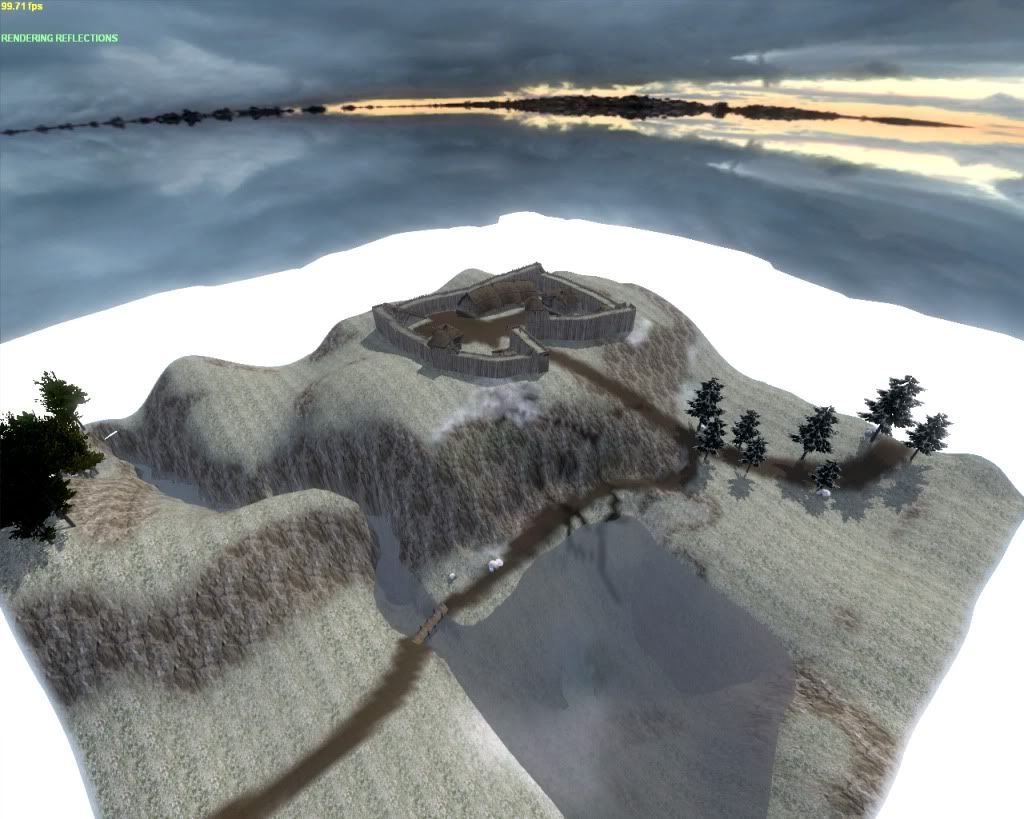
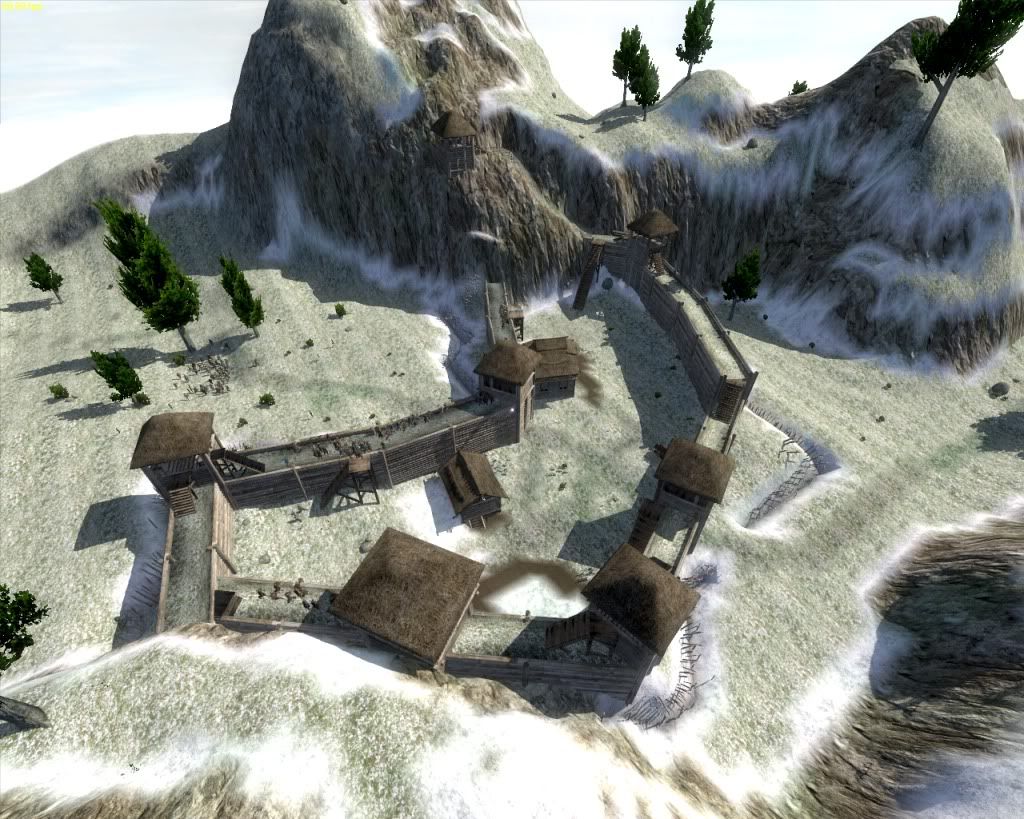
Scene from above during siege. As you can see, there are ditches all around the walls and they have spikes on them, for extra awesomeness. Up on the top center you can see a tower, (where you obviously will have archers) and they can fire at the attacking force, so you better watch out for them.
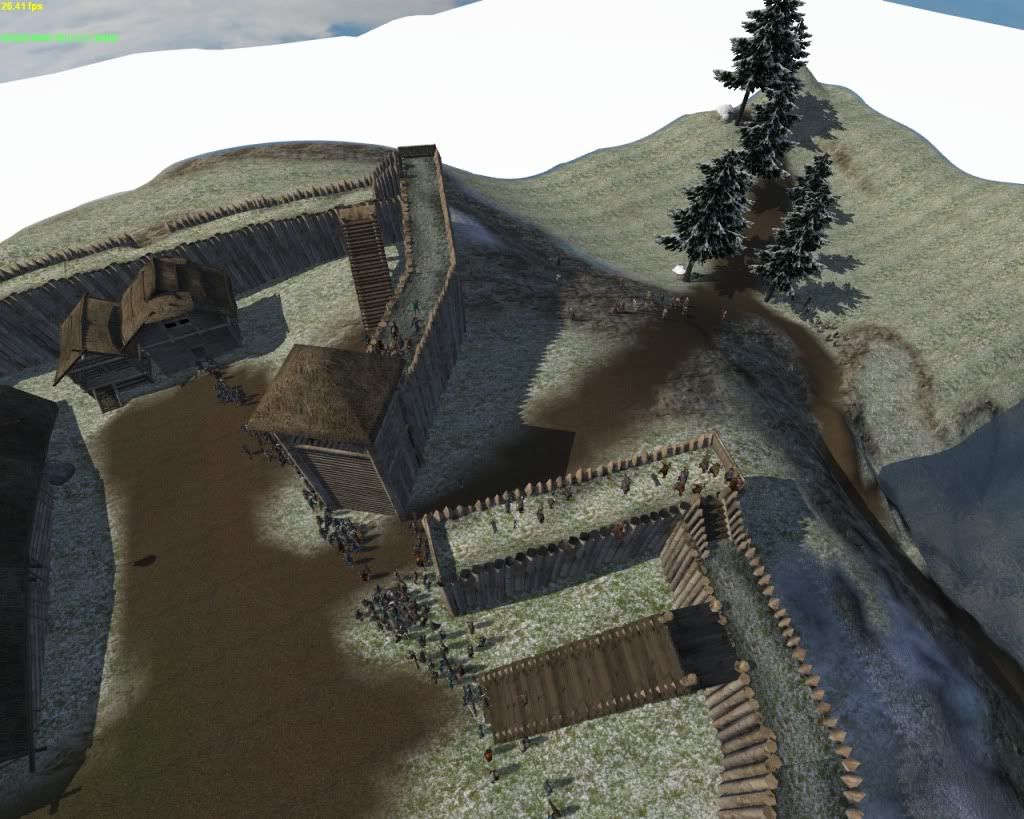
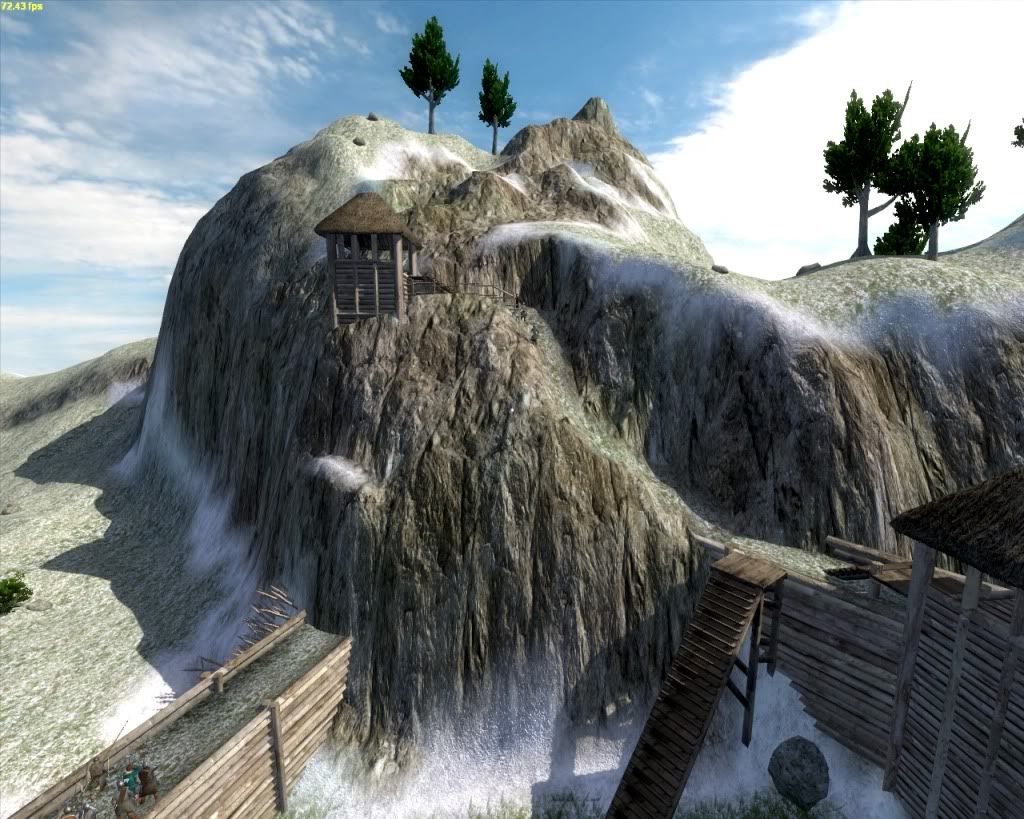
Closeup on said tower, in case you didn't get it. It's got a pretty steep but worthy of climbing path leading to it - you better gather a lot of ammunition if you plan to shoot the enemy forces from up there.
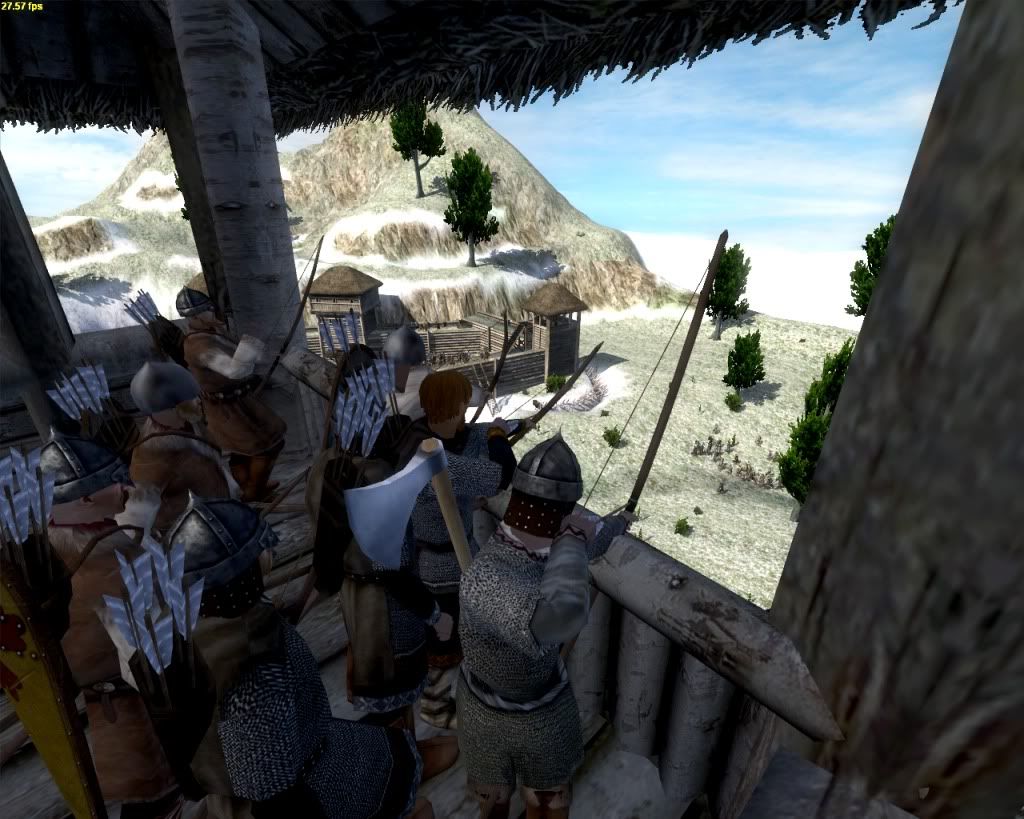
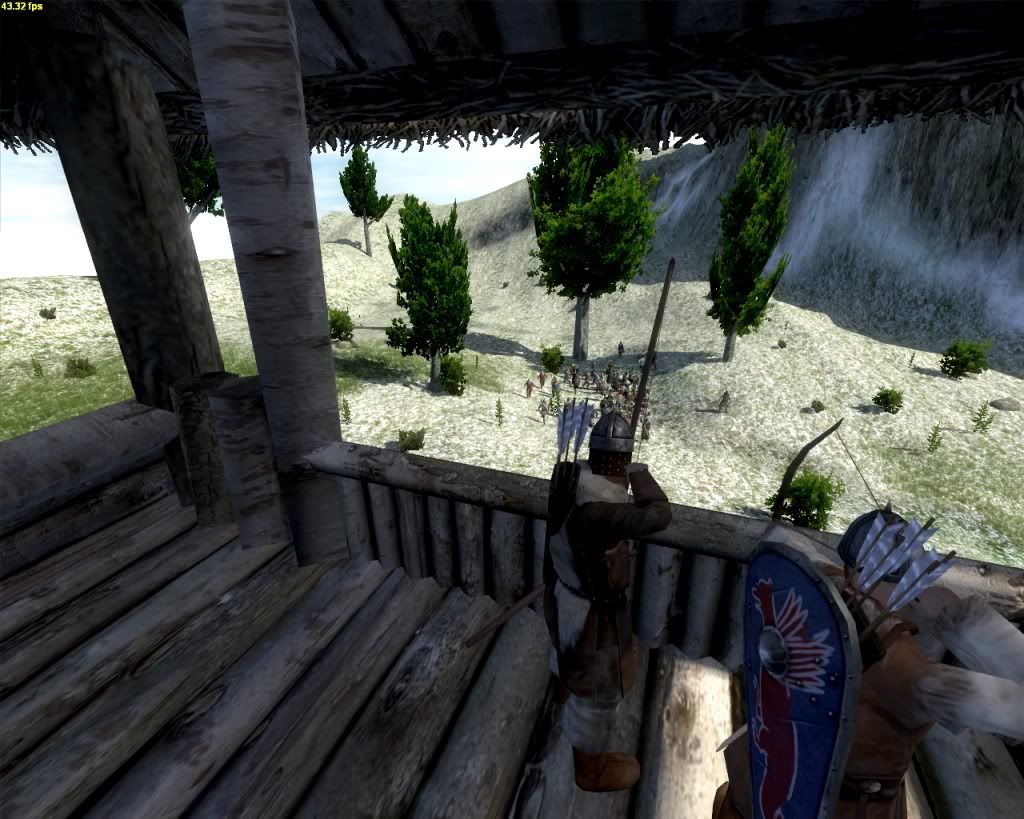
This is what you're gonna see when you're in that tower (really, I thought it amazing - that's why so many screenies).
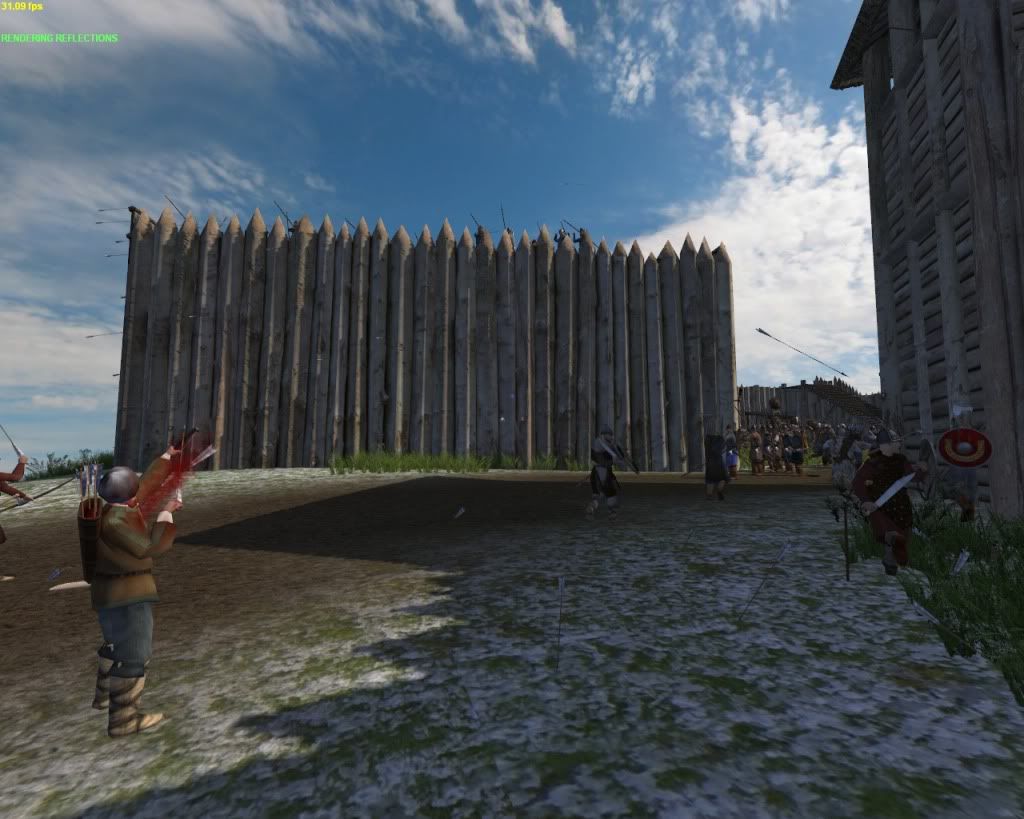
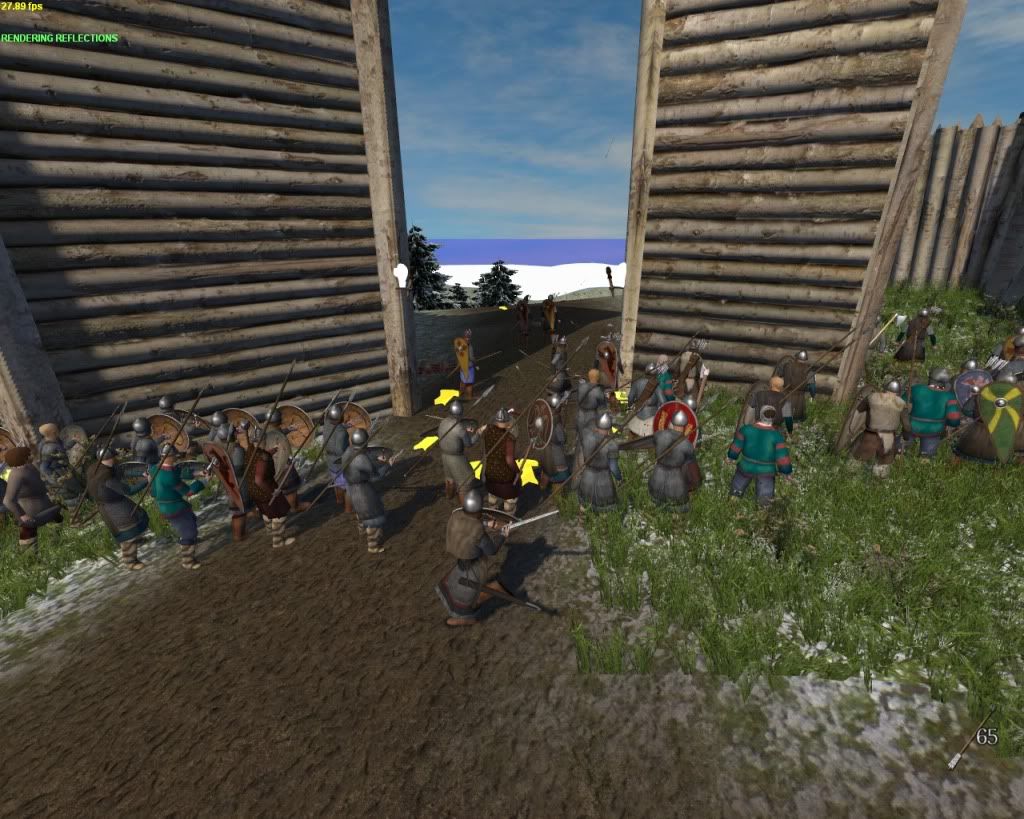
Brave men defending the walls from the enemy forces - who uses ladders, and yes, I know most of the scenes aren't supposed to be taken by ladders-. In the picture there is only one ladder, but on the scene there are two. - because I edited the scene after I uploaded the photos.
If you chose to take up shield and sword and defend the walls, you'll have these brave man covering your left flank and raining arrows down the enemies' sides.
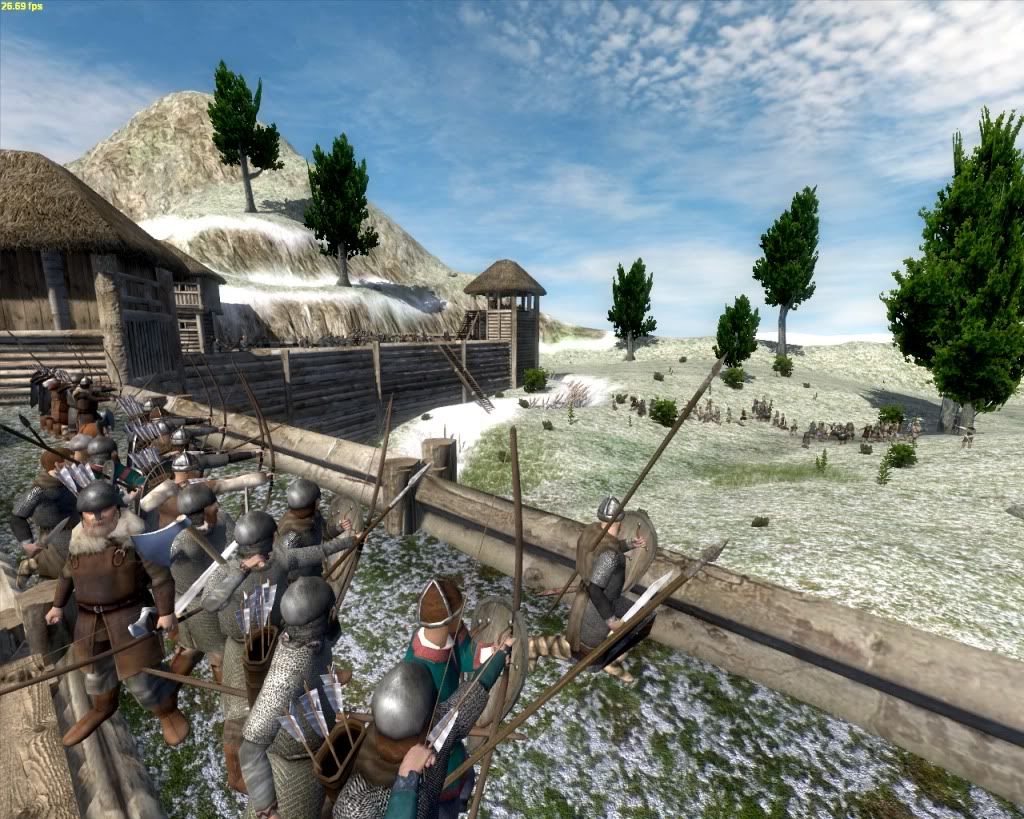
And to your extreme right flank you're gonna have these men, also raining arrows on the invading horde.