Head here for Warband and related mods: [WB][NW][PW] - Ted's Scene- & Mapping-Workshop
This list is incomplete. Most screenshots here are In-Editor.


(Yes, these are cells):
This list is incomplete. Most screenshots here are In-Editor.
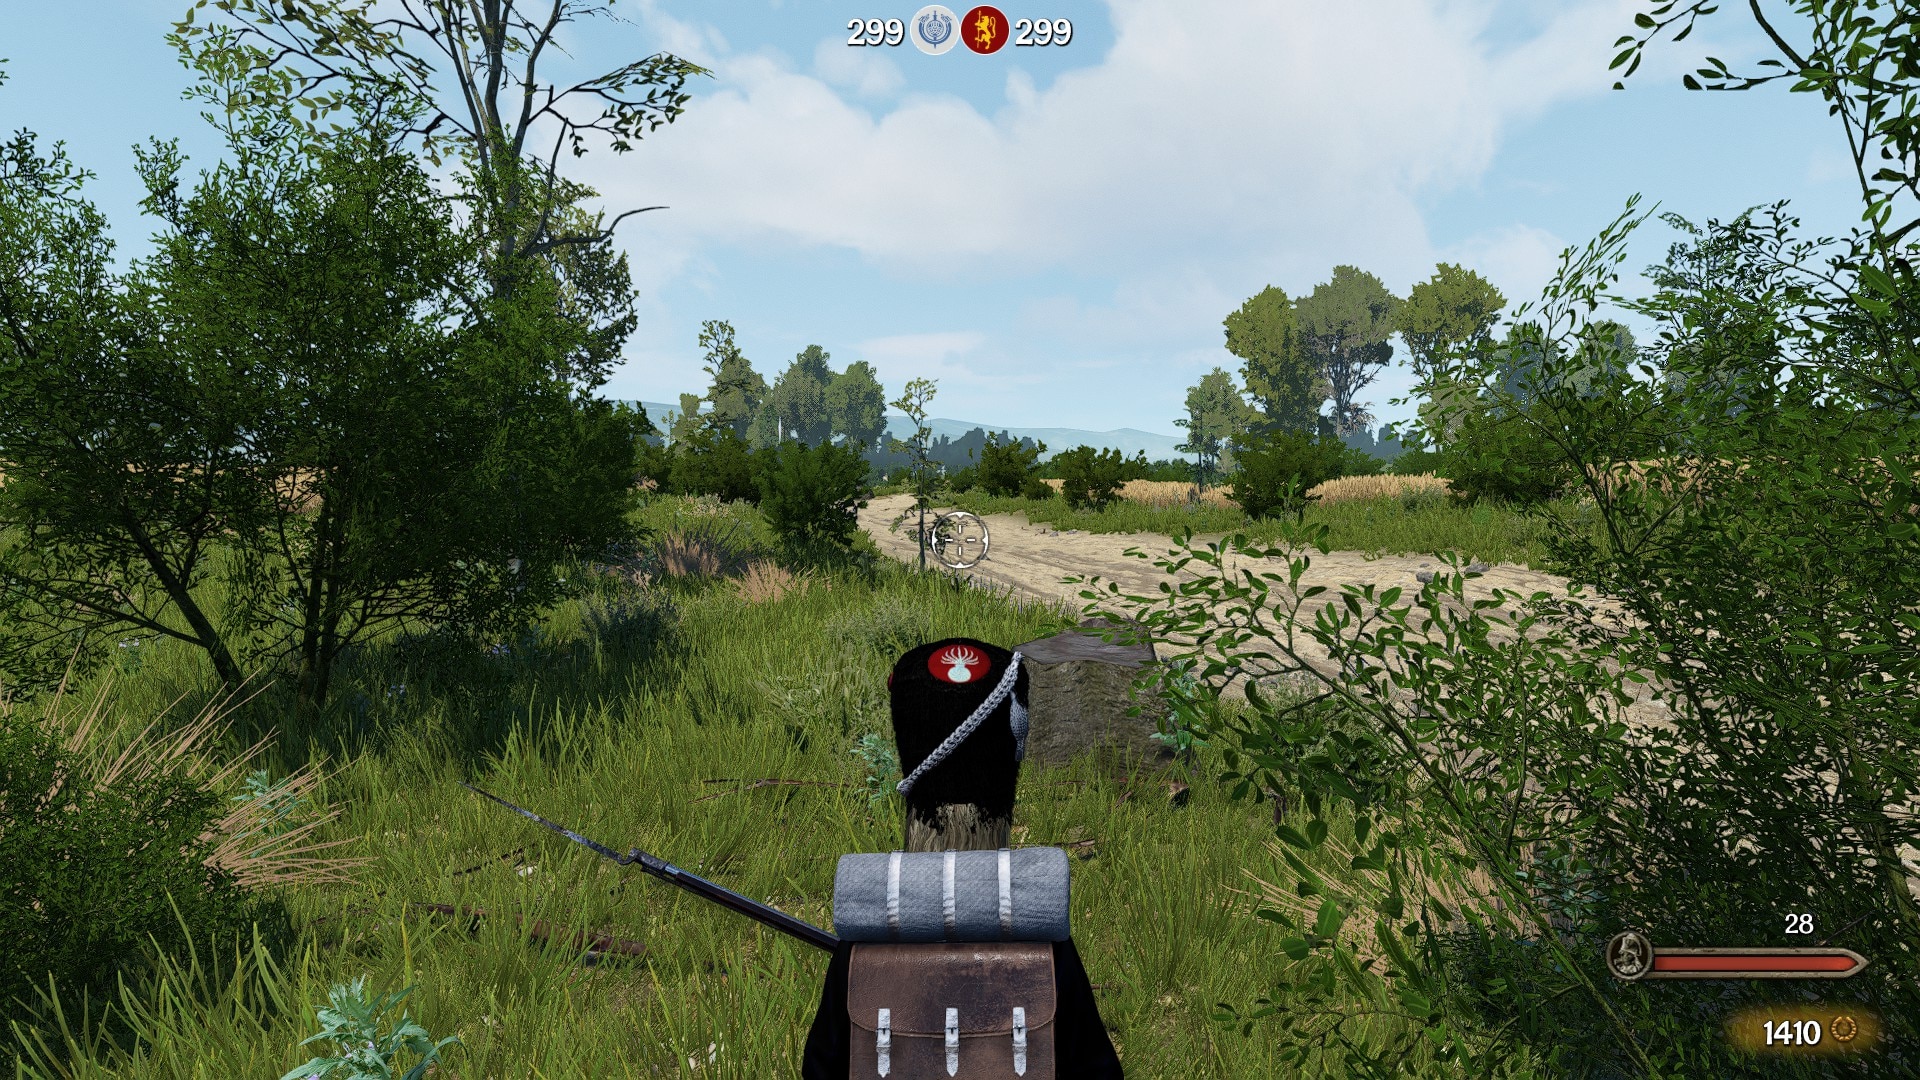
Sword&Musket
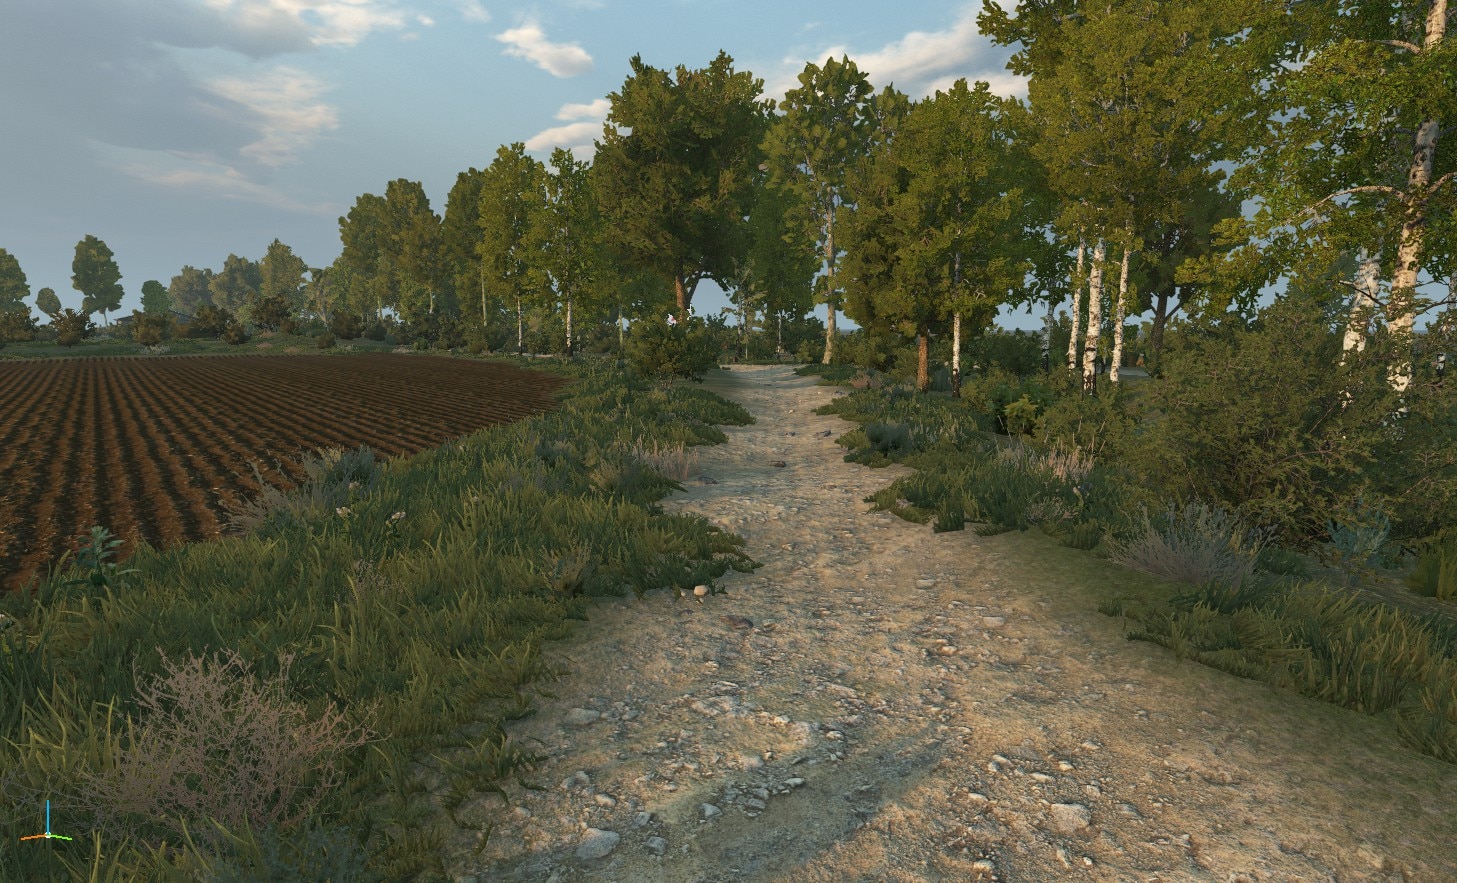
I had the opportunity to lead the environment-team for two years. However, I left the project due to disagreements about the general direction and technical basis of the mod.Historical scenes
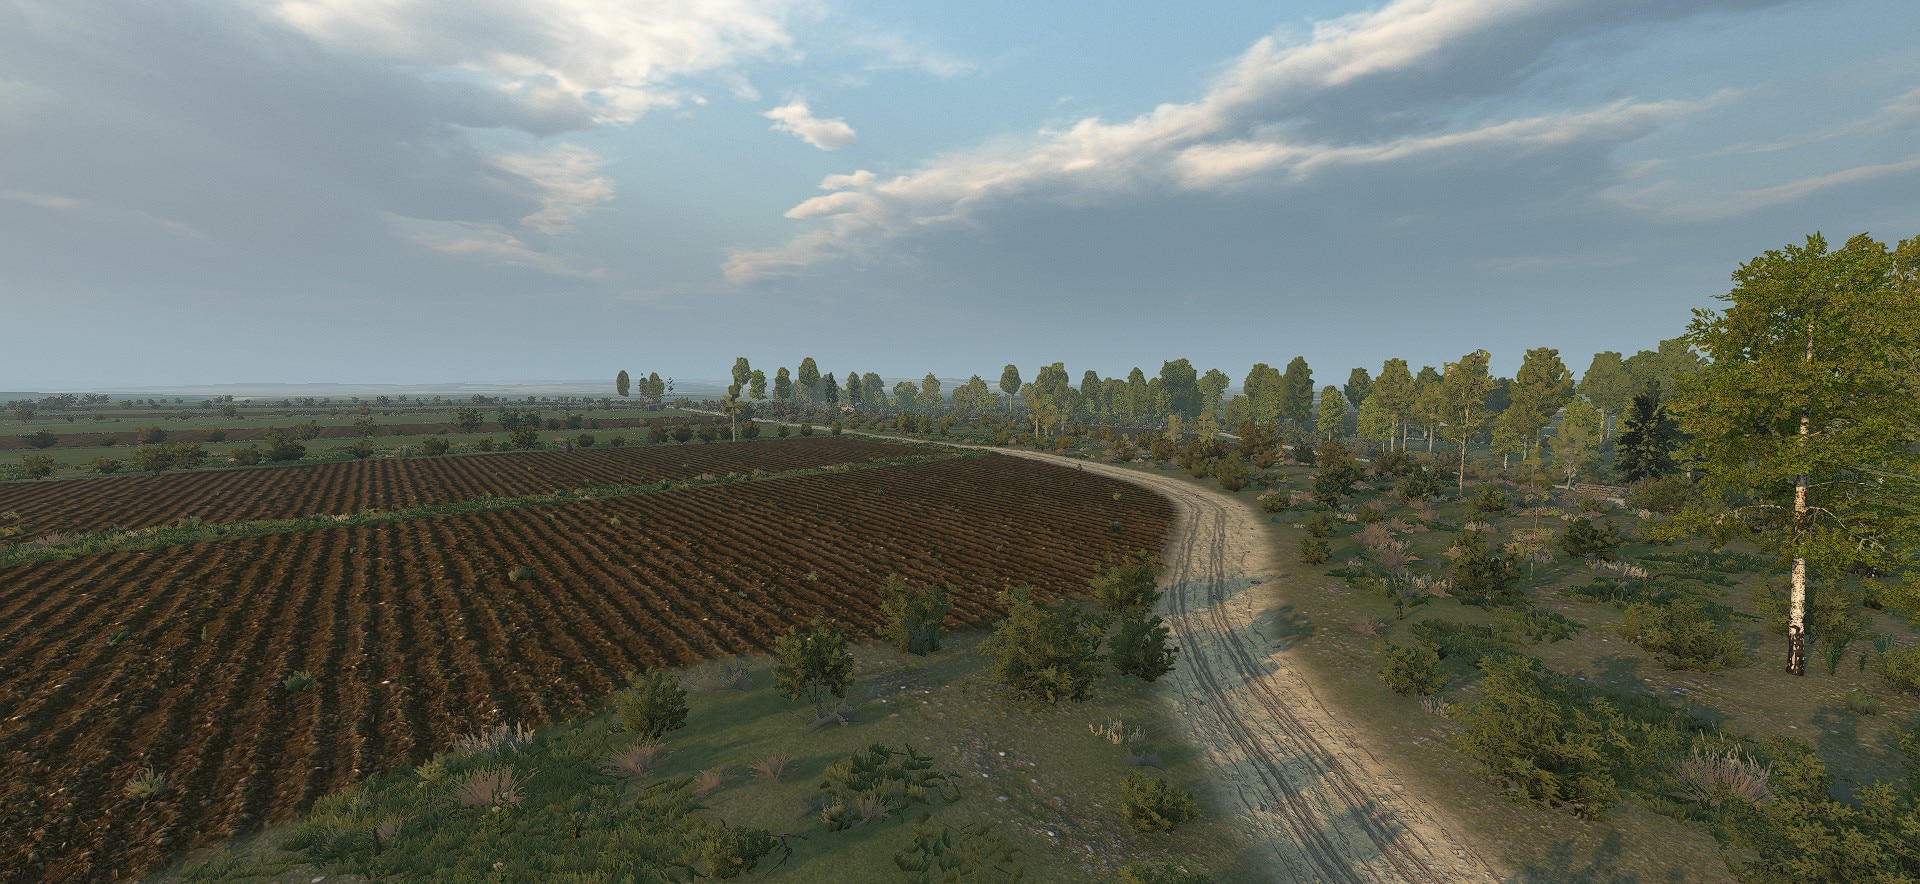
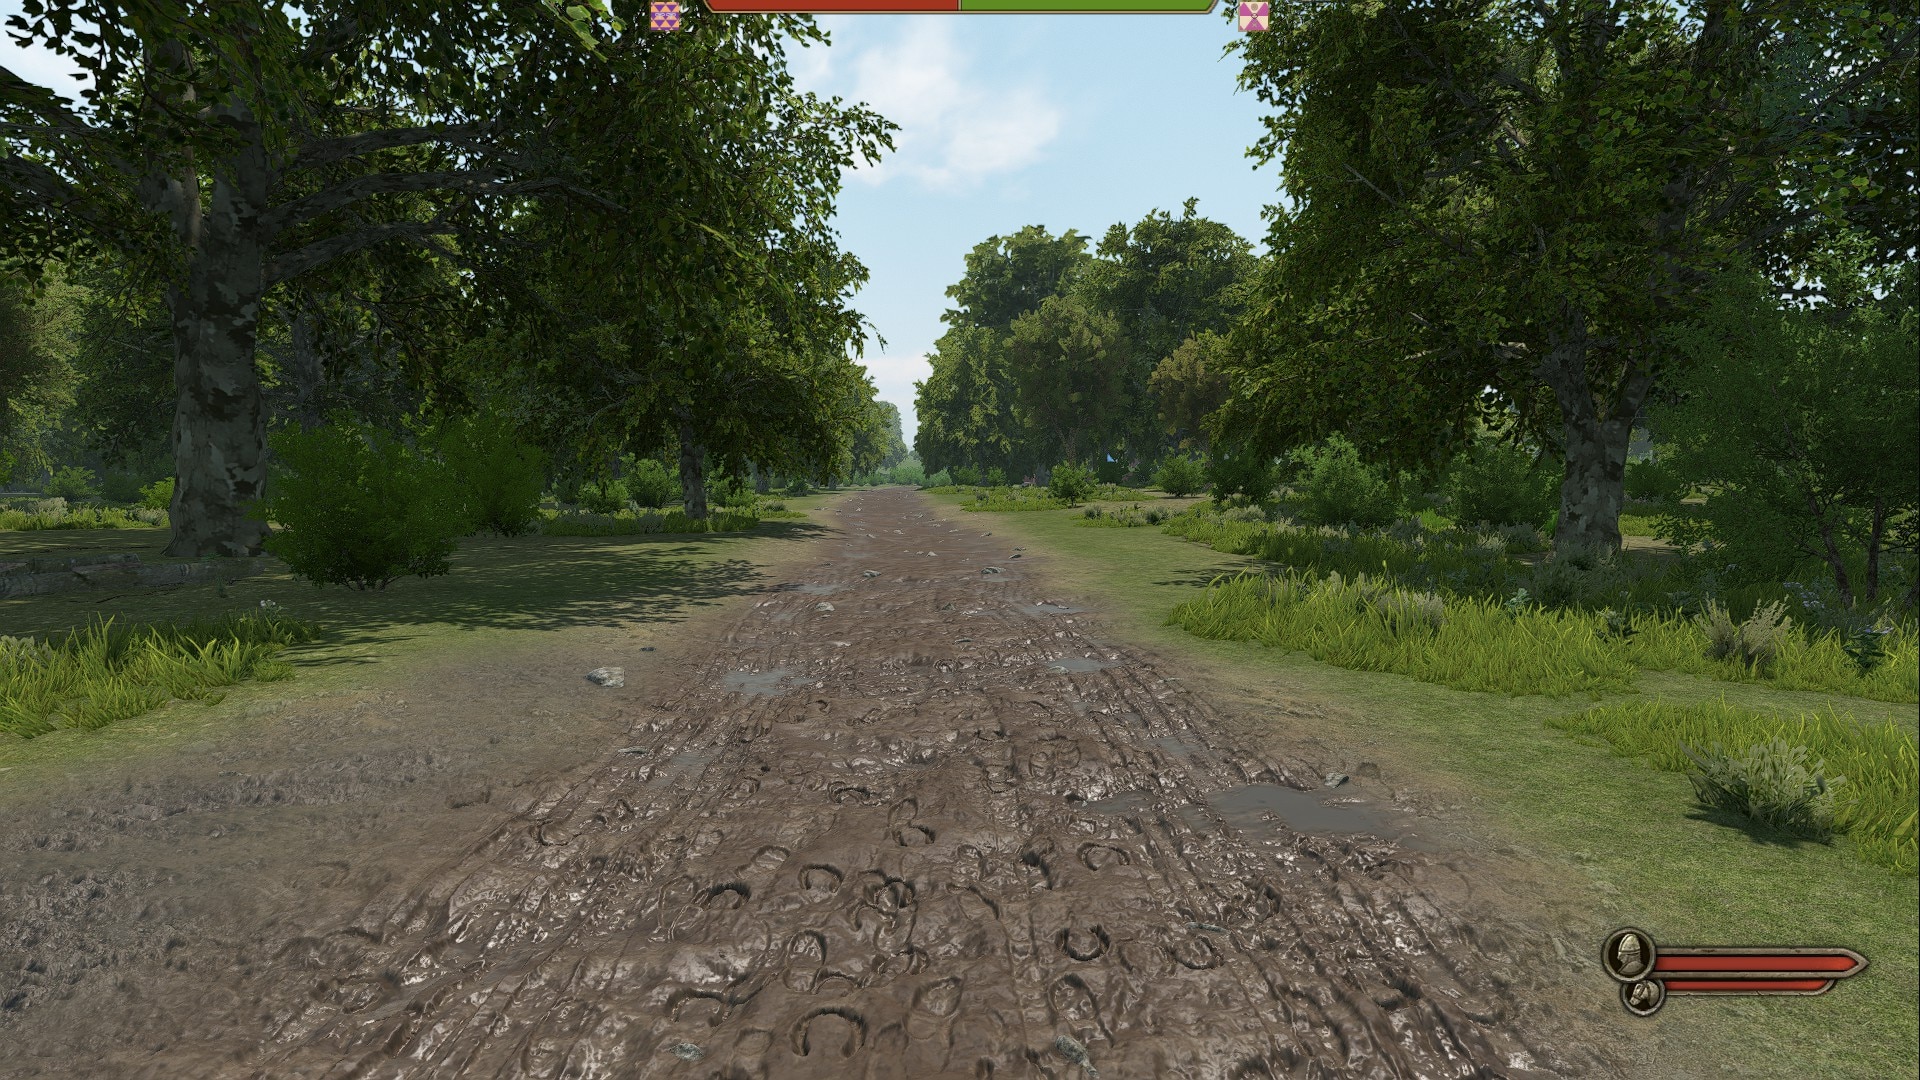
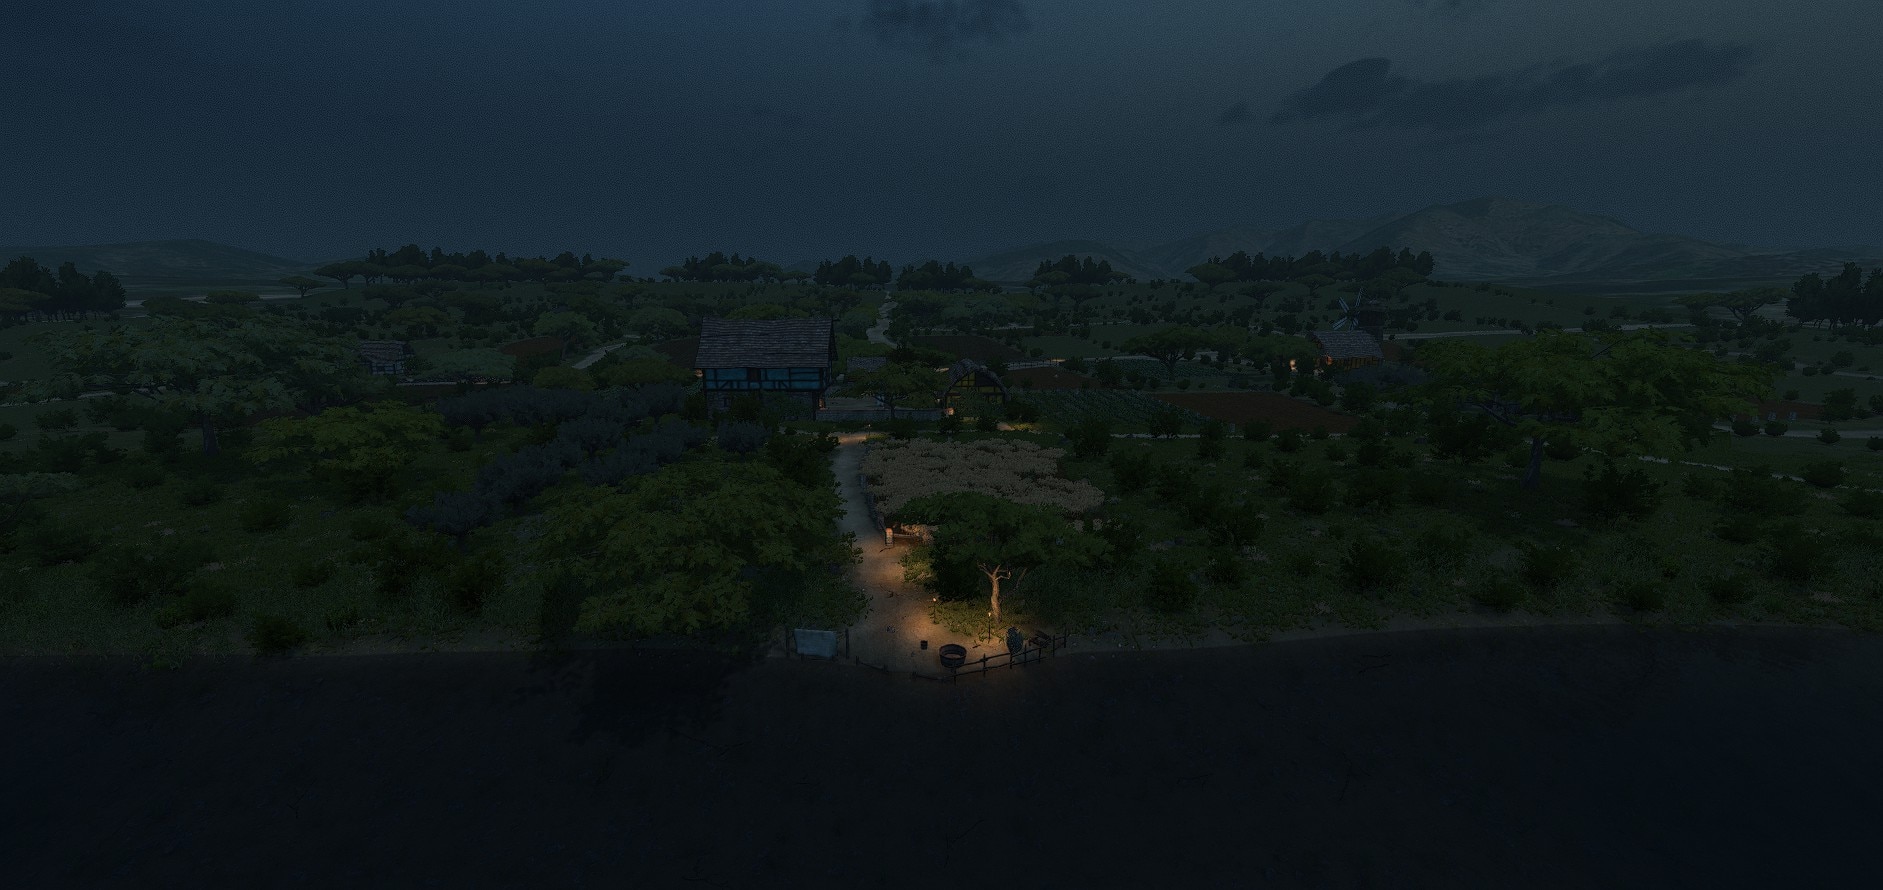
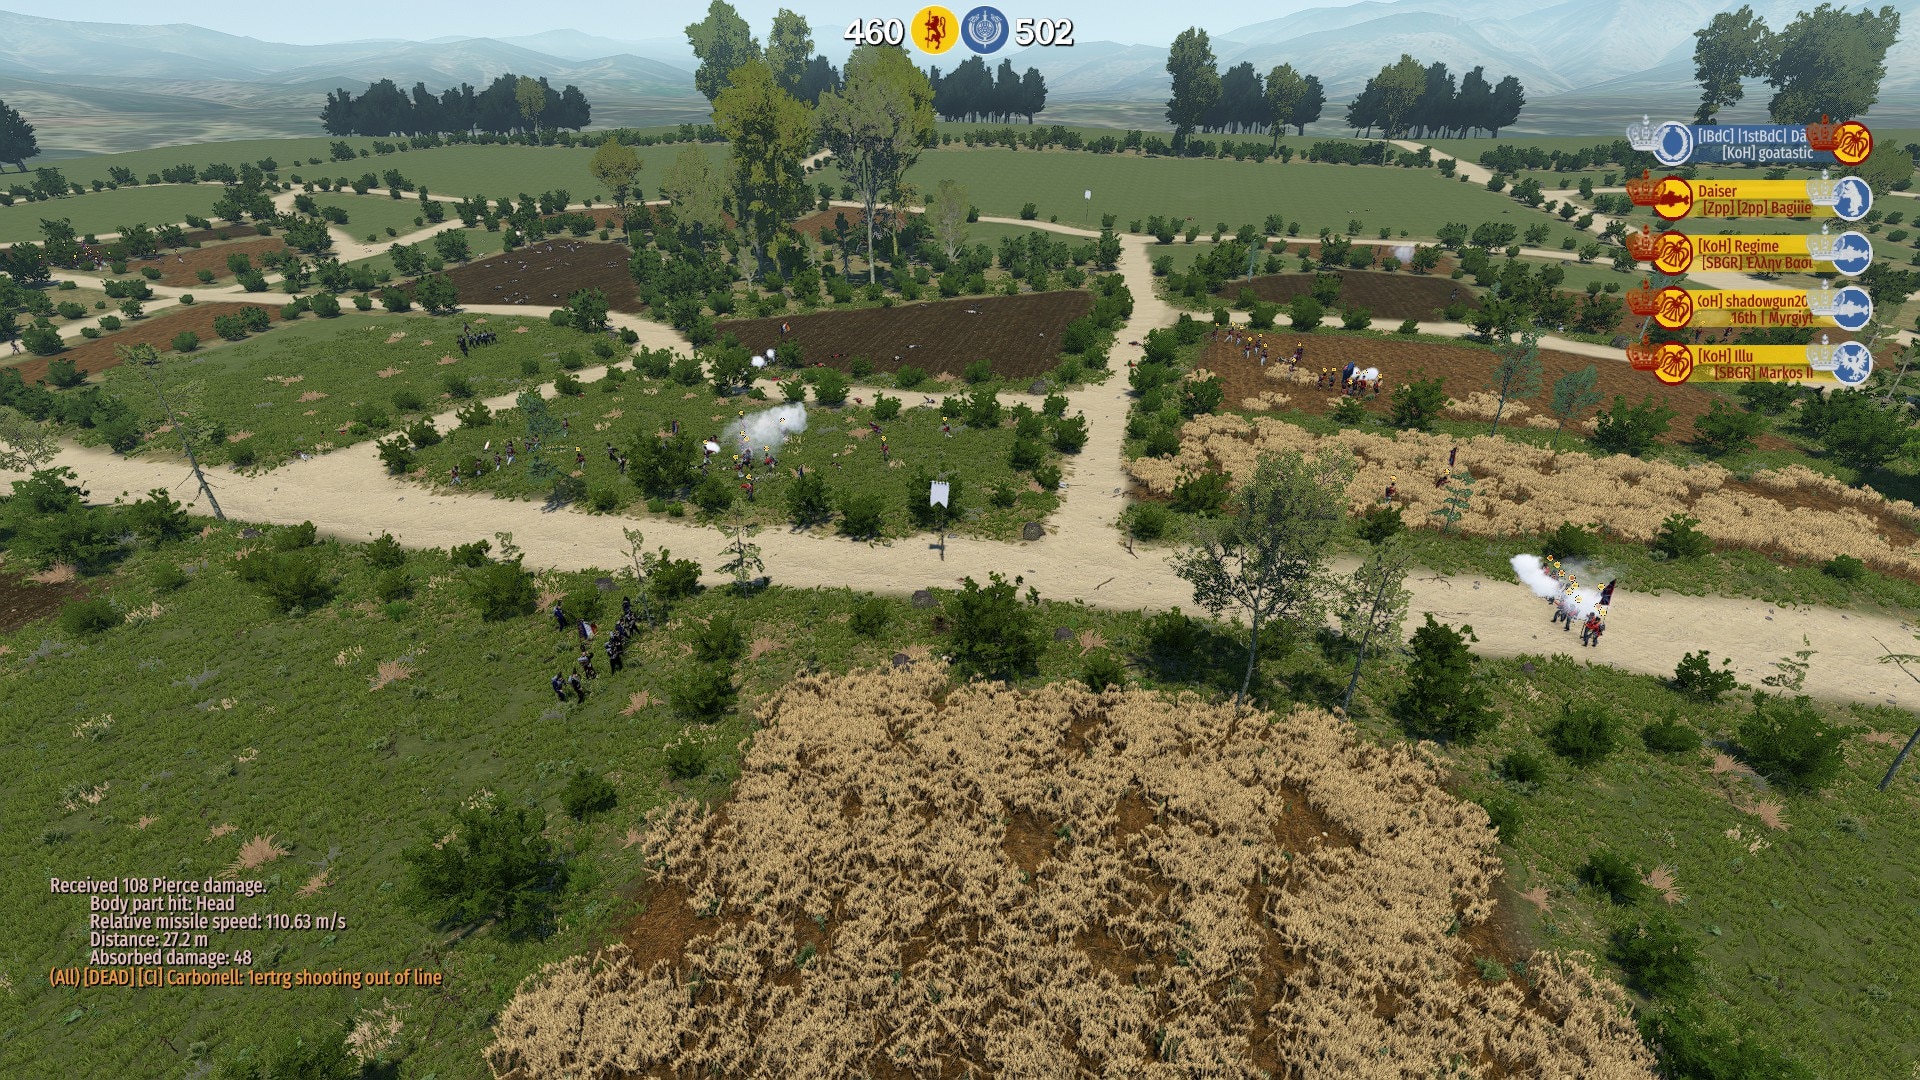
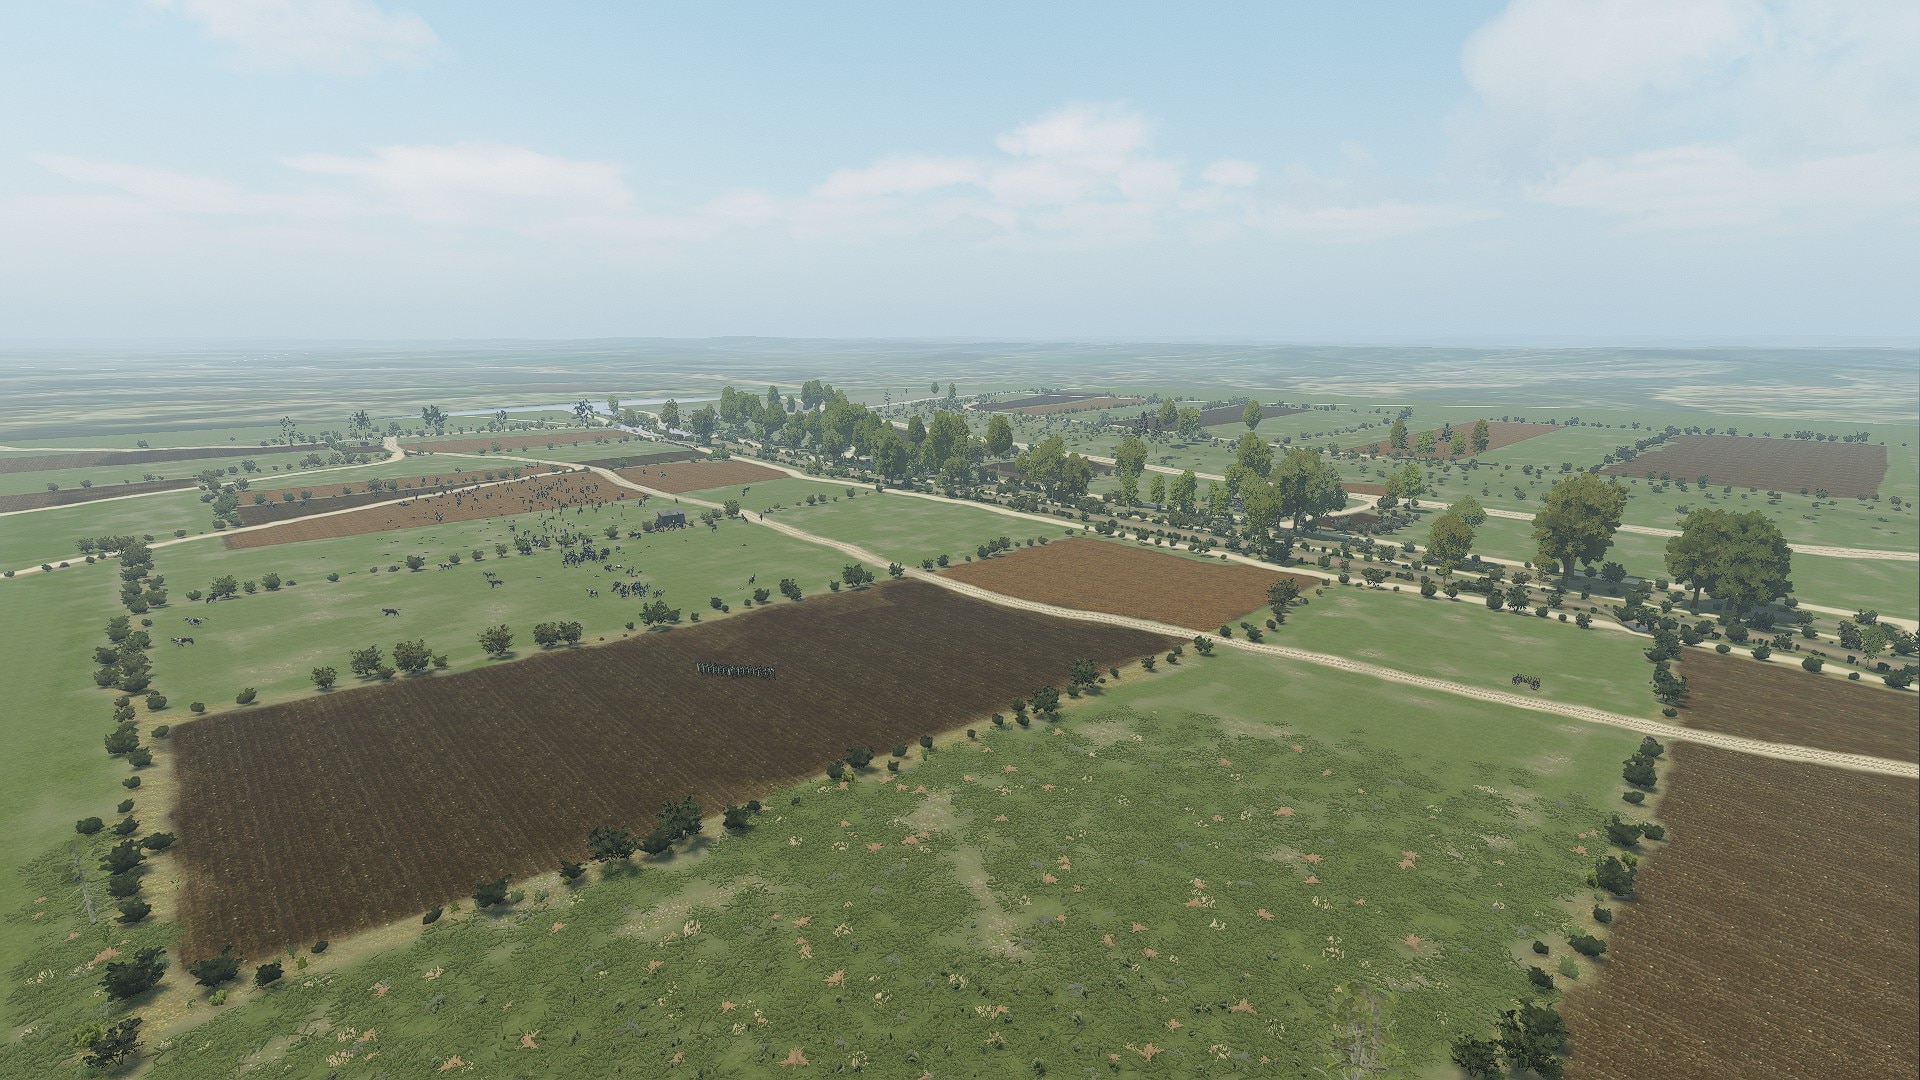
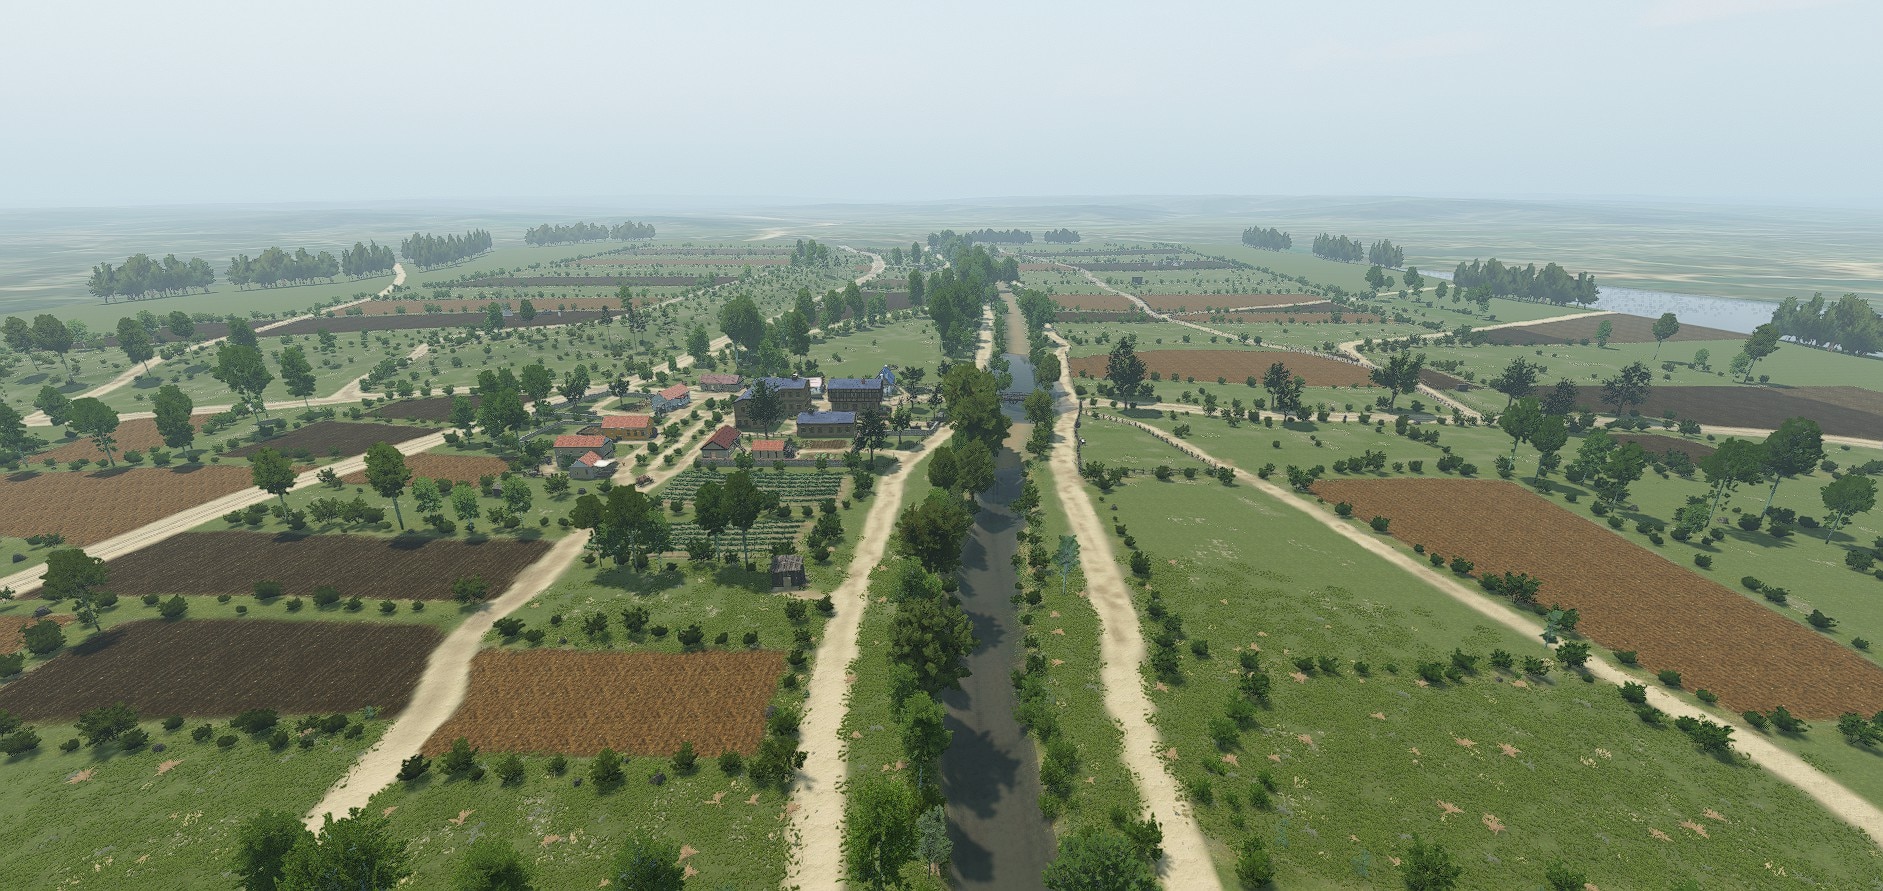
Based entirely on historical battlefield, following exact topographic data. I visited both battlefields for real to achieve maximum immersion.Hougoumont 1815
Wagram 1809
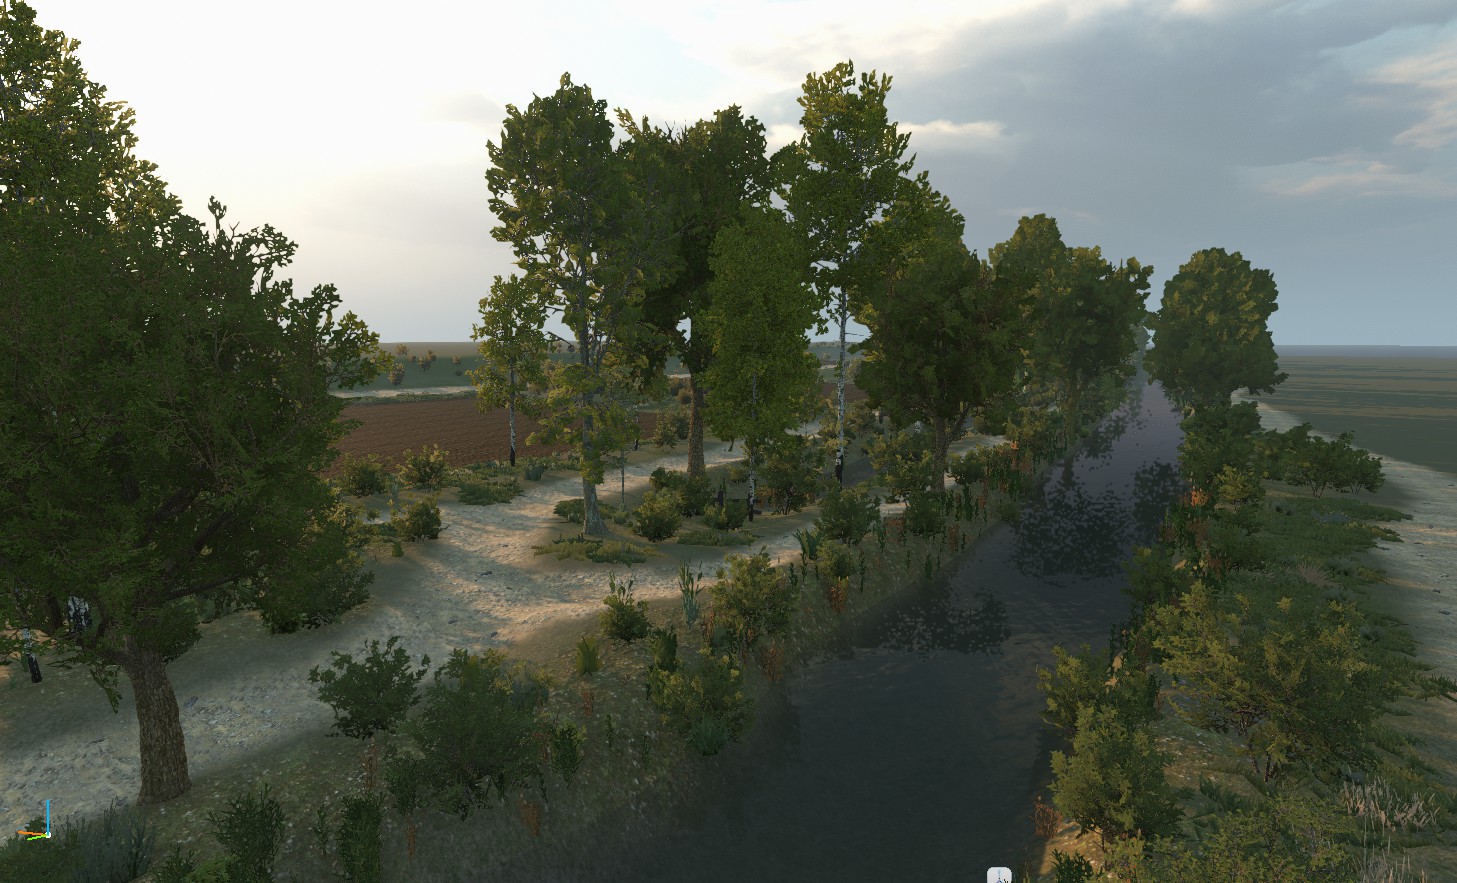
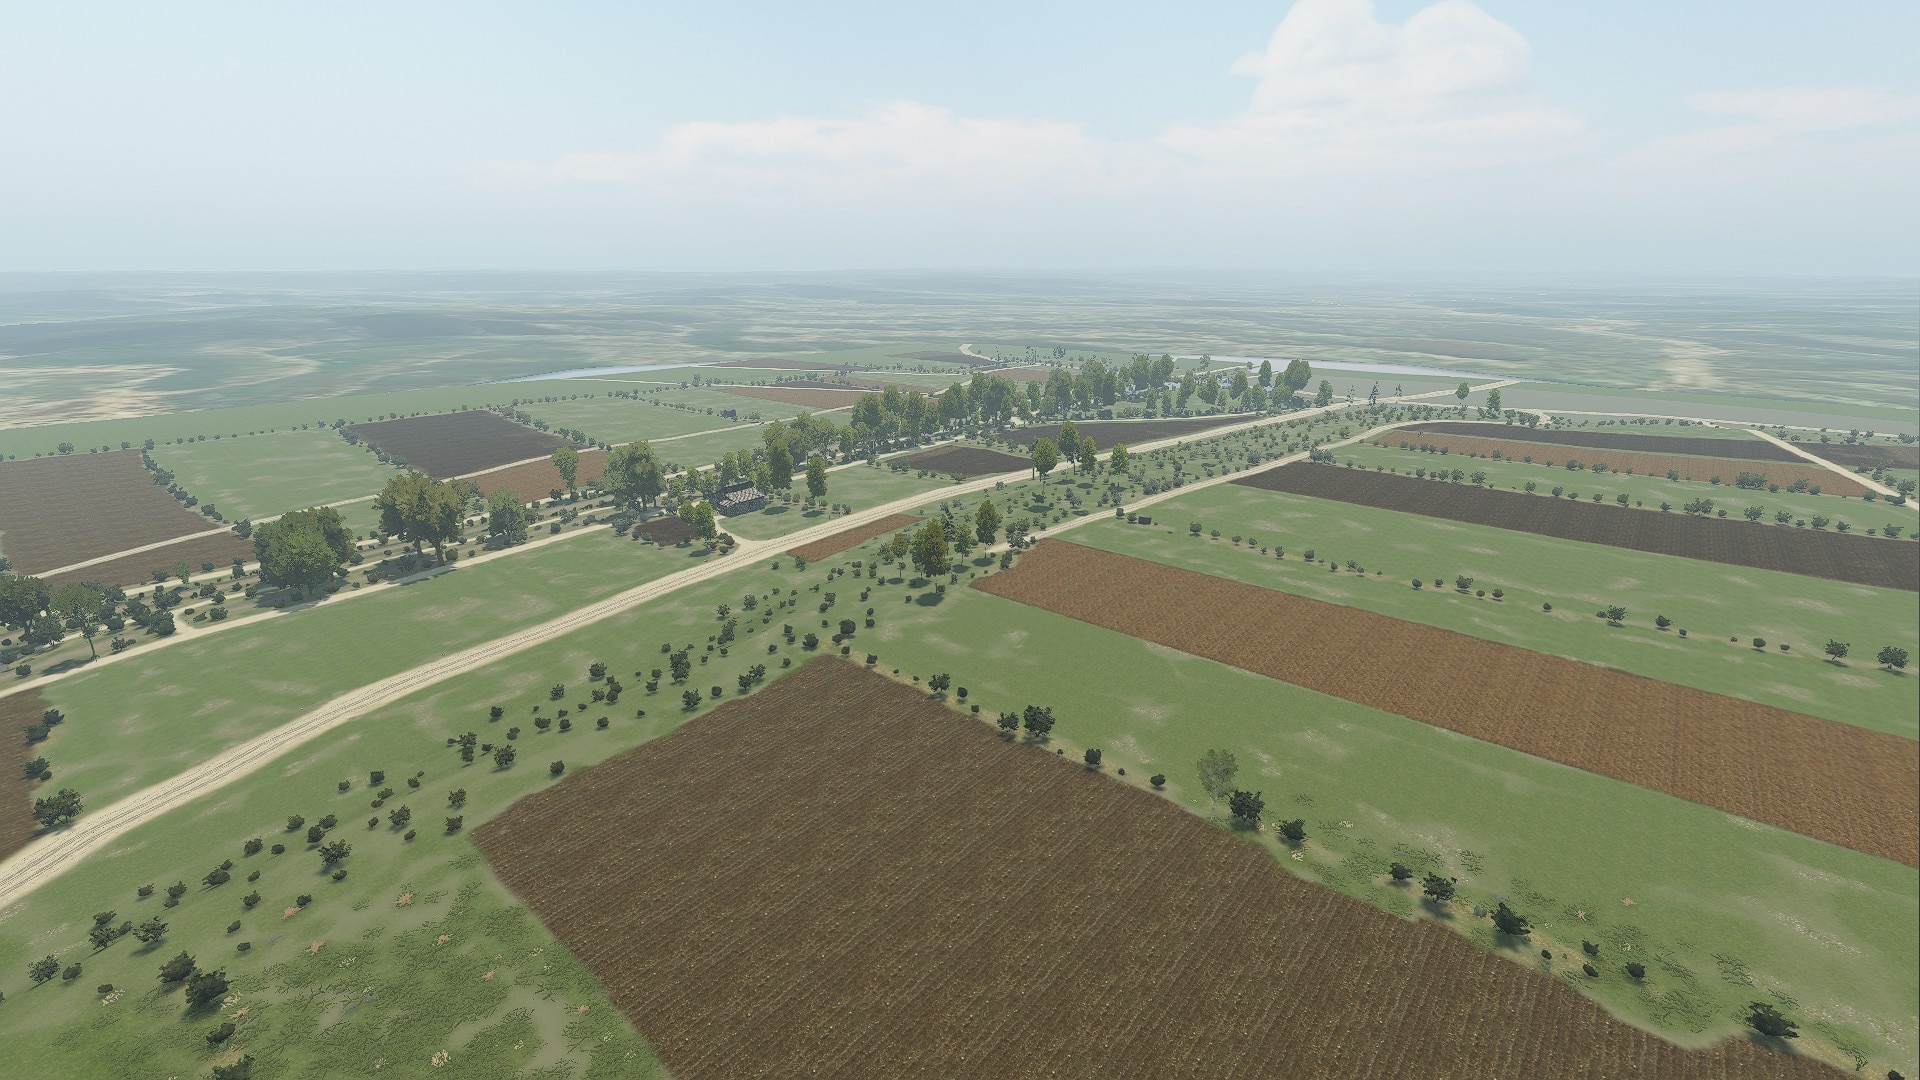
Some screenshots from a test before map completion to give you an idea about the scale:
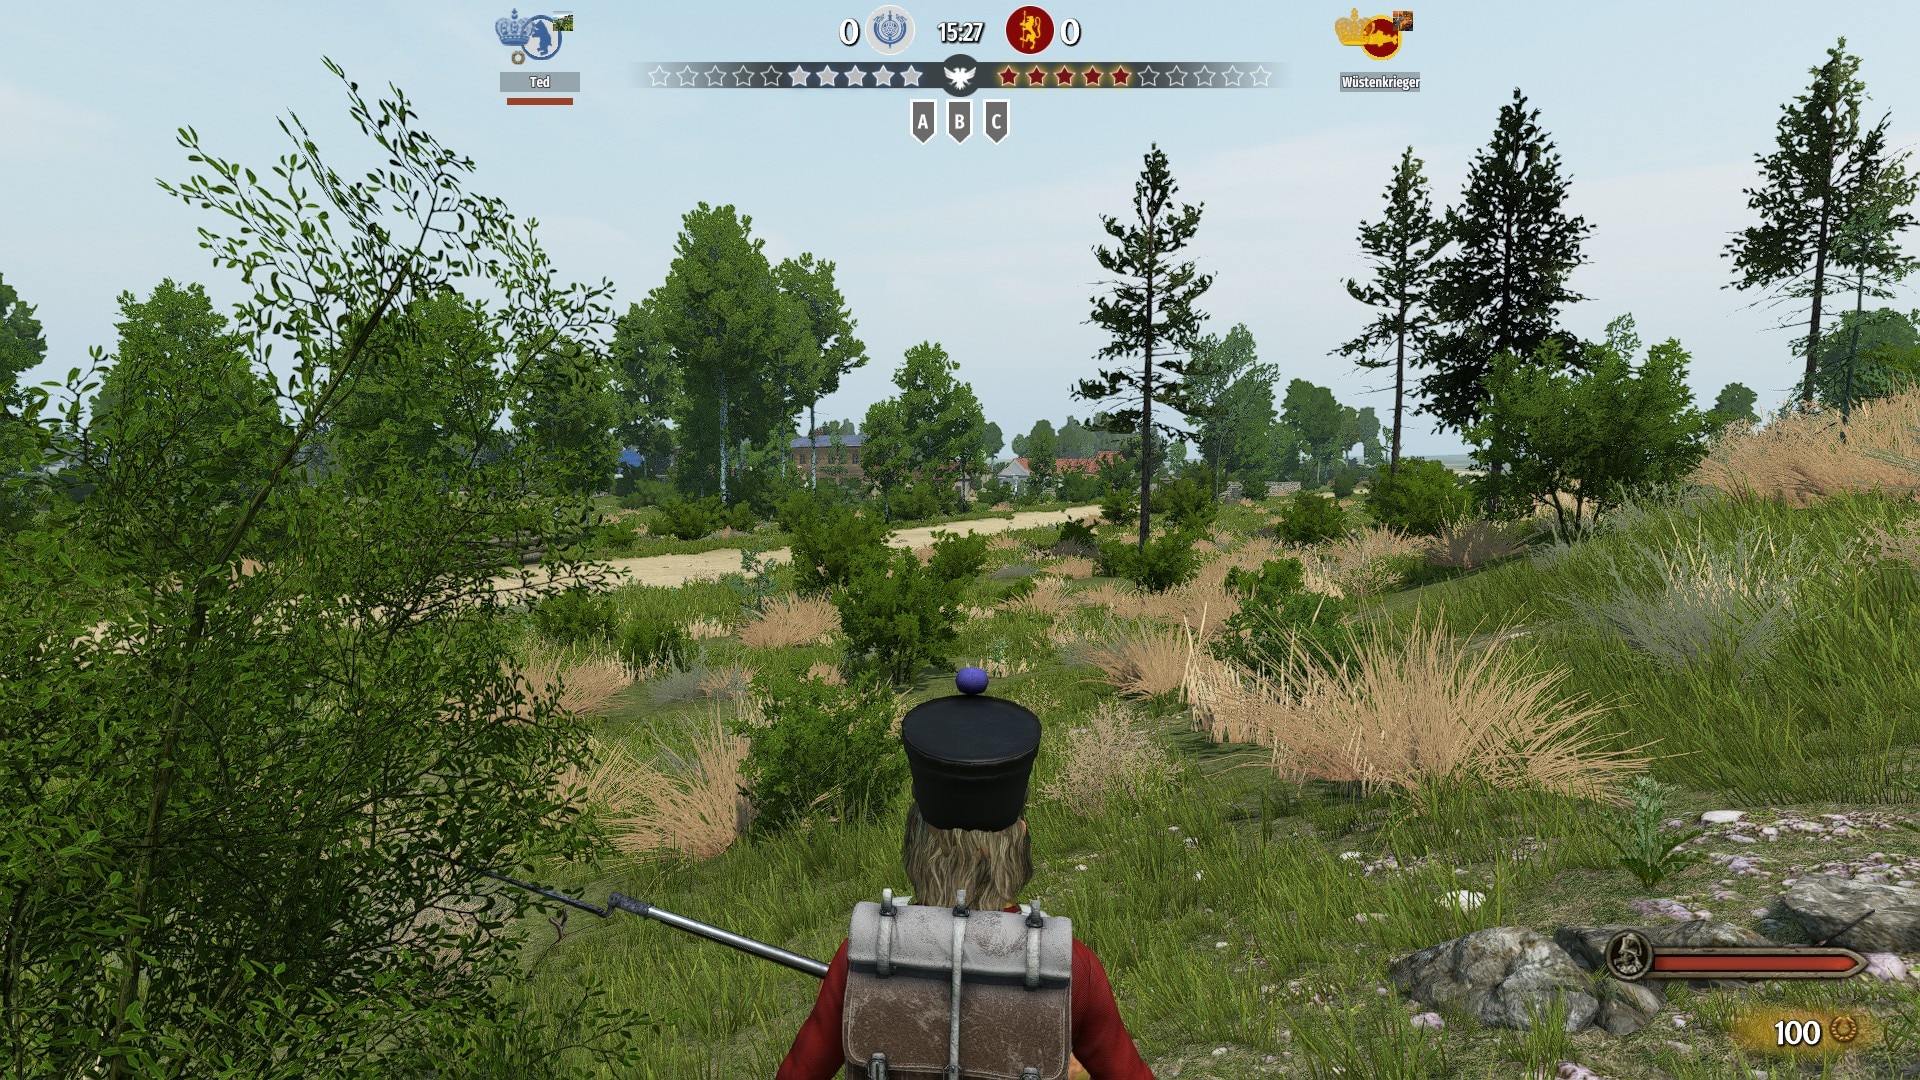
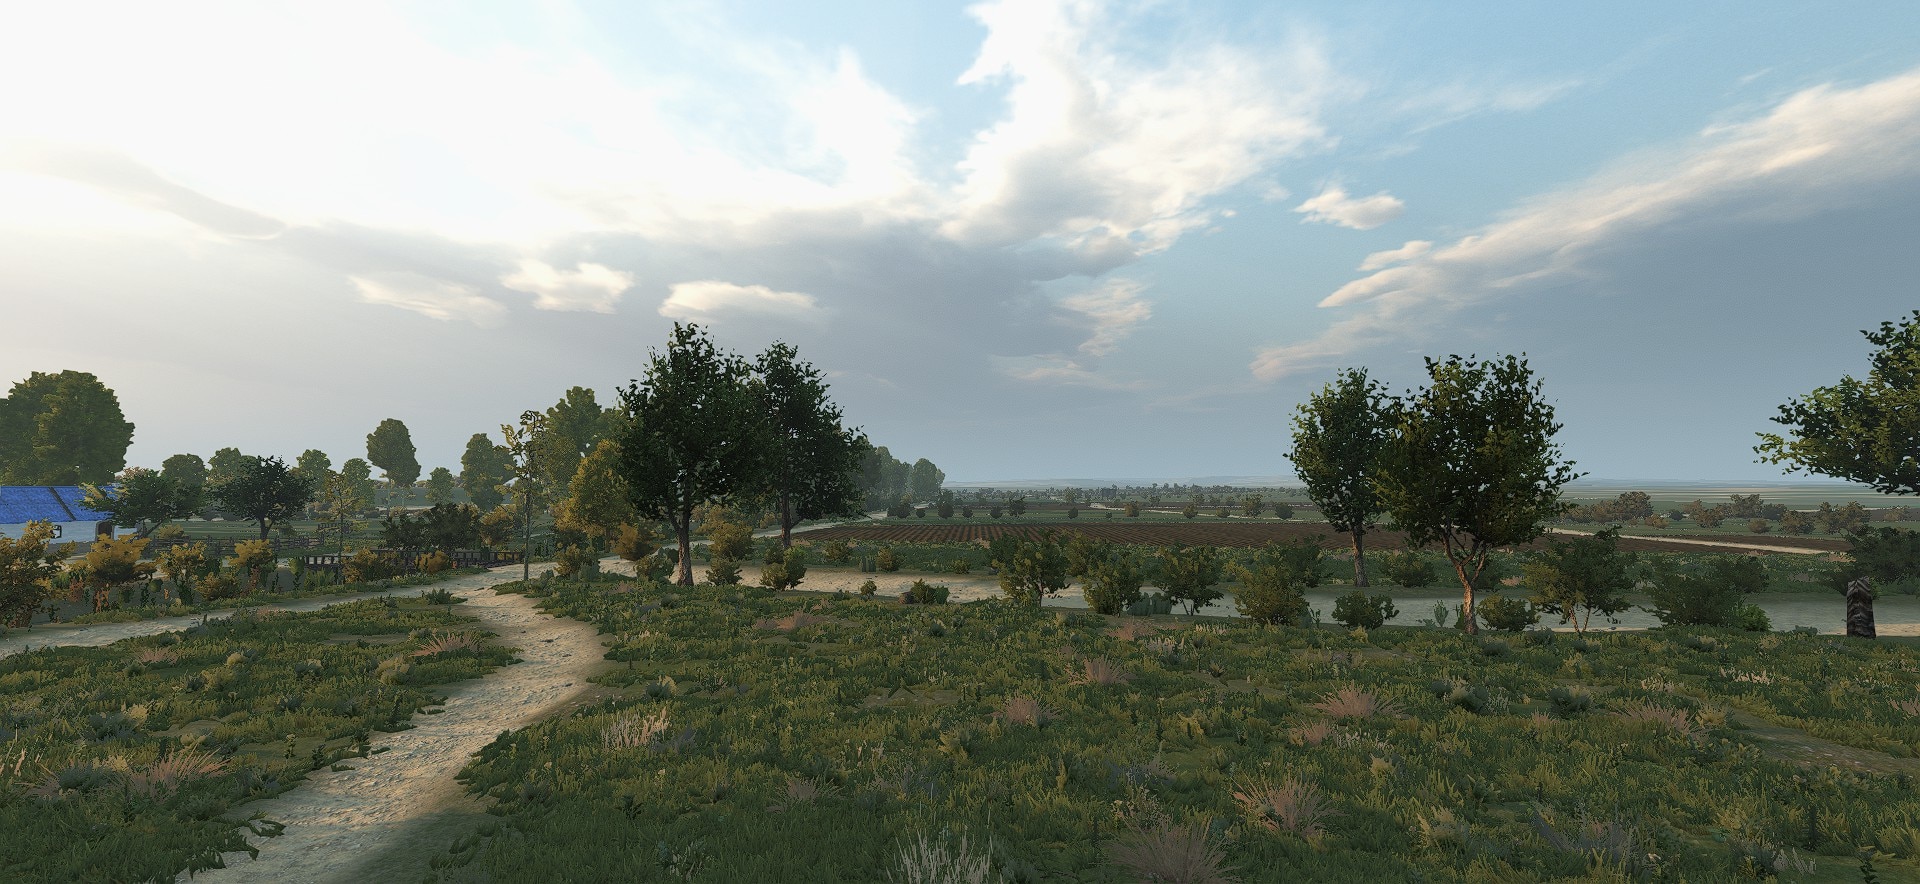
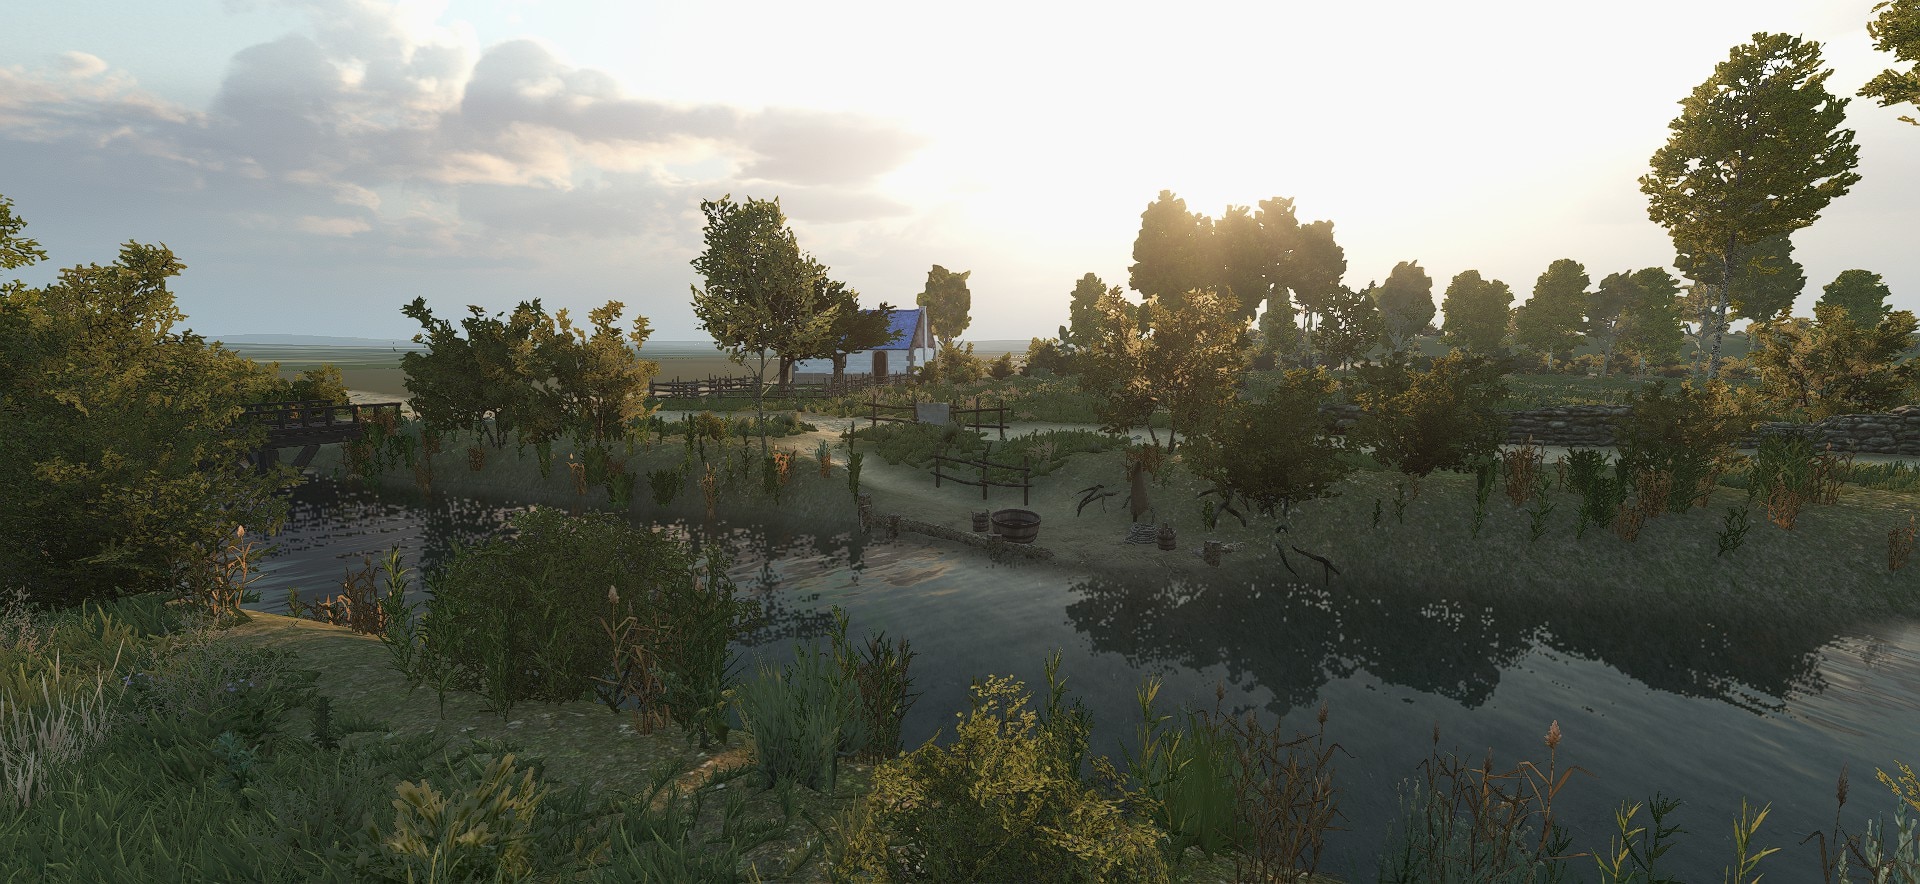
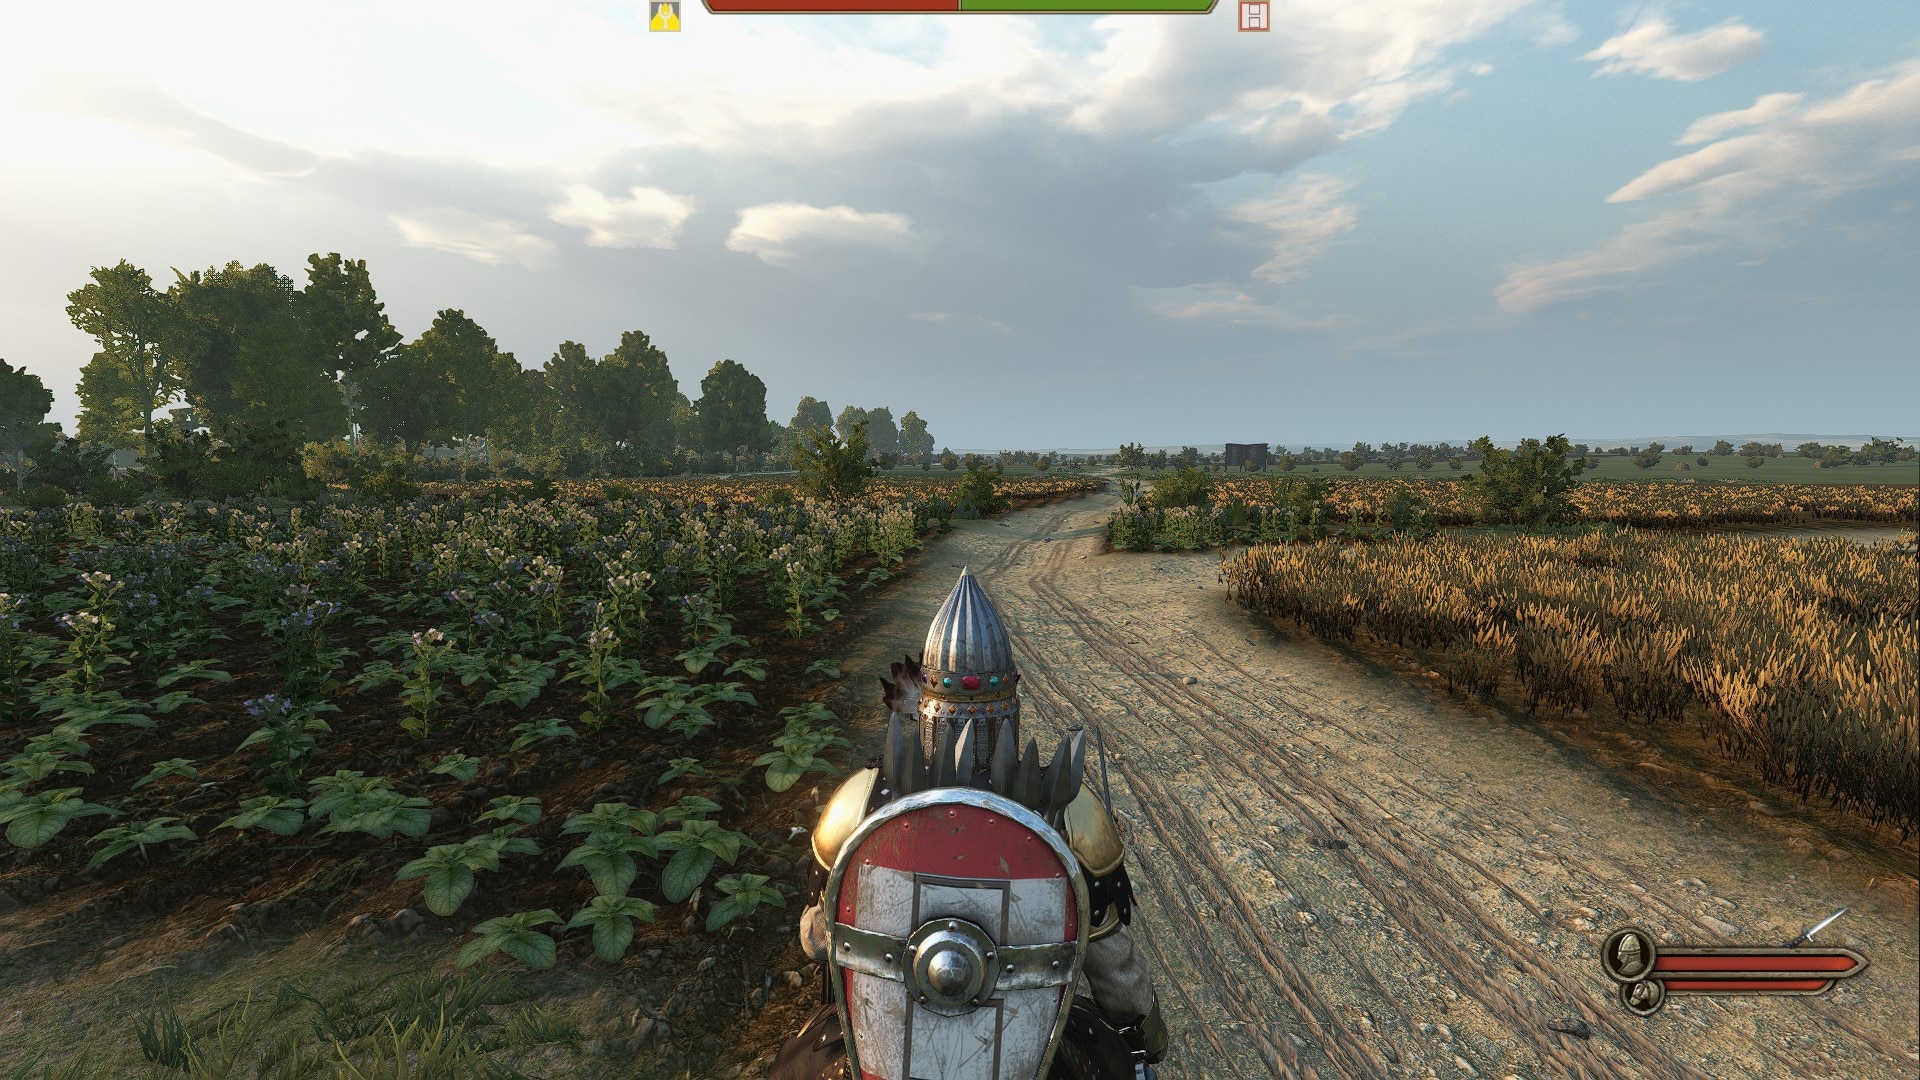
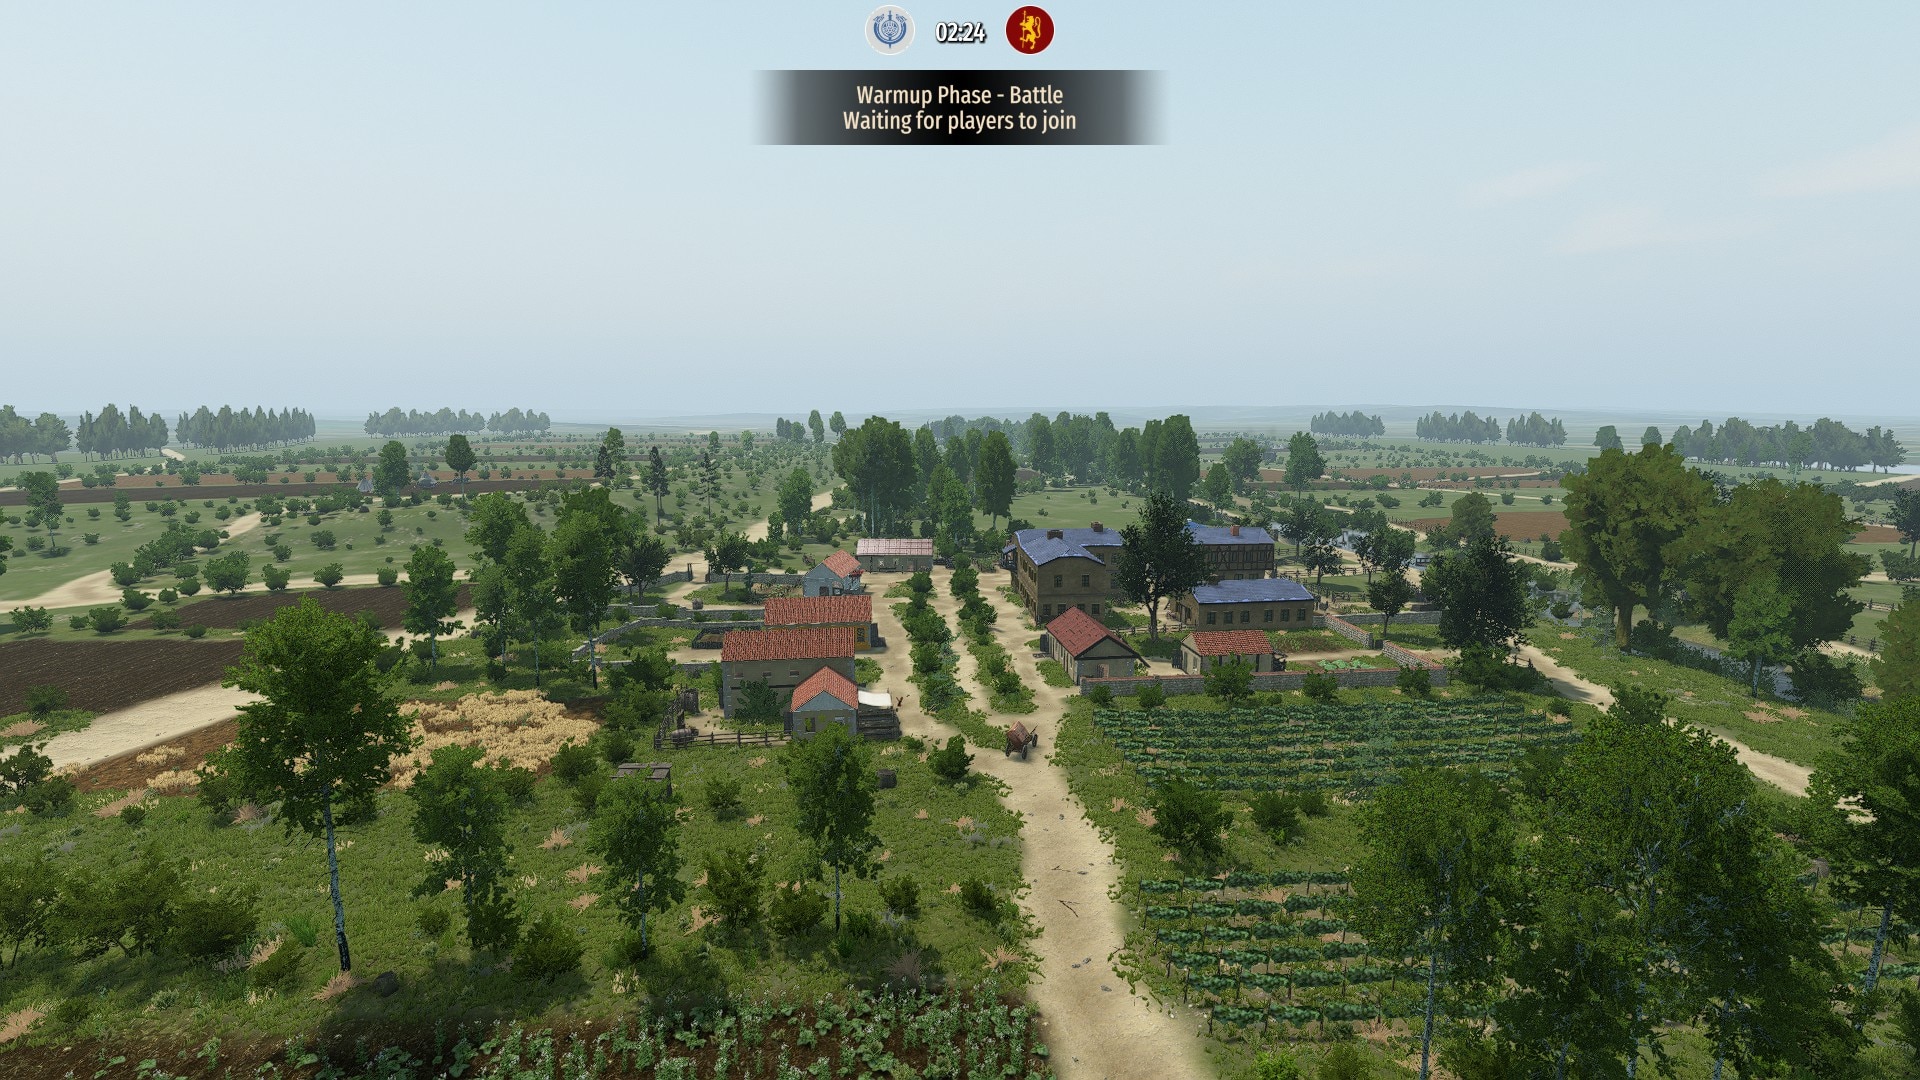
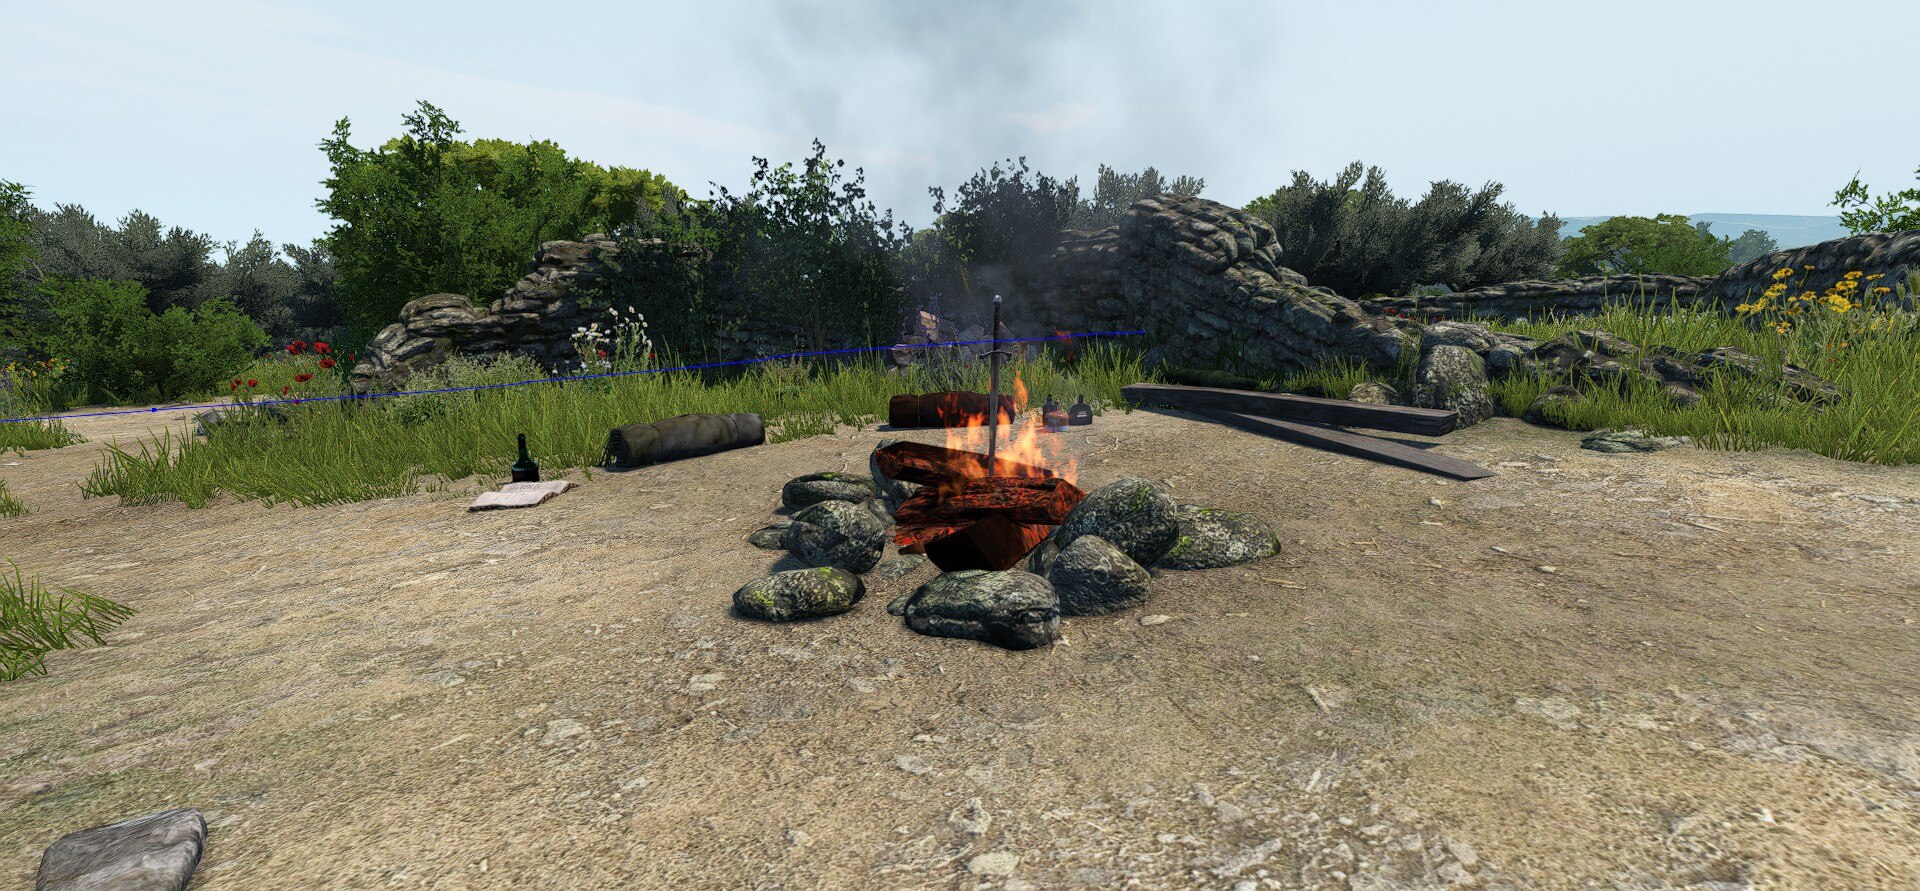
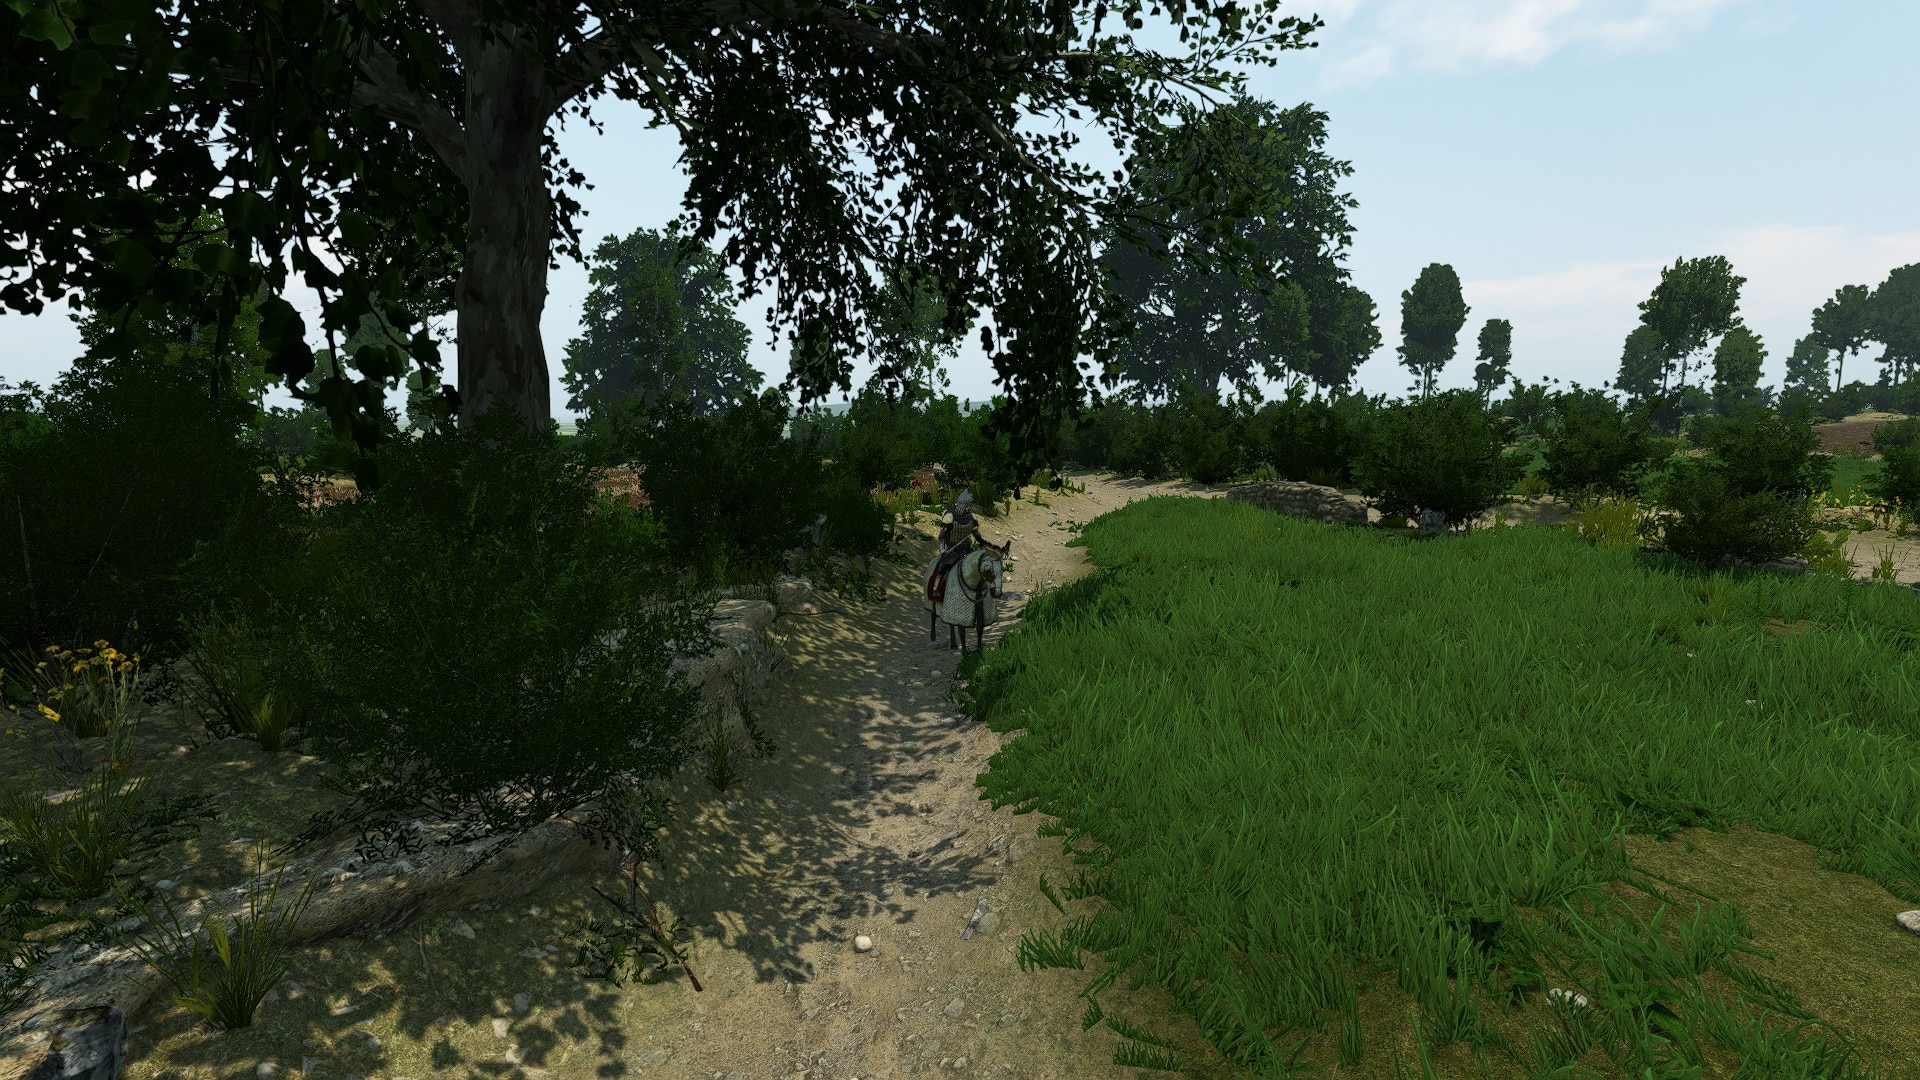
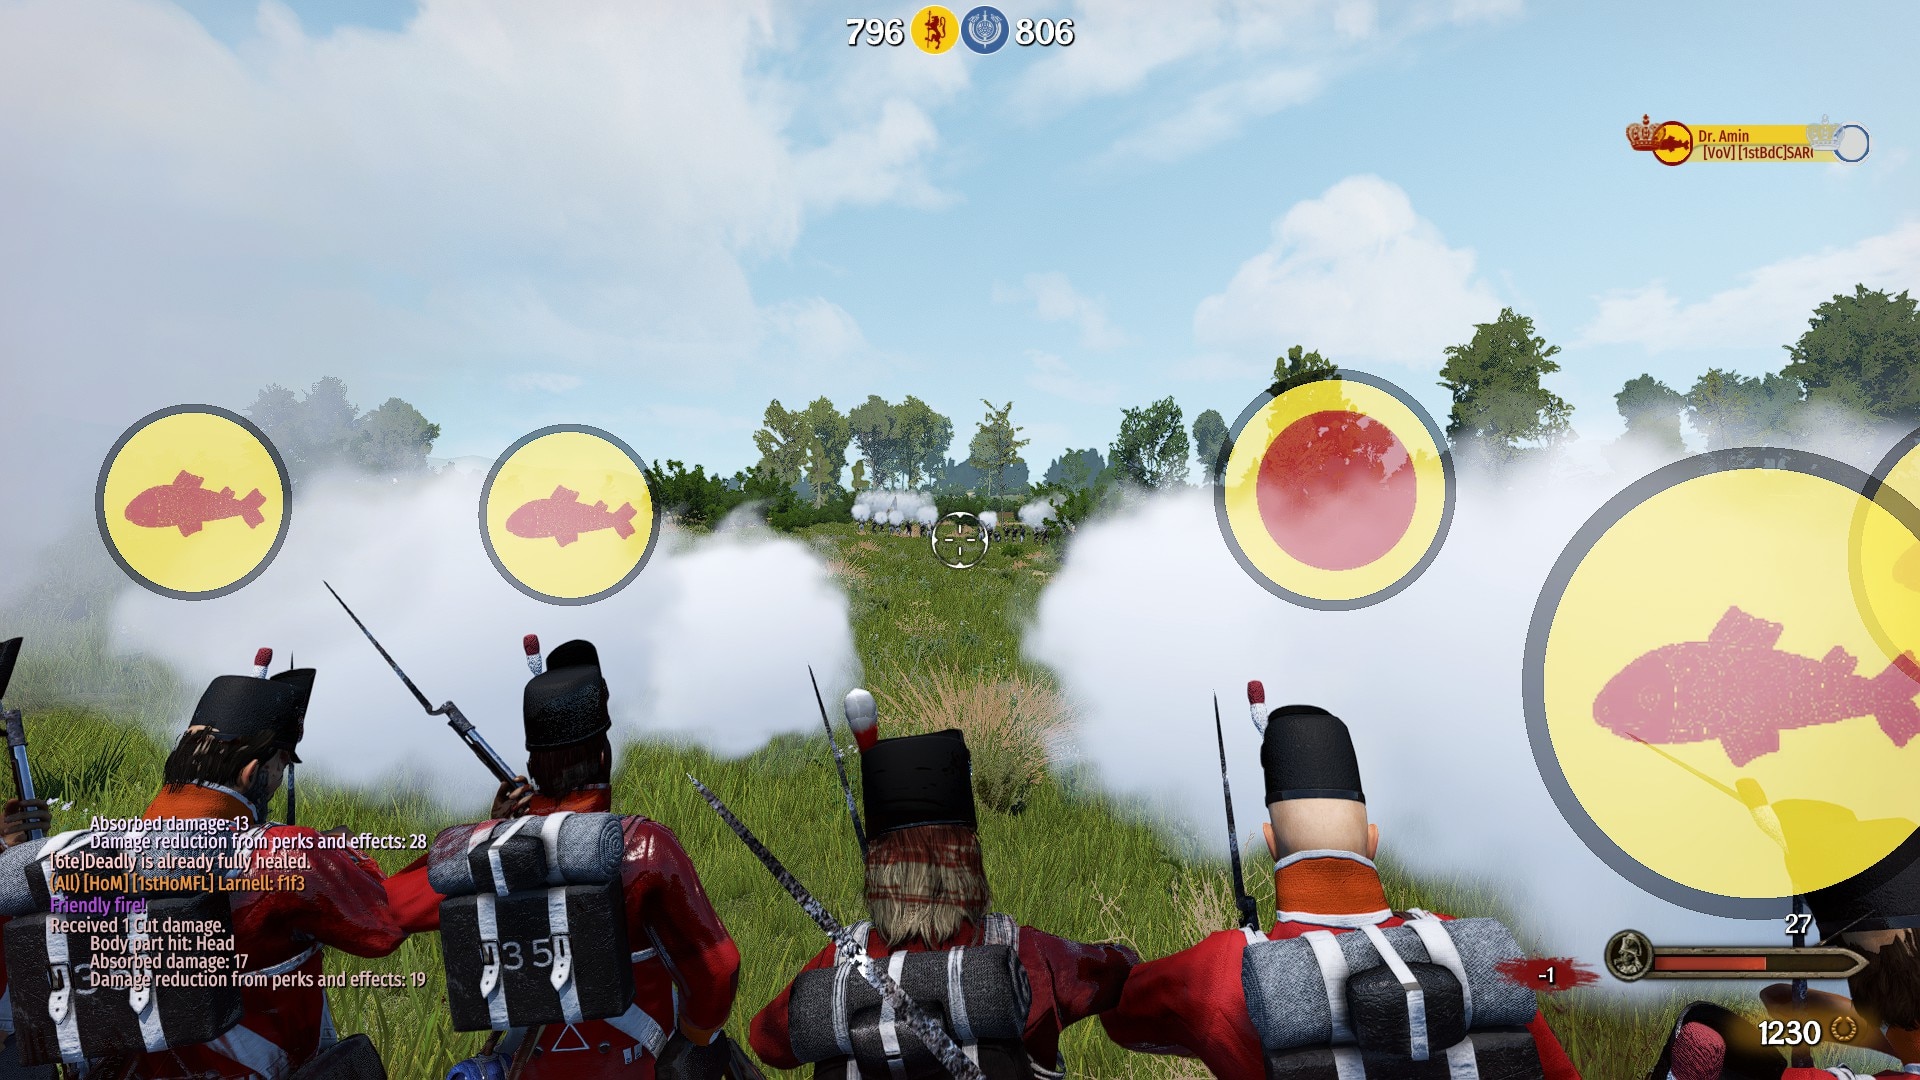
Some additional S&M scenes
Blood & Wine
Inspired by the same-named Witcher 3 DLC, and my Blood&Wine map from Mount&Blade Warband: Napoleonic Wars
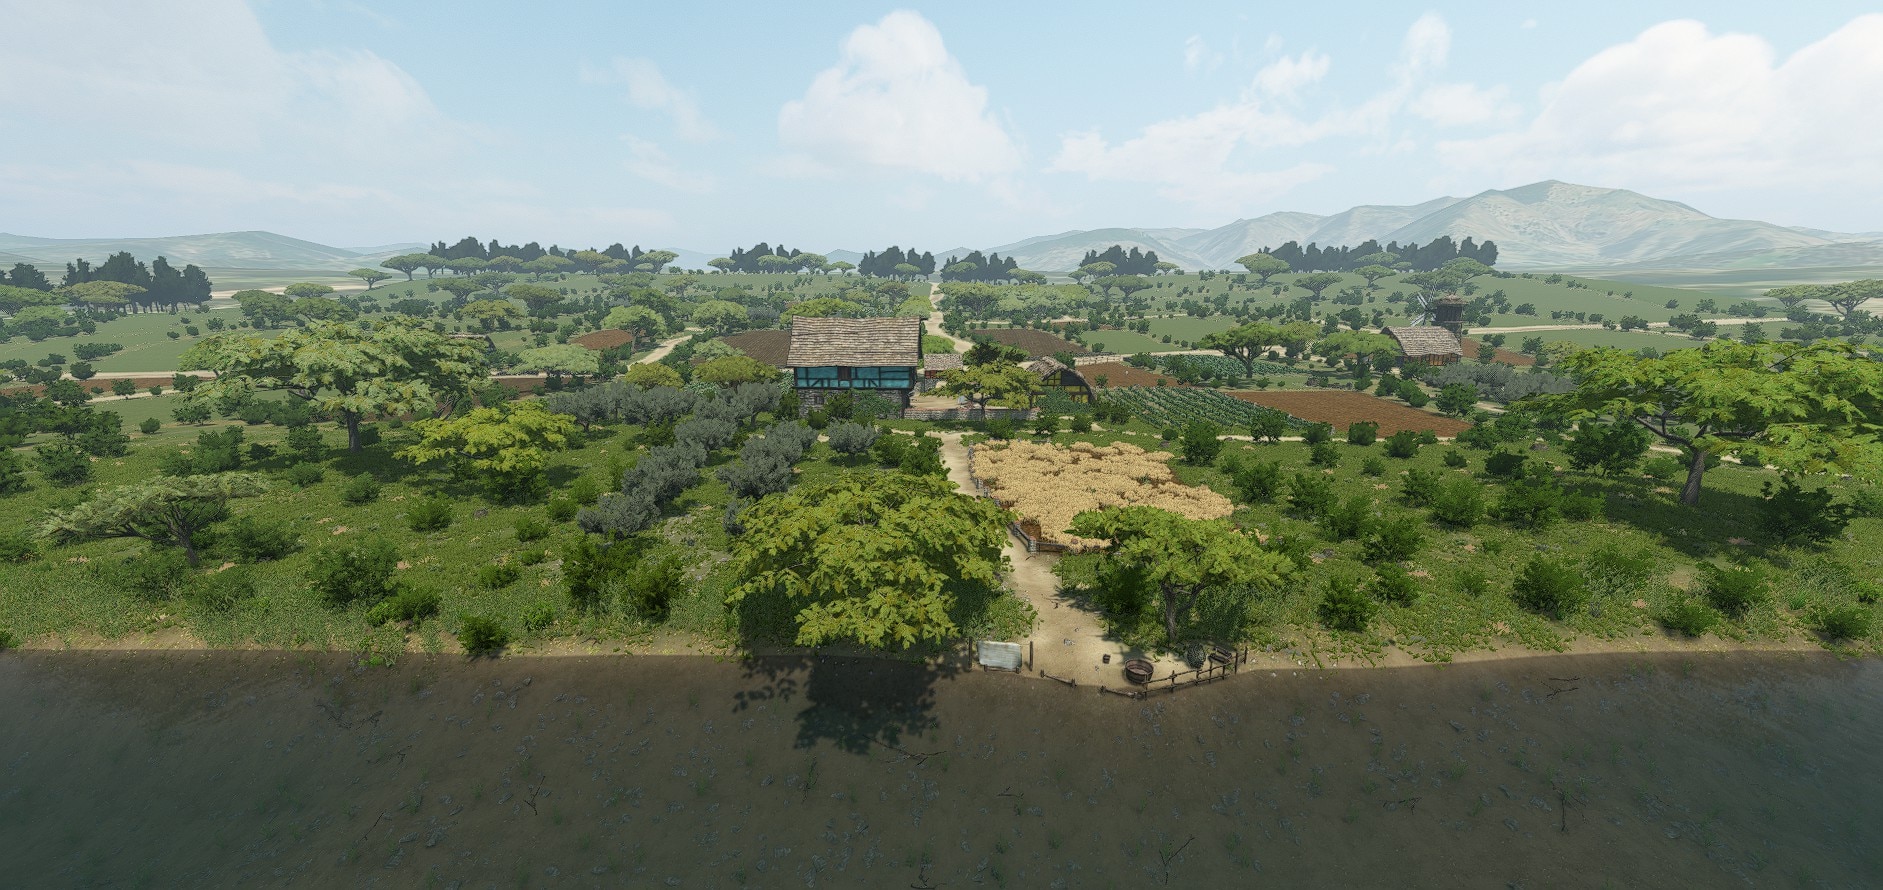
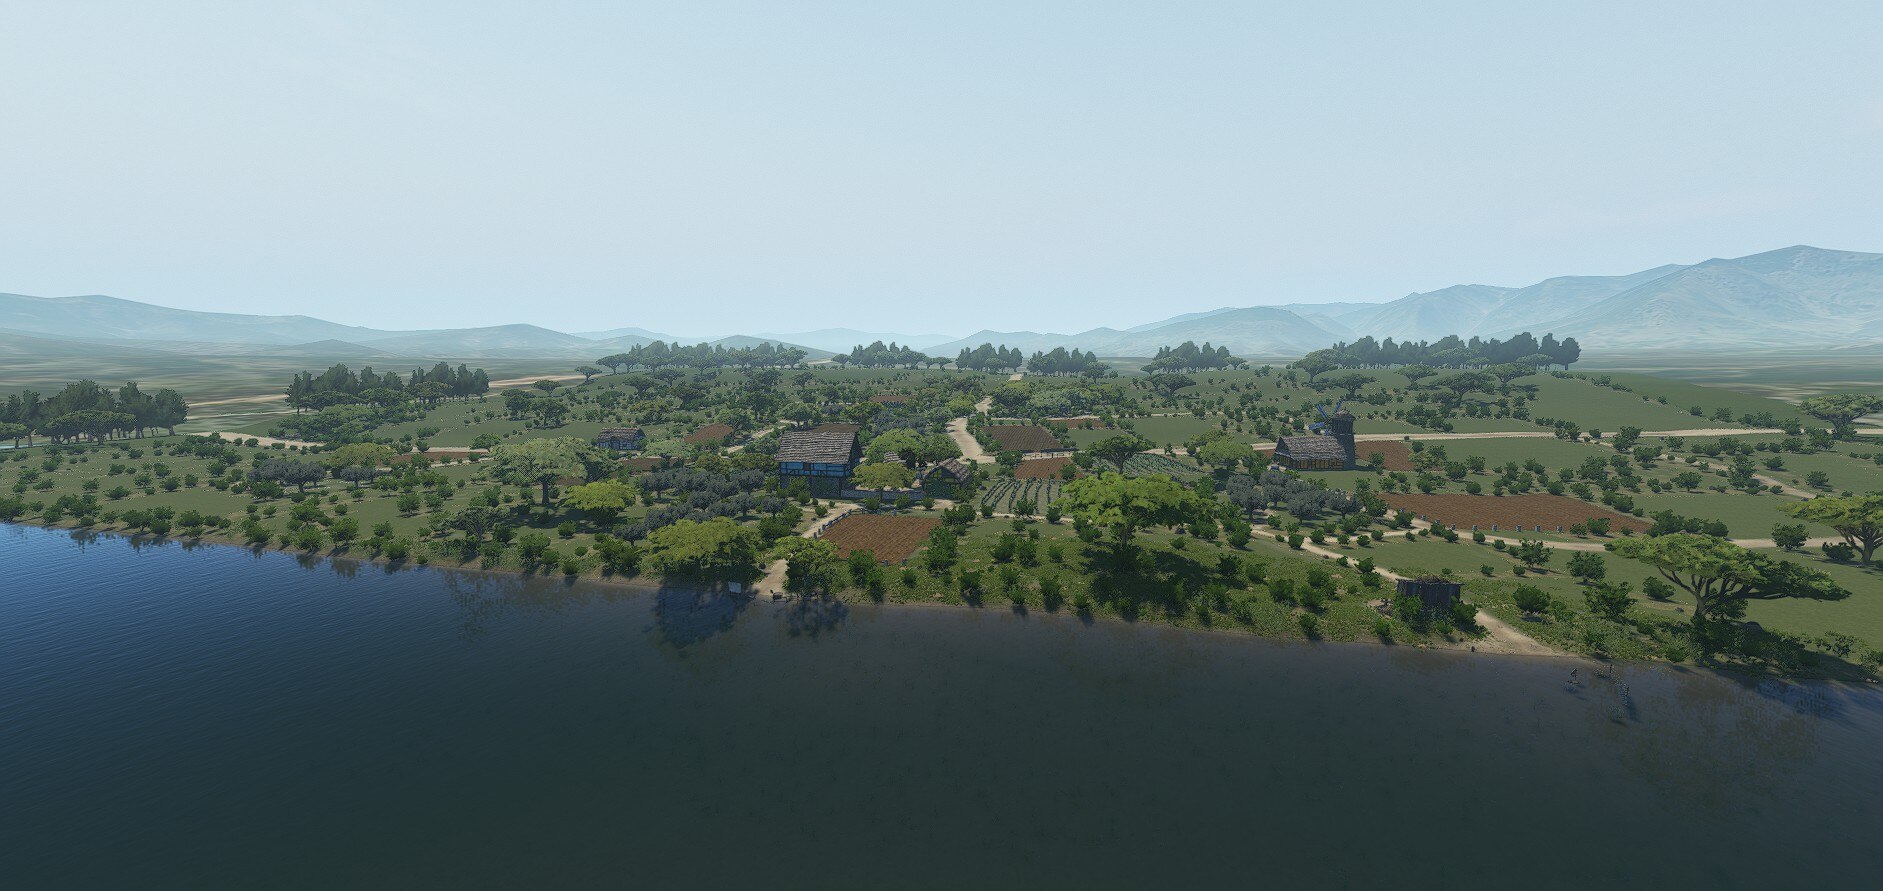
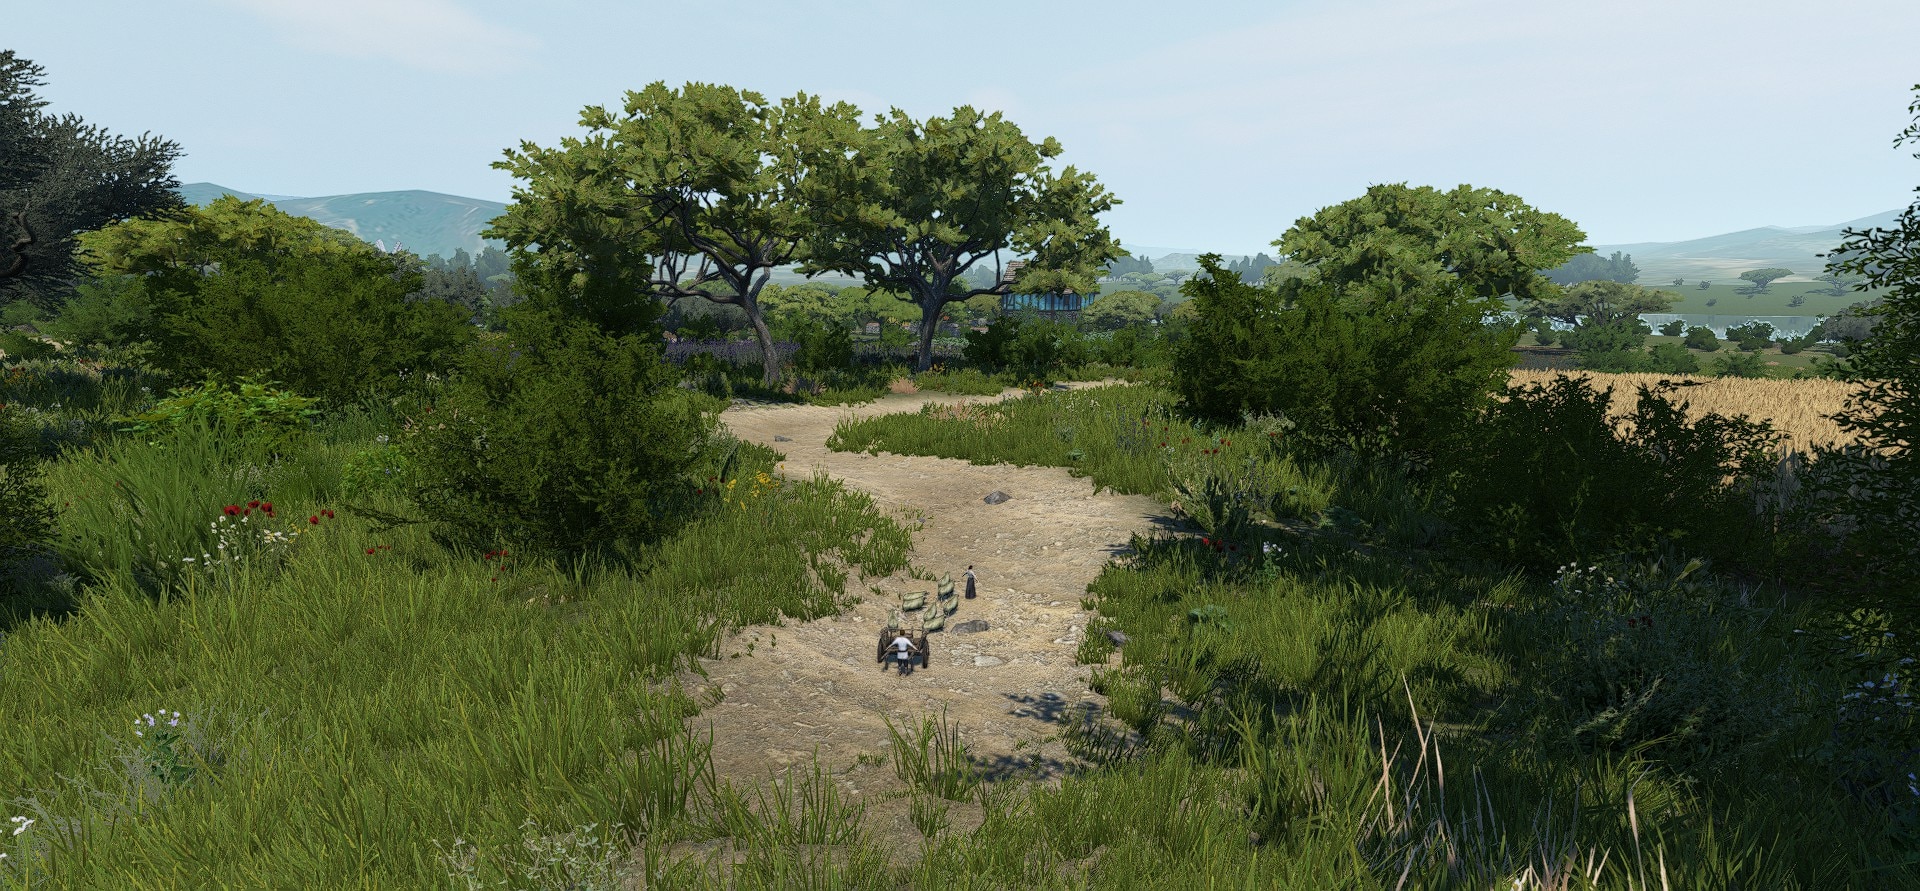
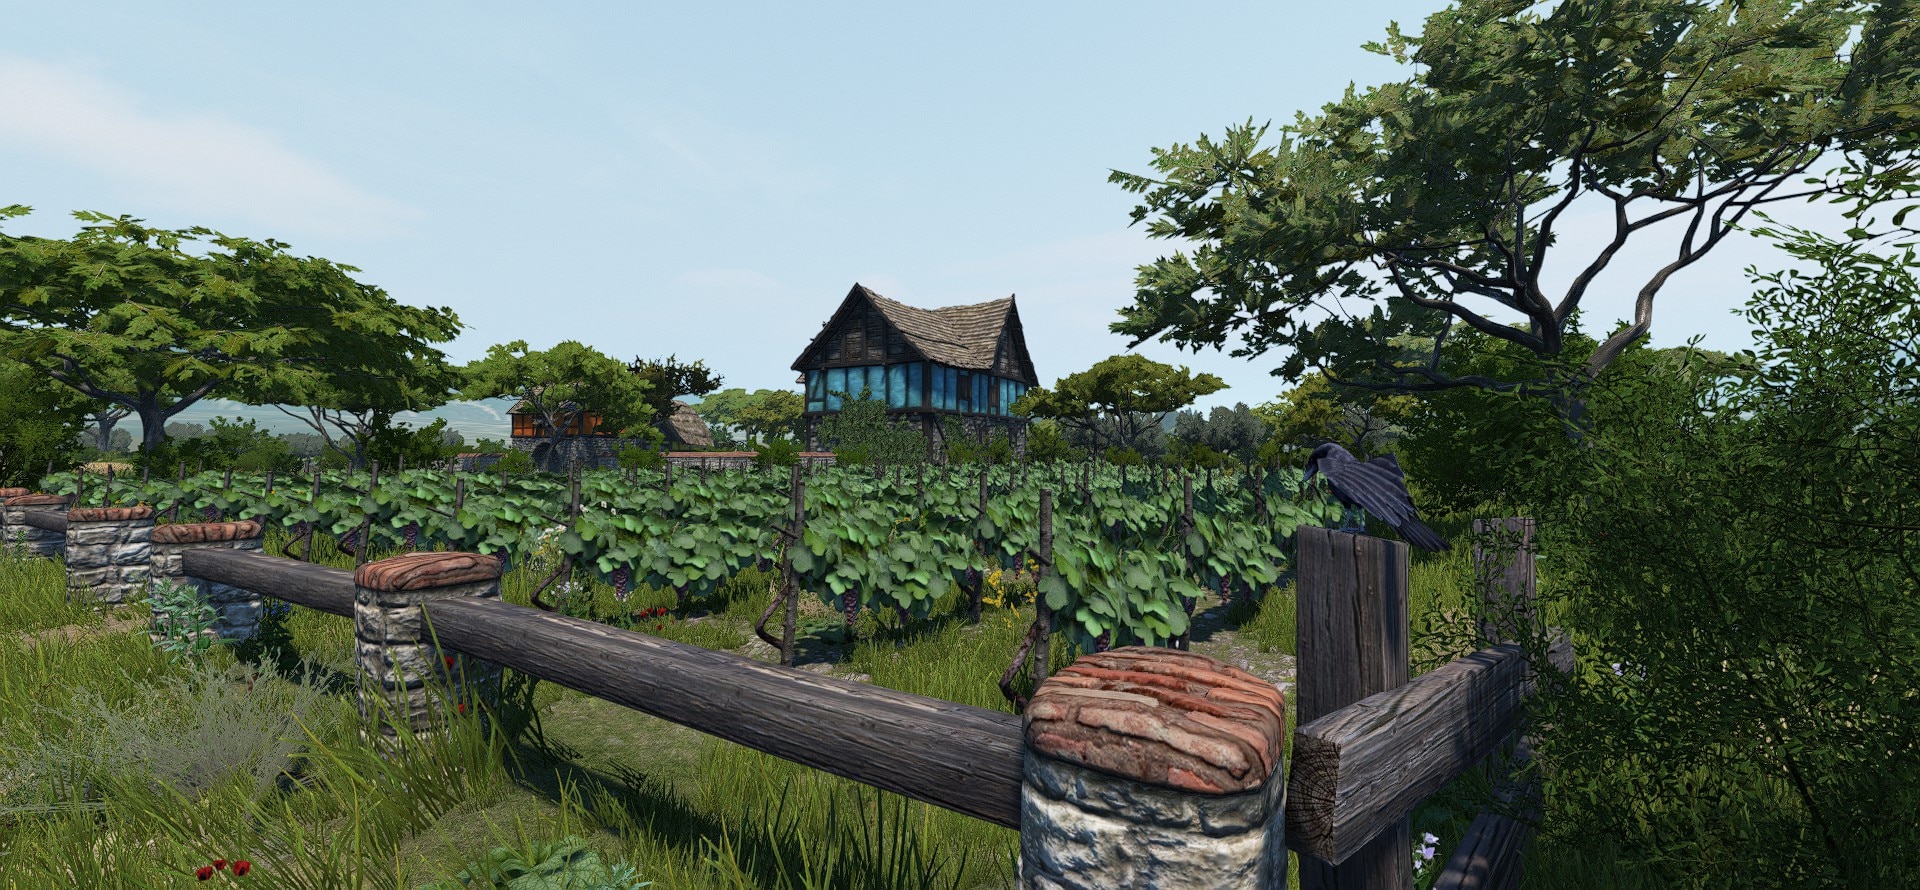
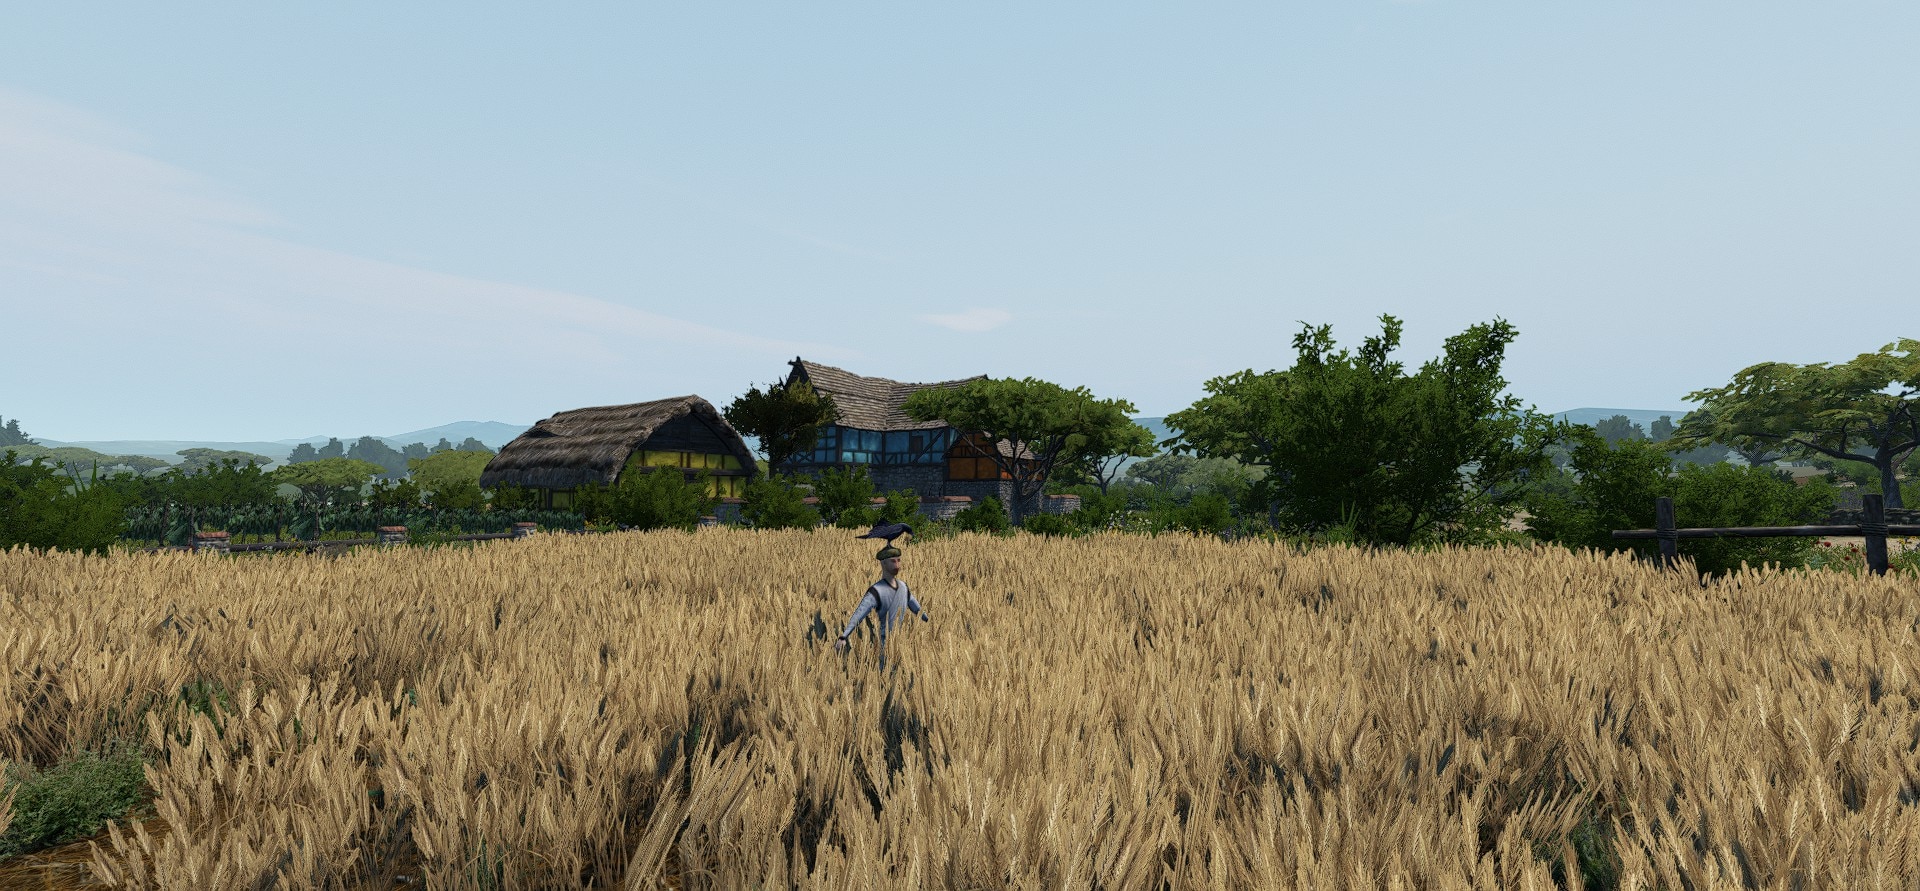
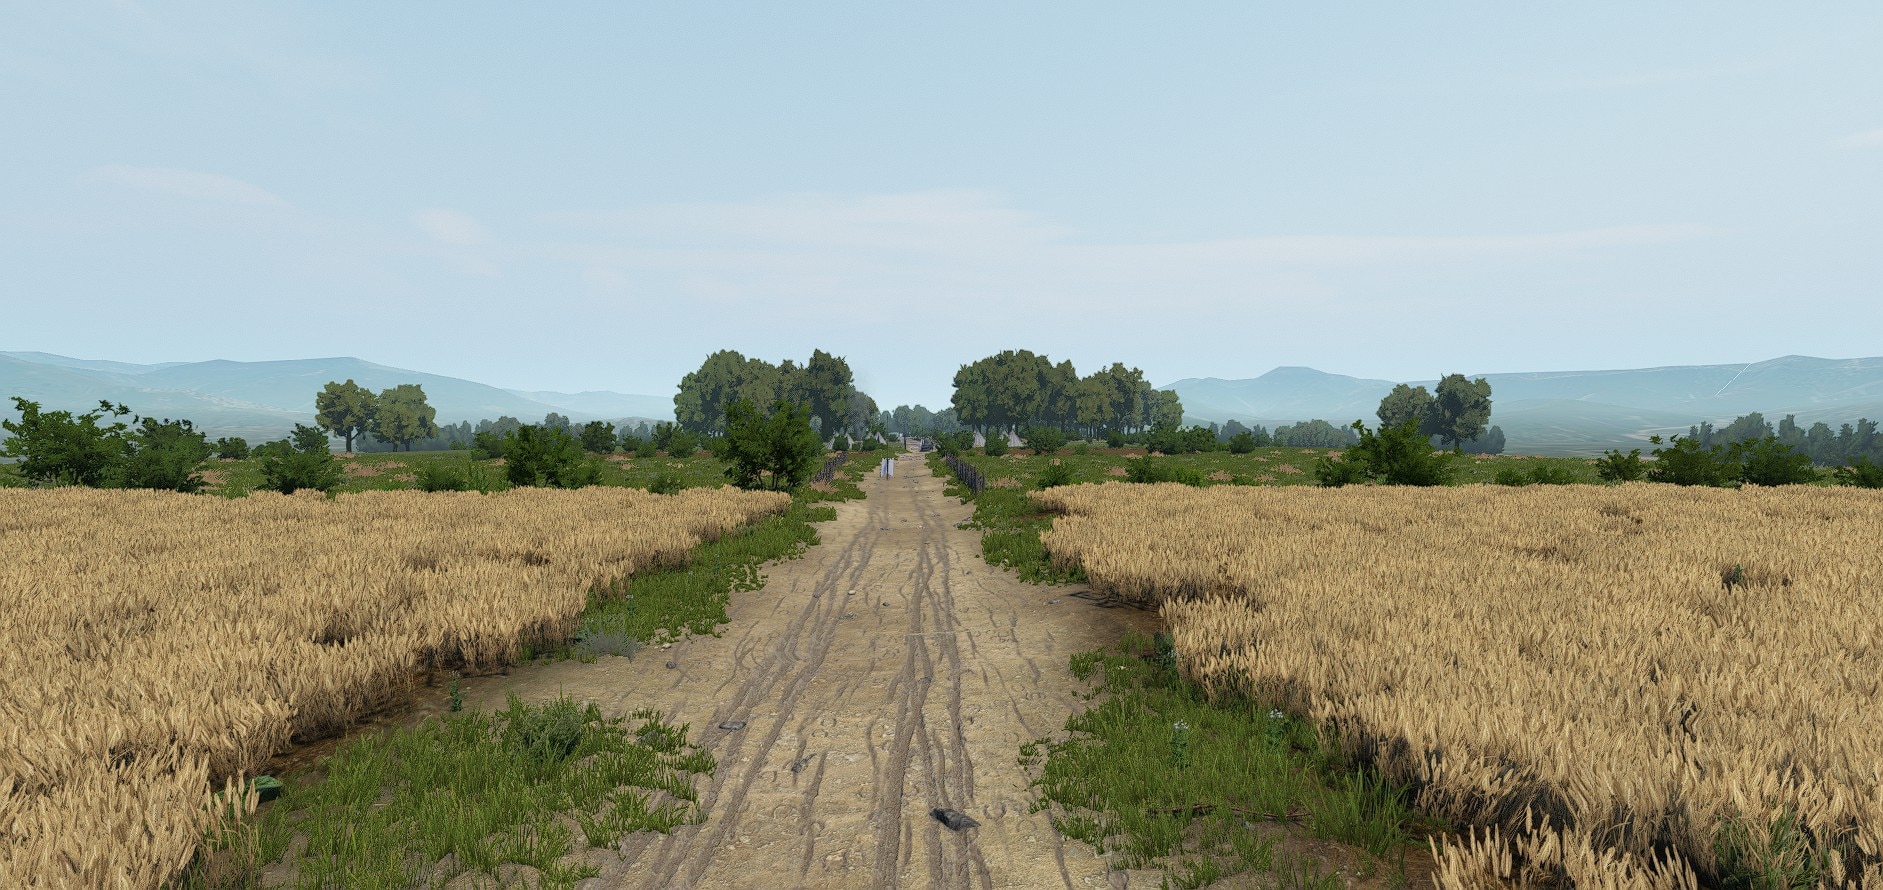
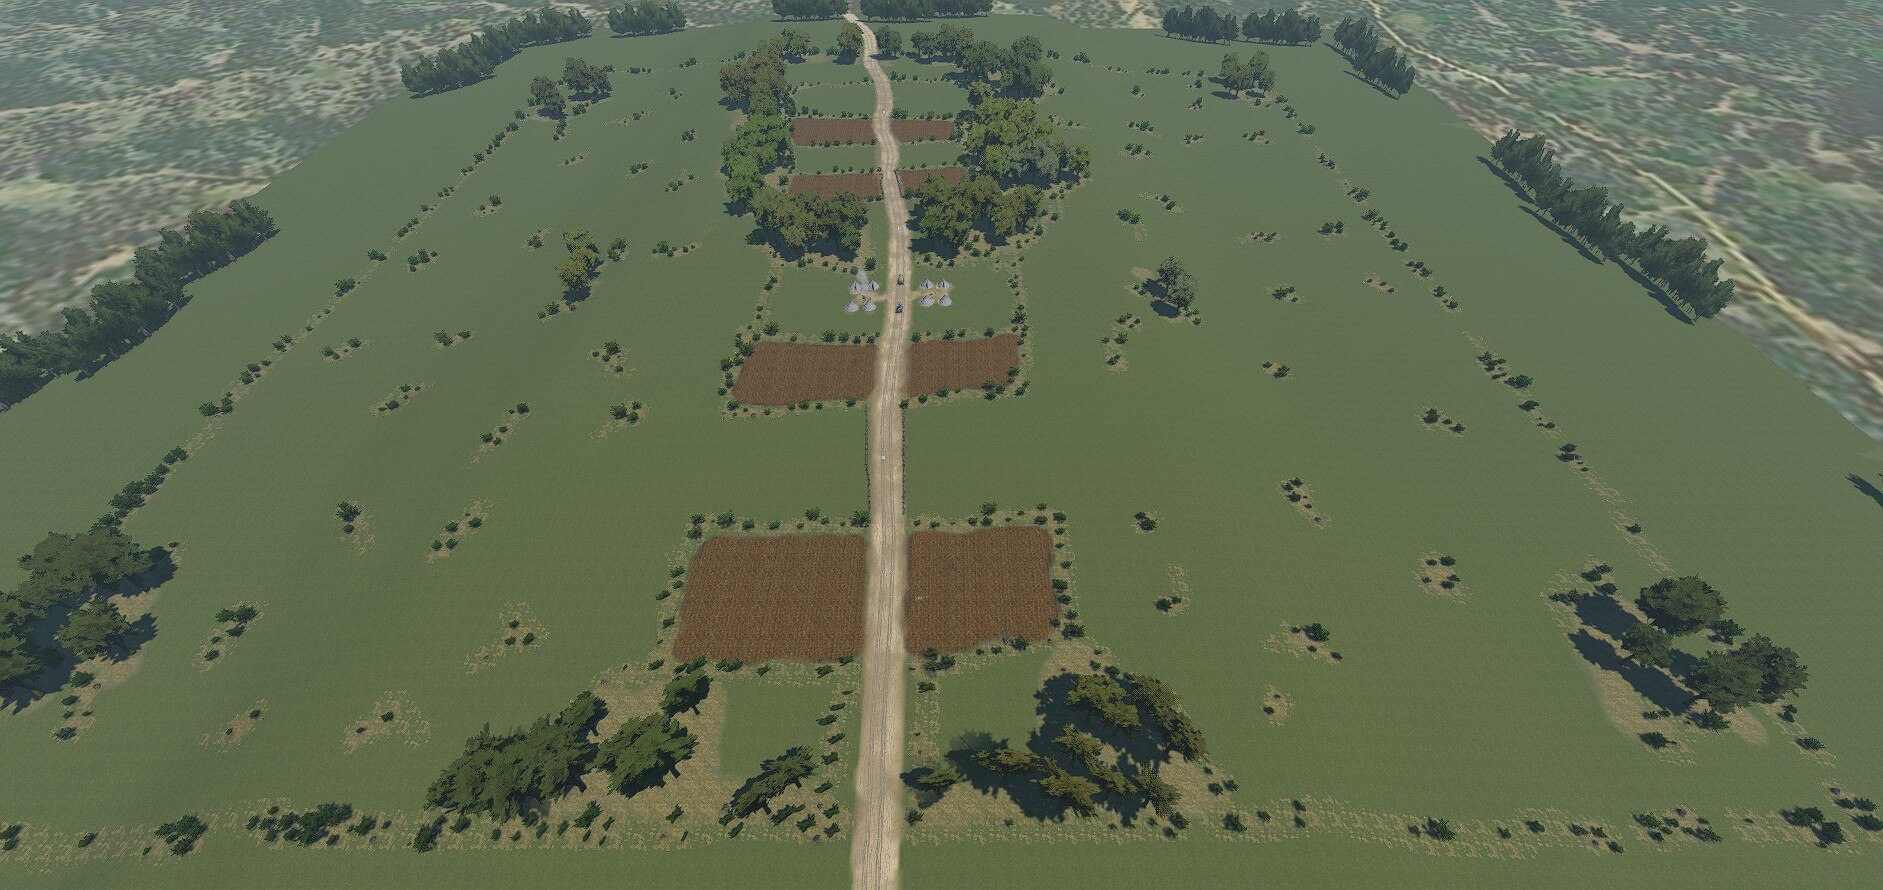
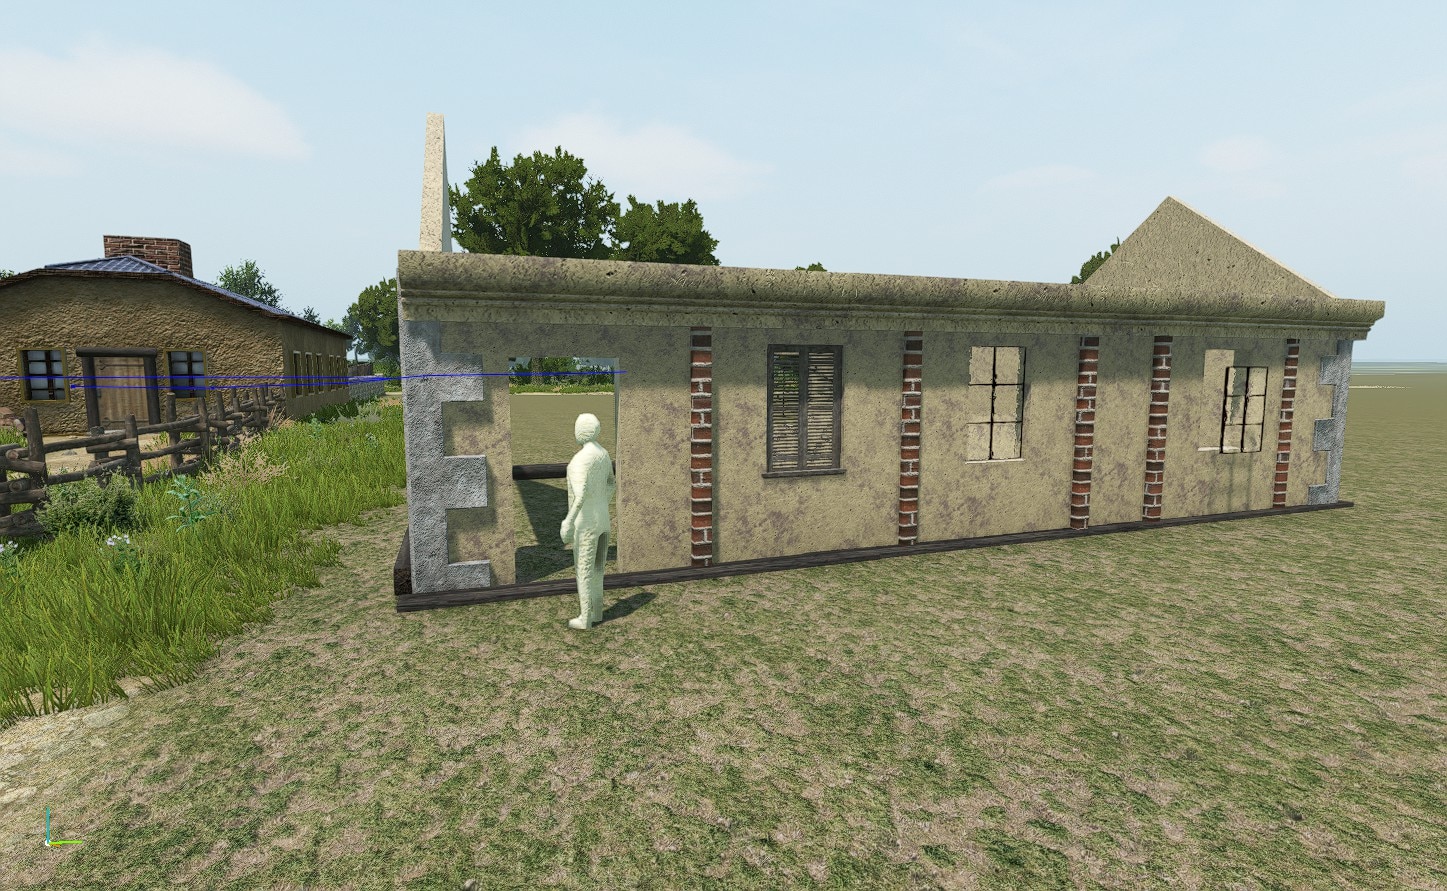
European Fields
Normandy
European Fields 2
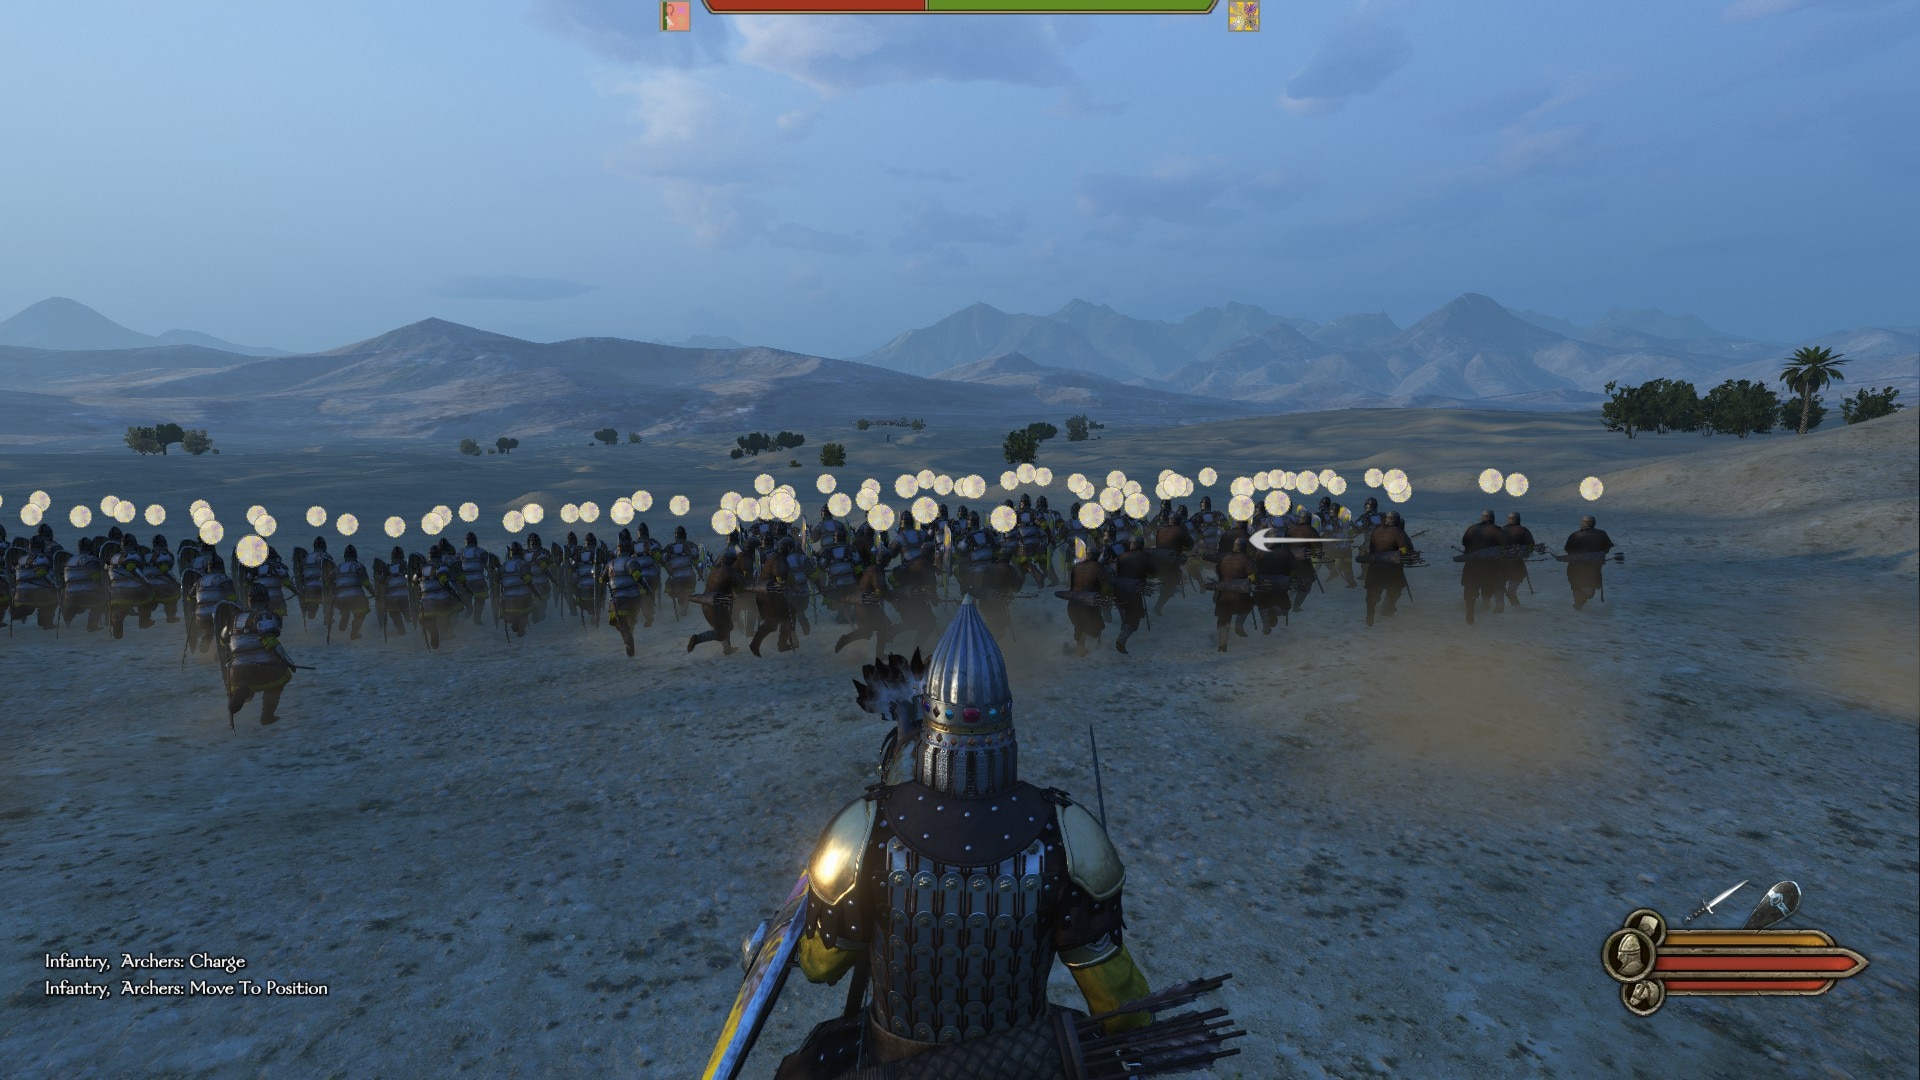
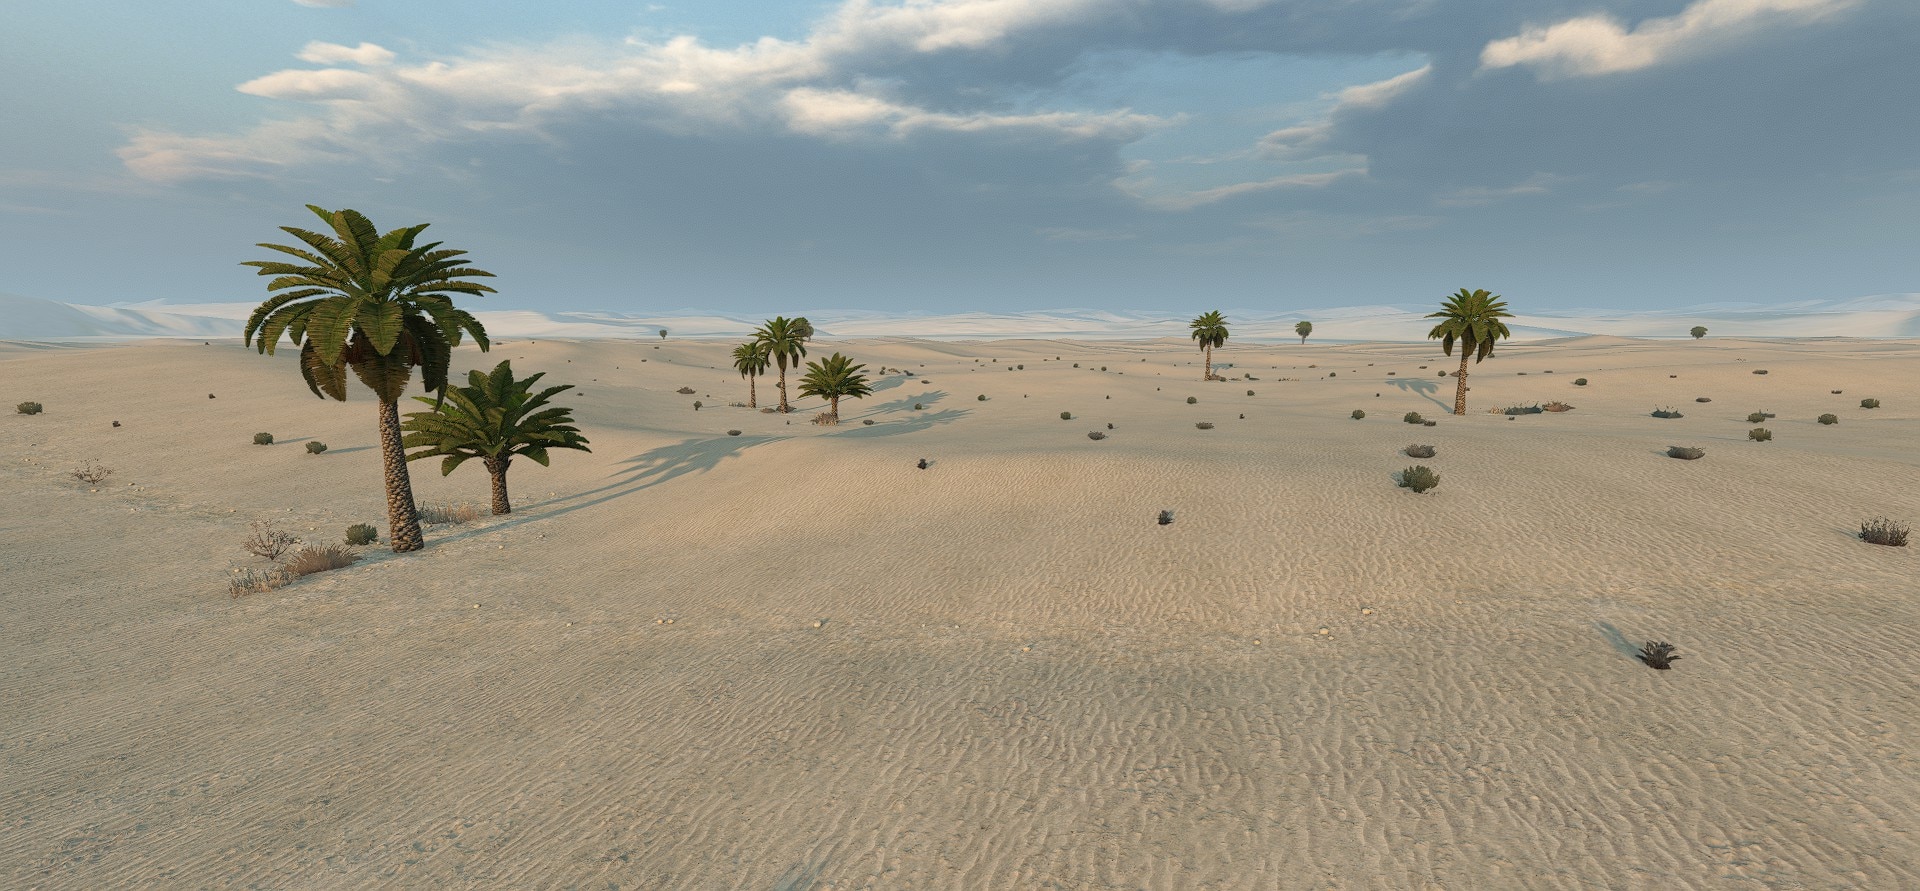
Rocky Deserts
A series of open desert maps for AI battles and competitive MP fights. Minimum textures and entities for maximum performance.
Generic Deserts
A series of open desert maps for AI battles and competitive MP fights. Minimum textures and entities for maximum performance.
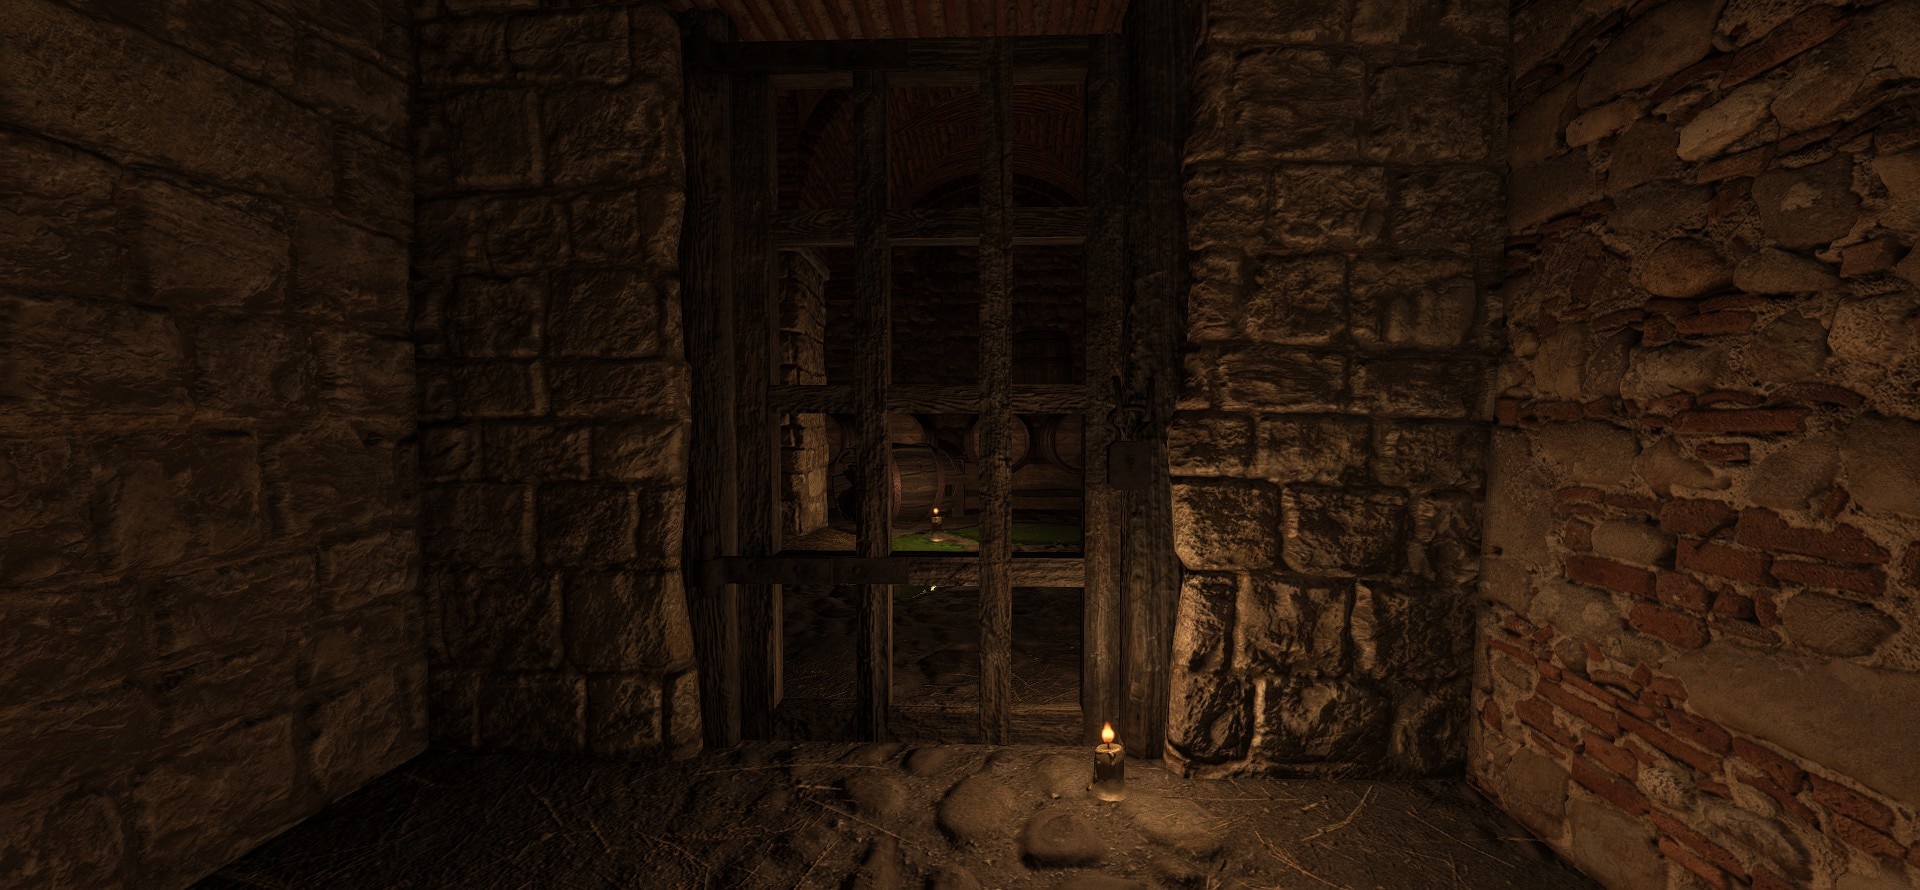
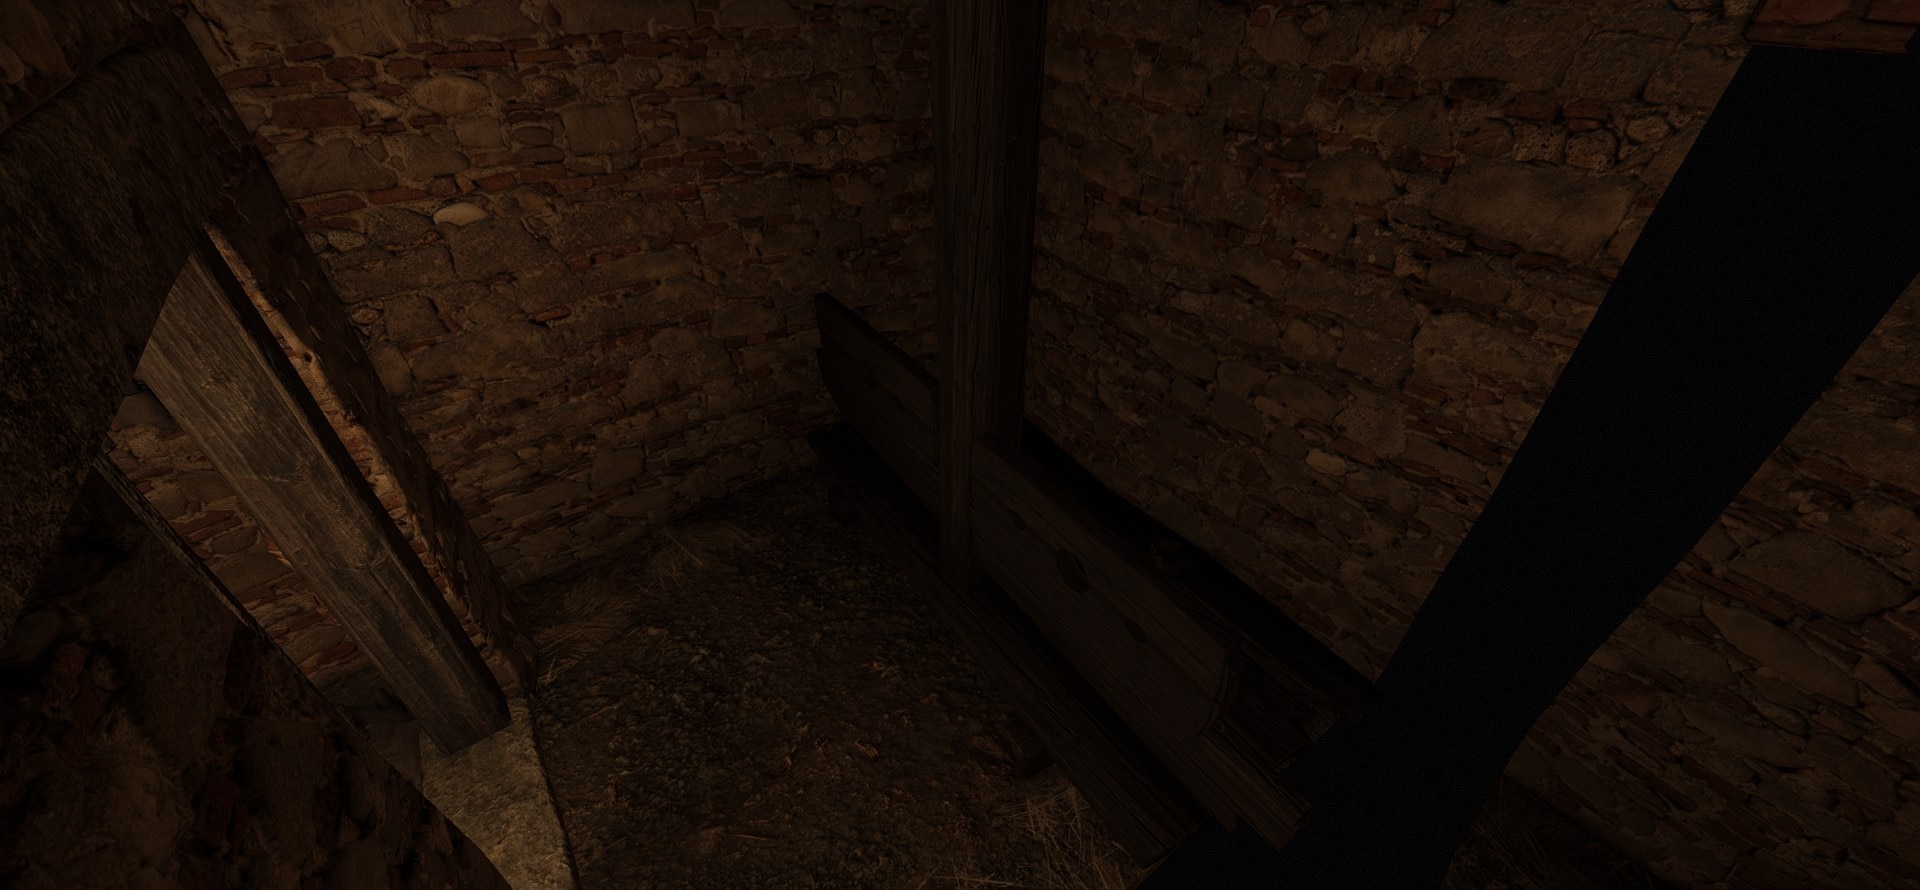
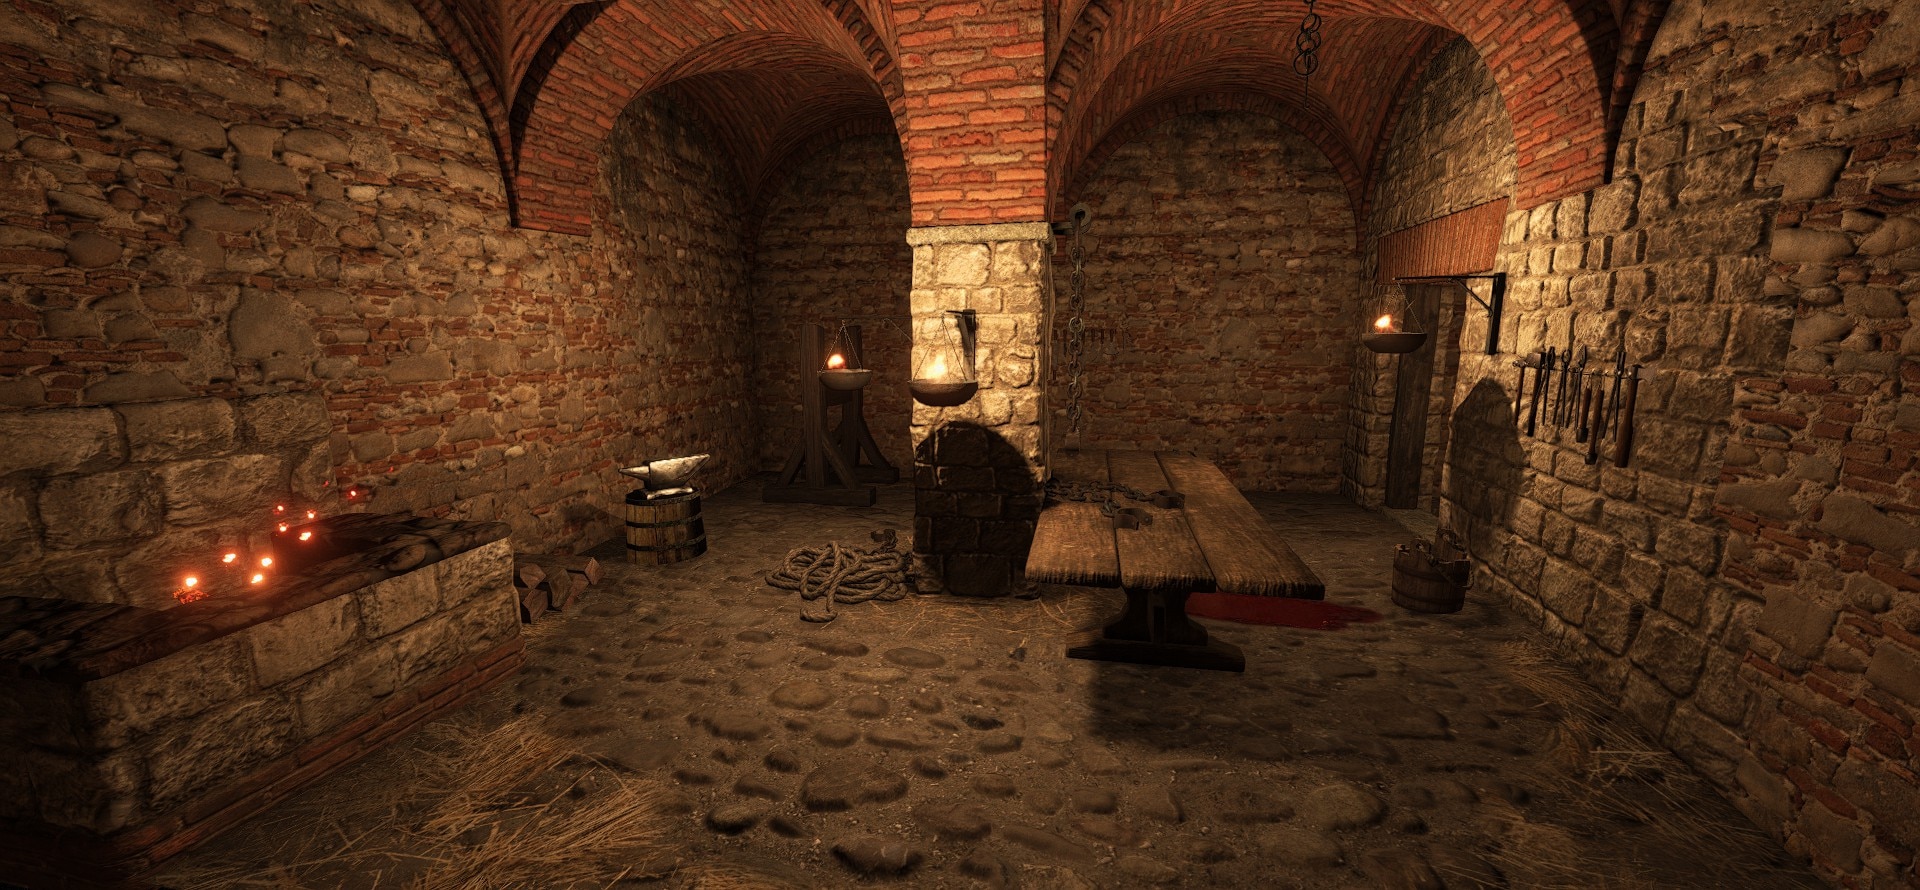
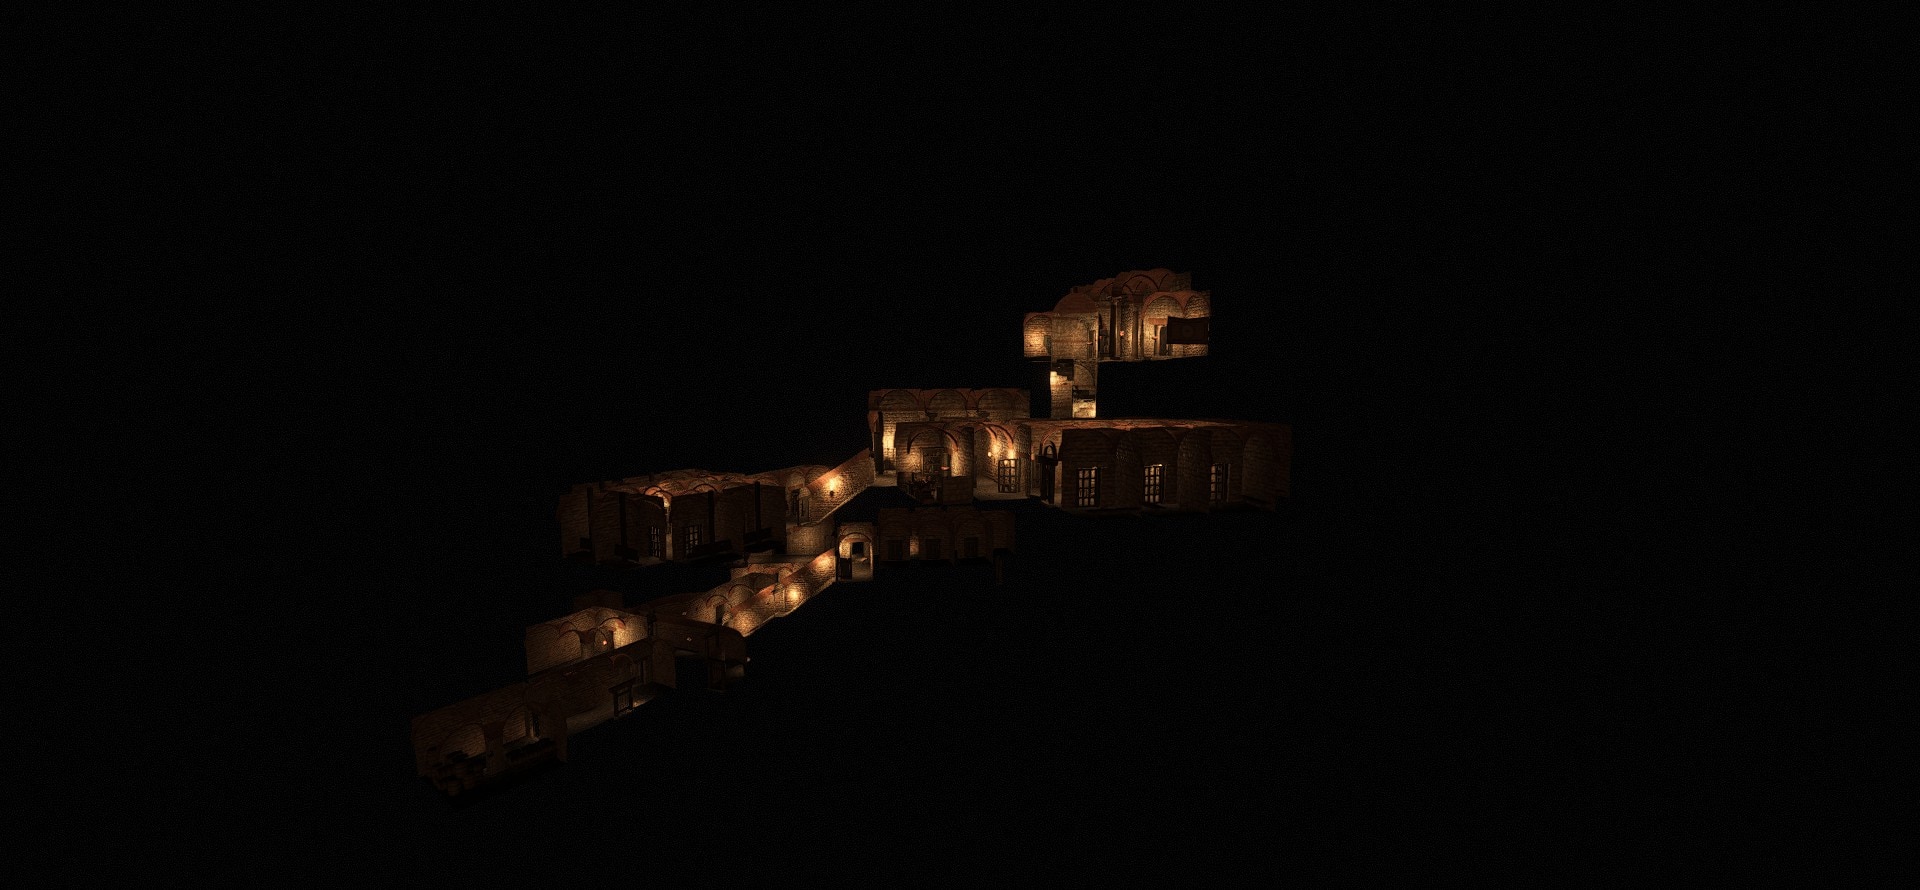
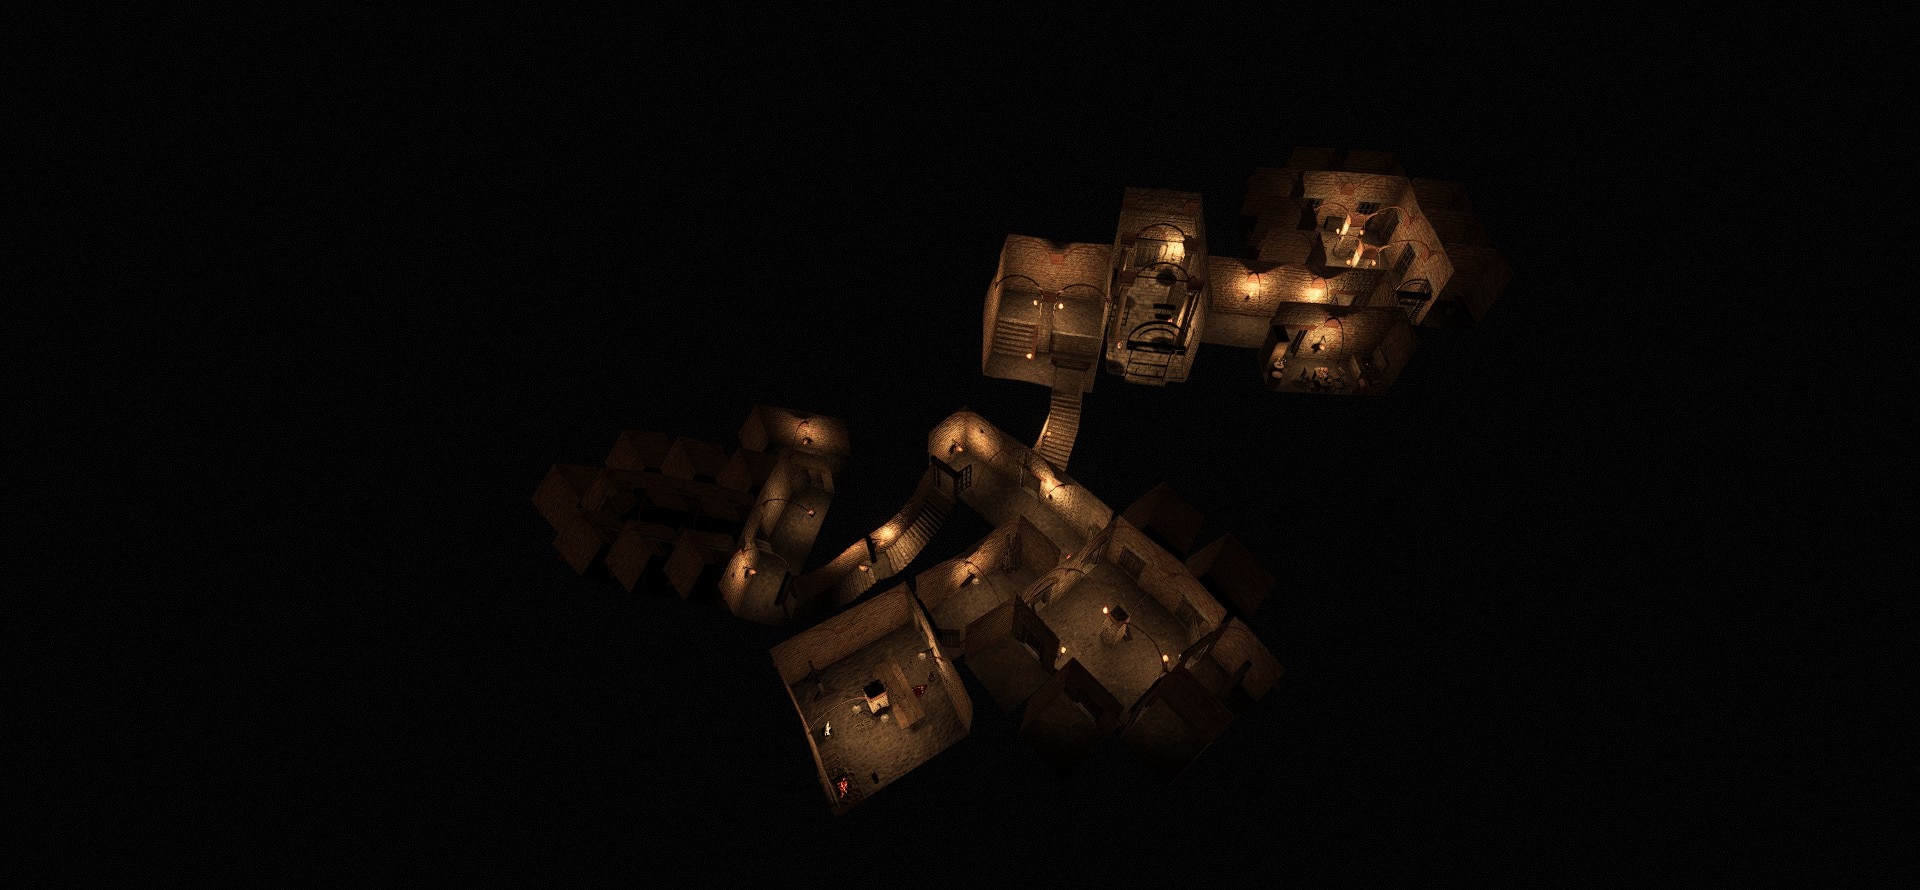
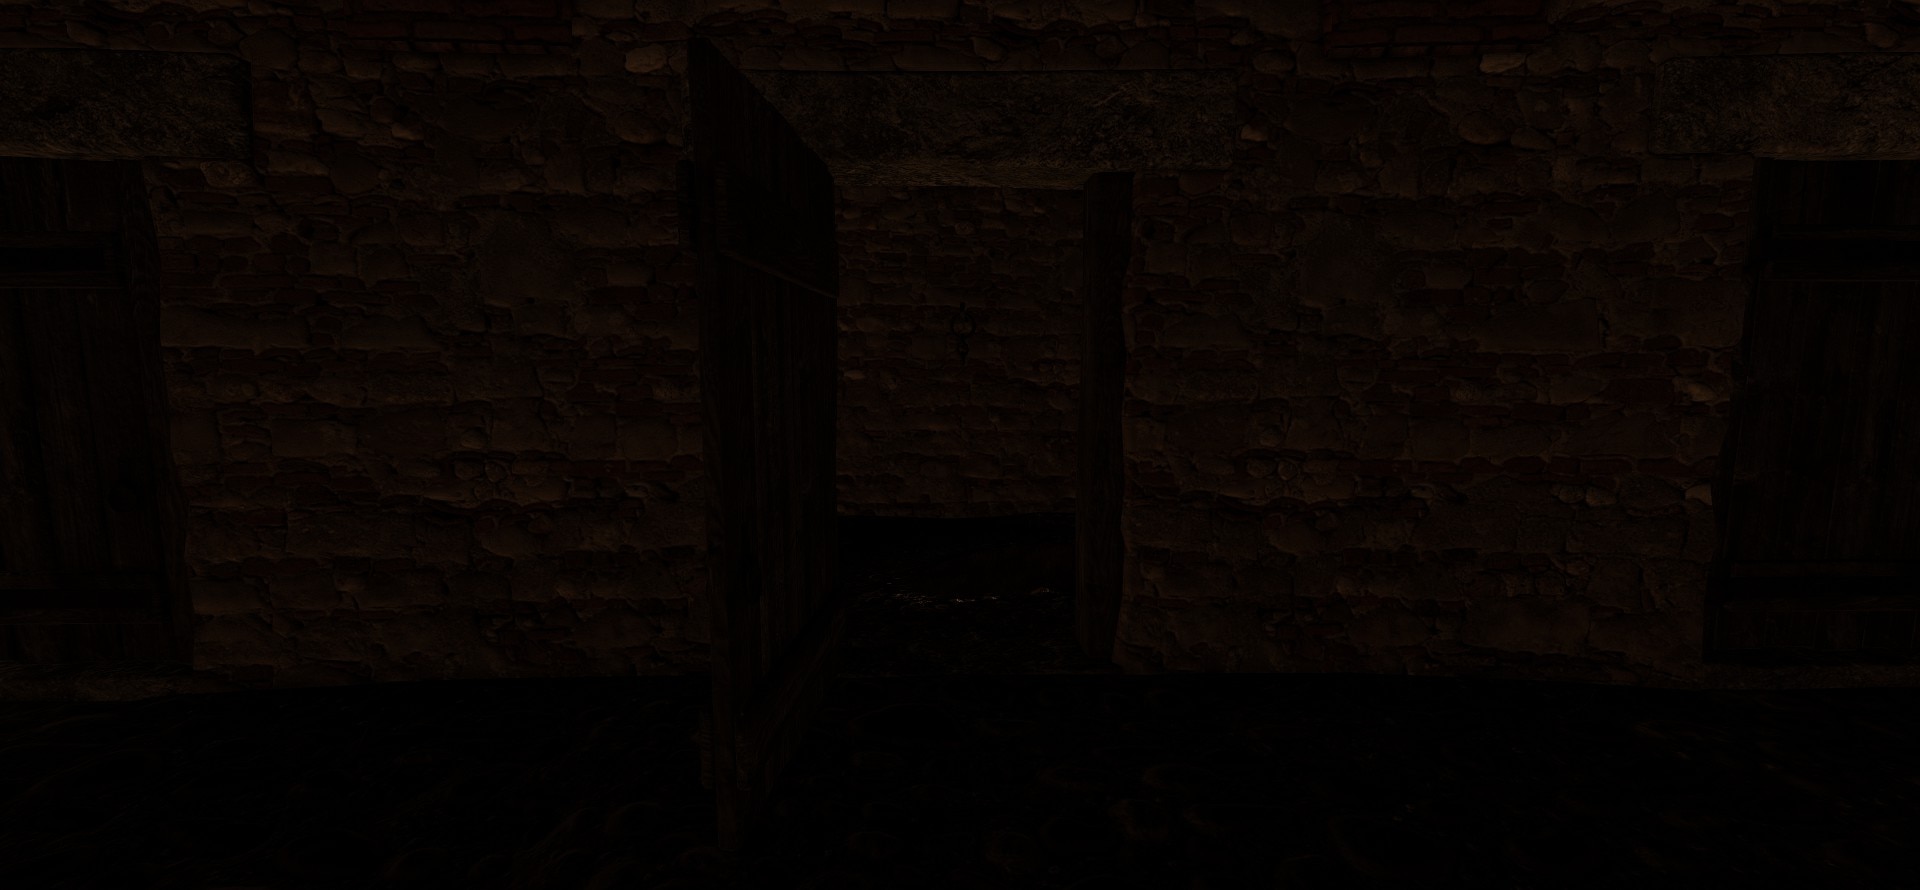
Black cells
A dungeon scene inspired by GRRM. The deeper you go, the darker and more horrific it gets.
(Yes, these are cells):
Original 1st post on this thread
Heyho,
although I have not worked on Bannerlord for months due to its current development, I still wanted to share some pictures of how Hougoumont came to live for Sword & Musket.
The Bannerlord engine allows us to import texturelayers right away. Therefore, I decided to combine existing data into baselayers for the scene, allowing me and the 3D staff to achieve a maximum of historical accuracy while still being able to make modifications for an enjoyable fight.
I have never been to Waterloo myself. However, we could visit the scene virtually by lots of videos, pictures and maps posted online.
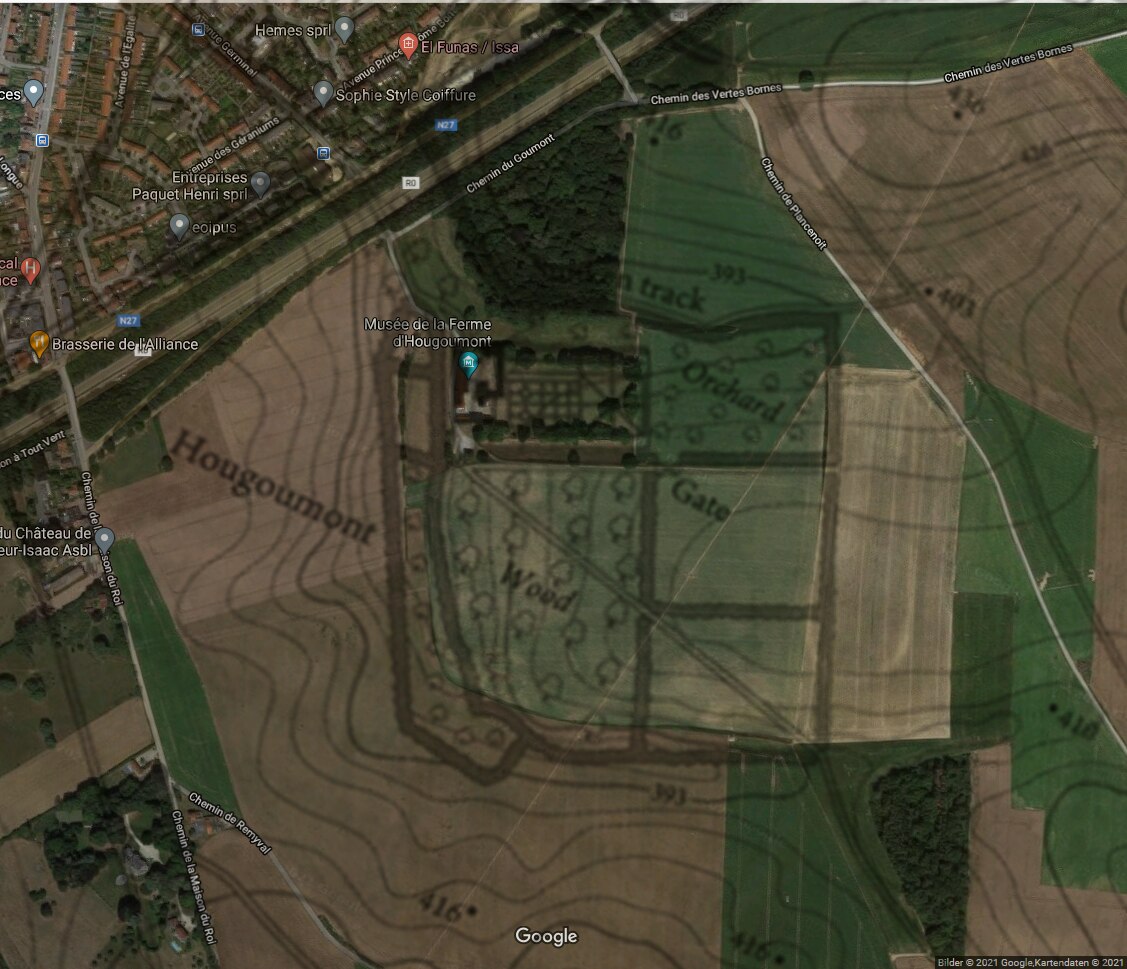
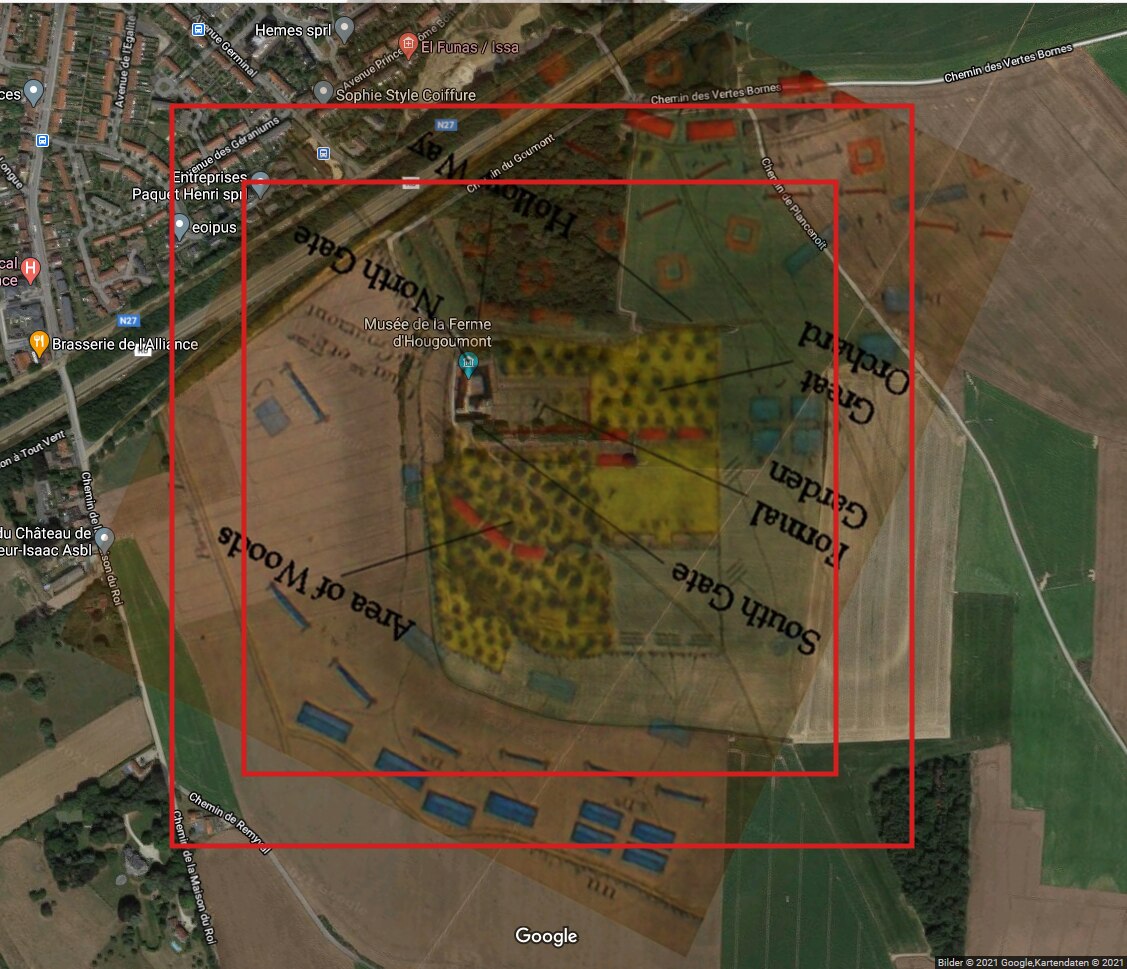
A combined overview from google maps and a topographic map from the battle served as base for the terrain.
Combining the same overview with a tactical map made a great base for starting positions and tactical considerations.
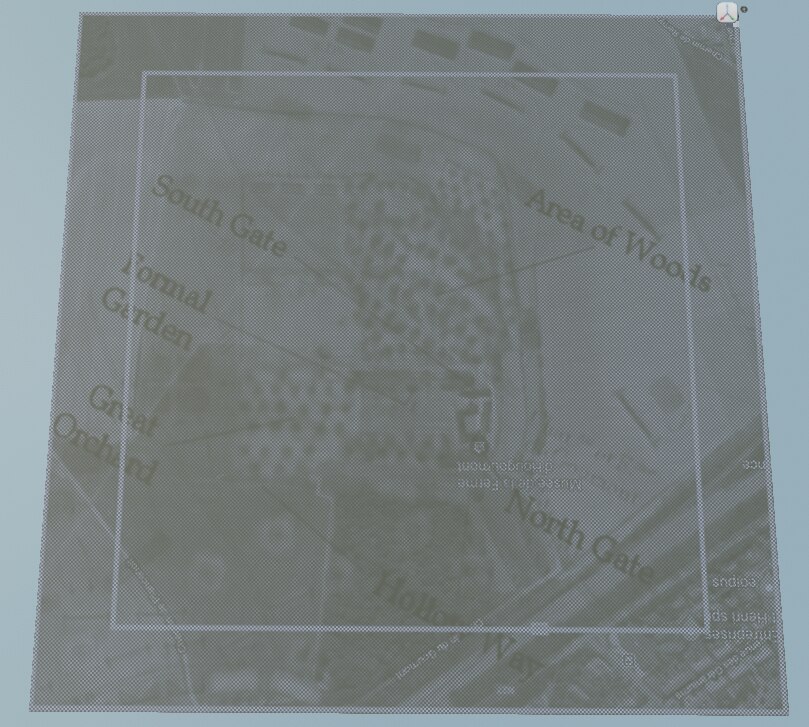
The maps were then scaled and imported as baselayer....
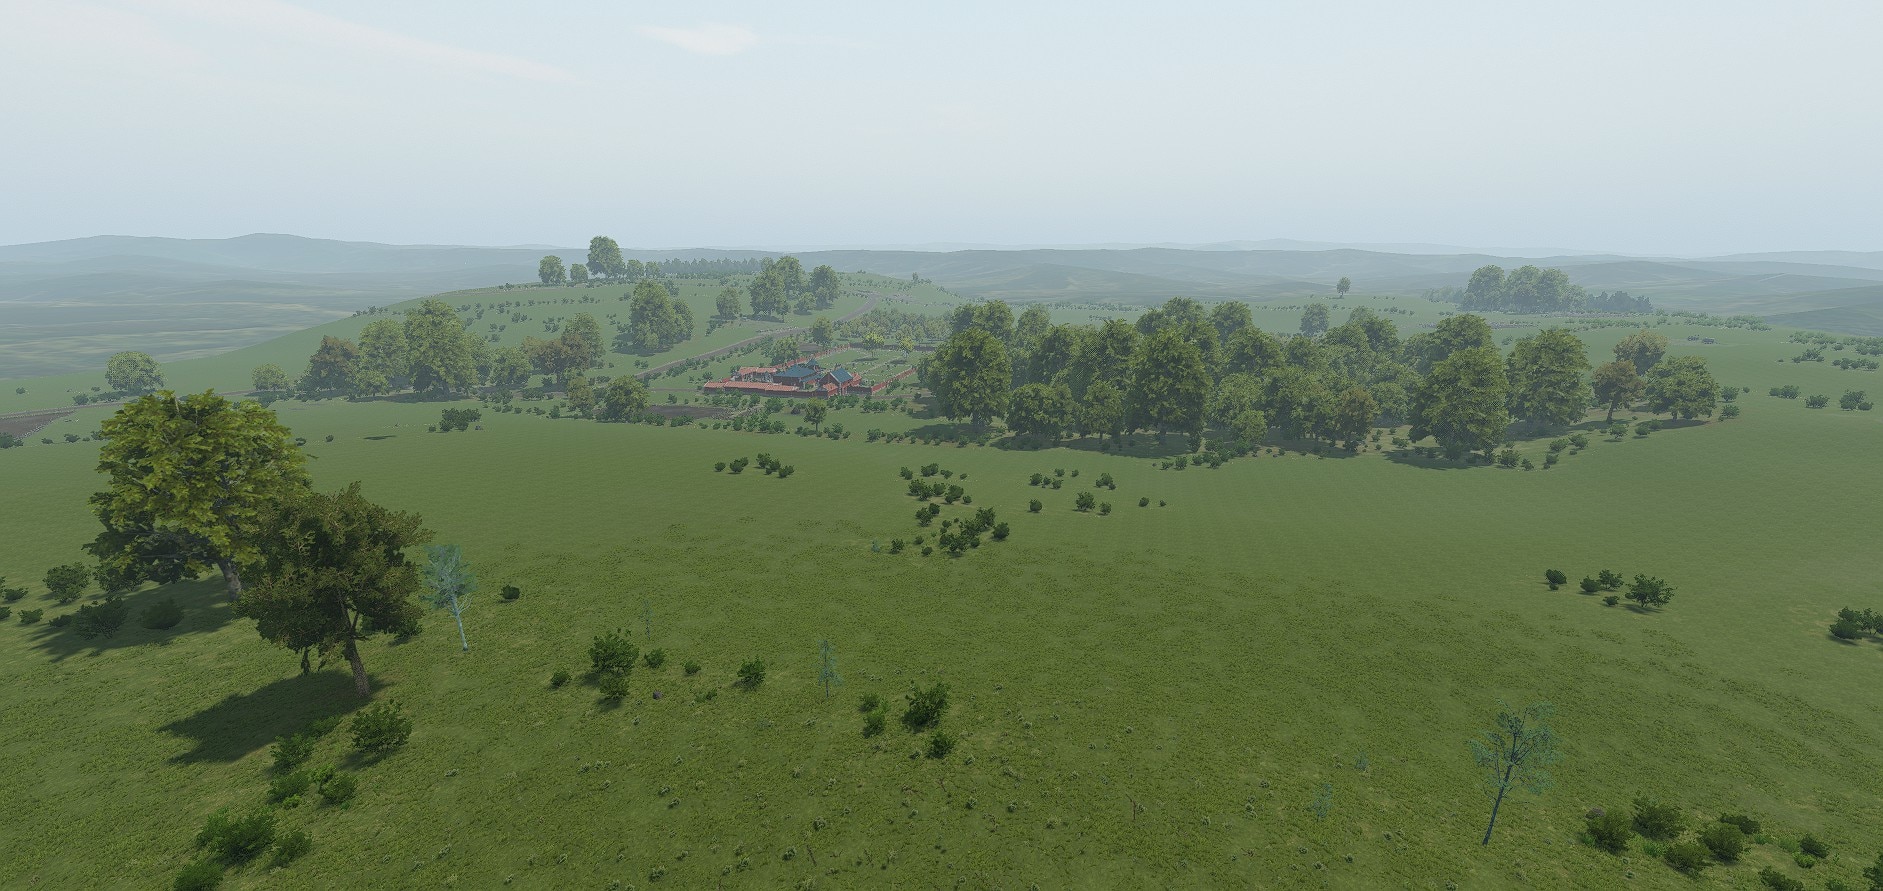
...for a first draft of terrain. This step was all about getting the heights and distances "real" (please note that this screenshot is rotated in comparison to the map above).

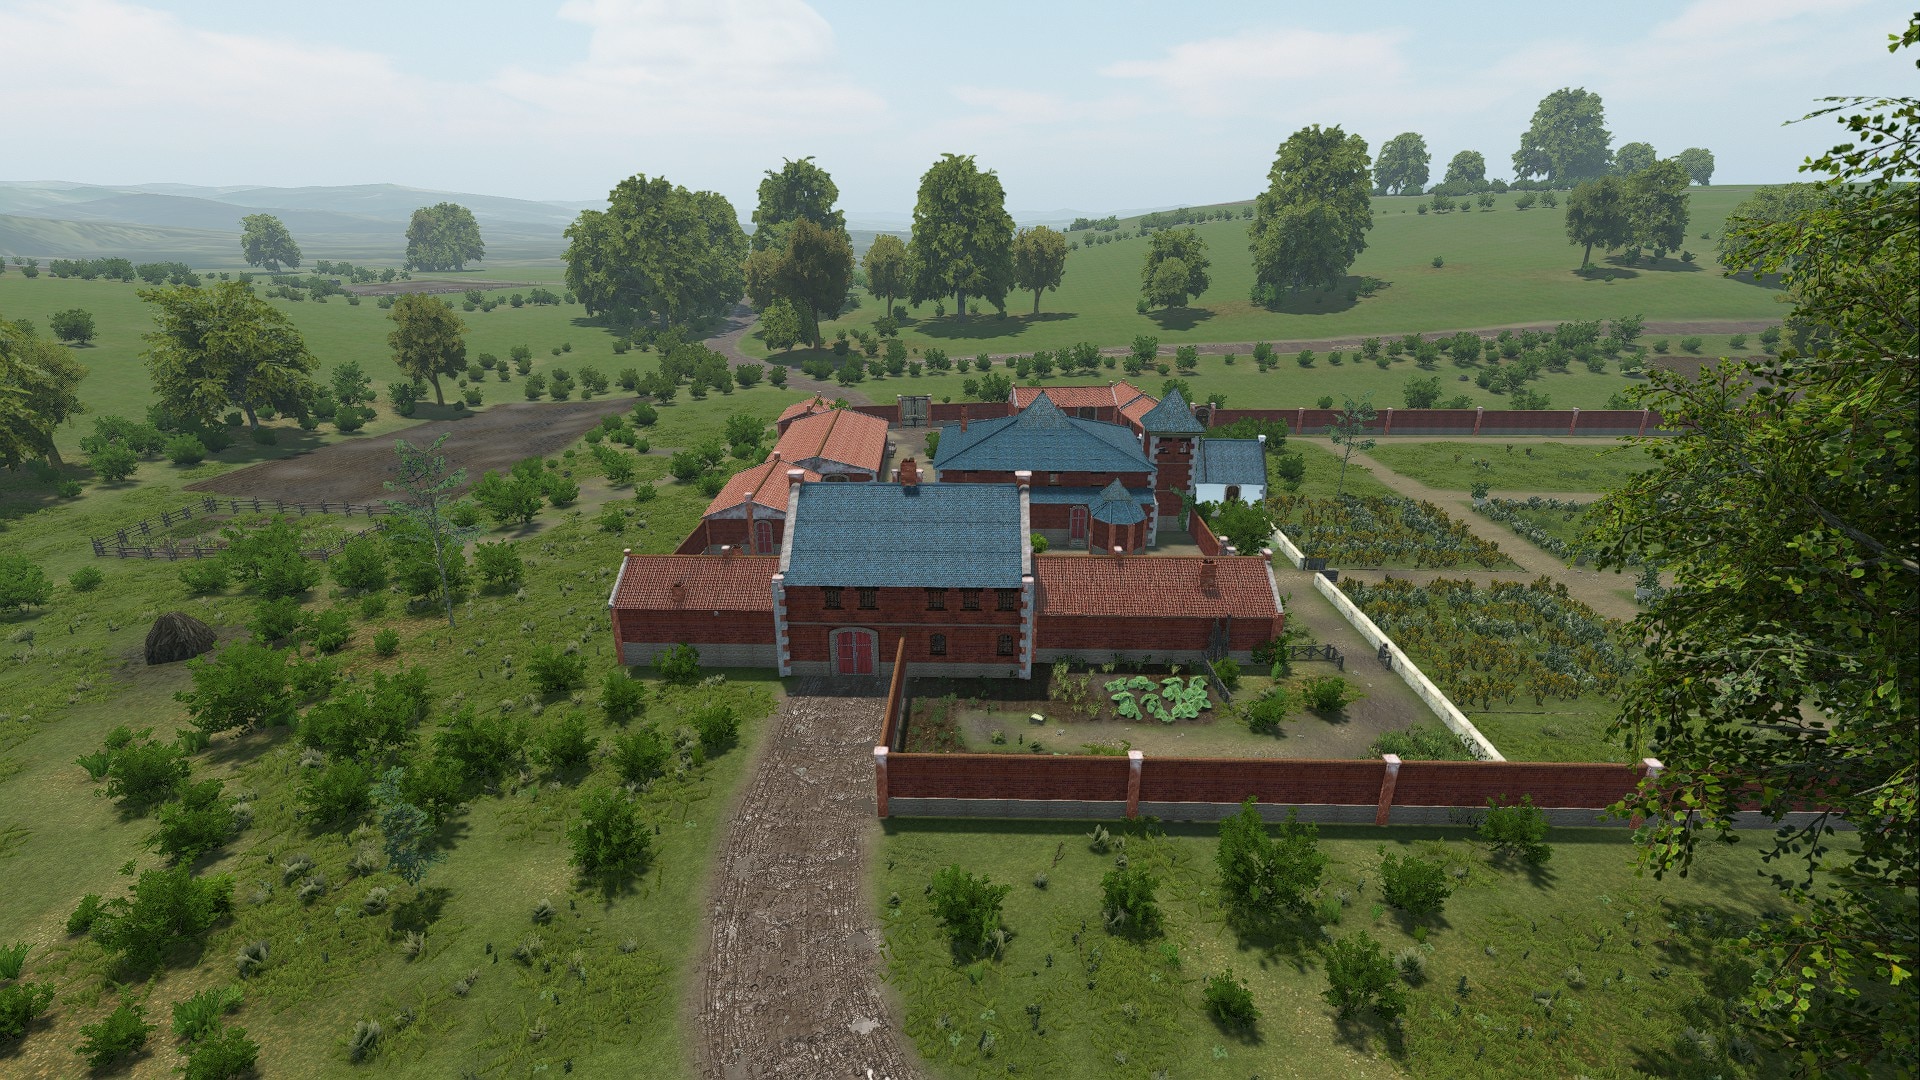
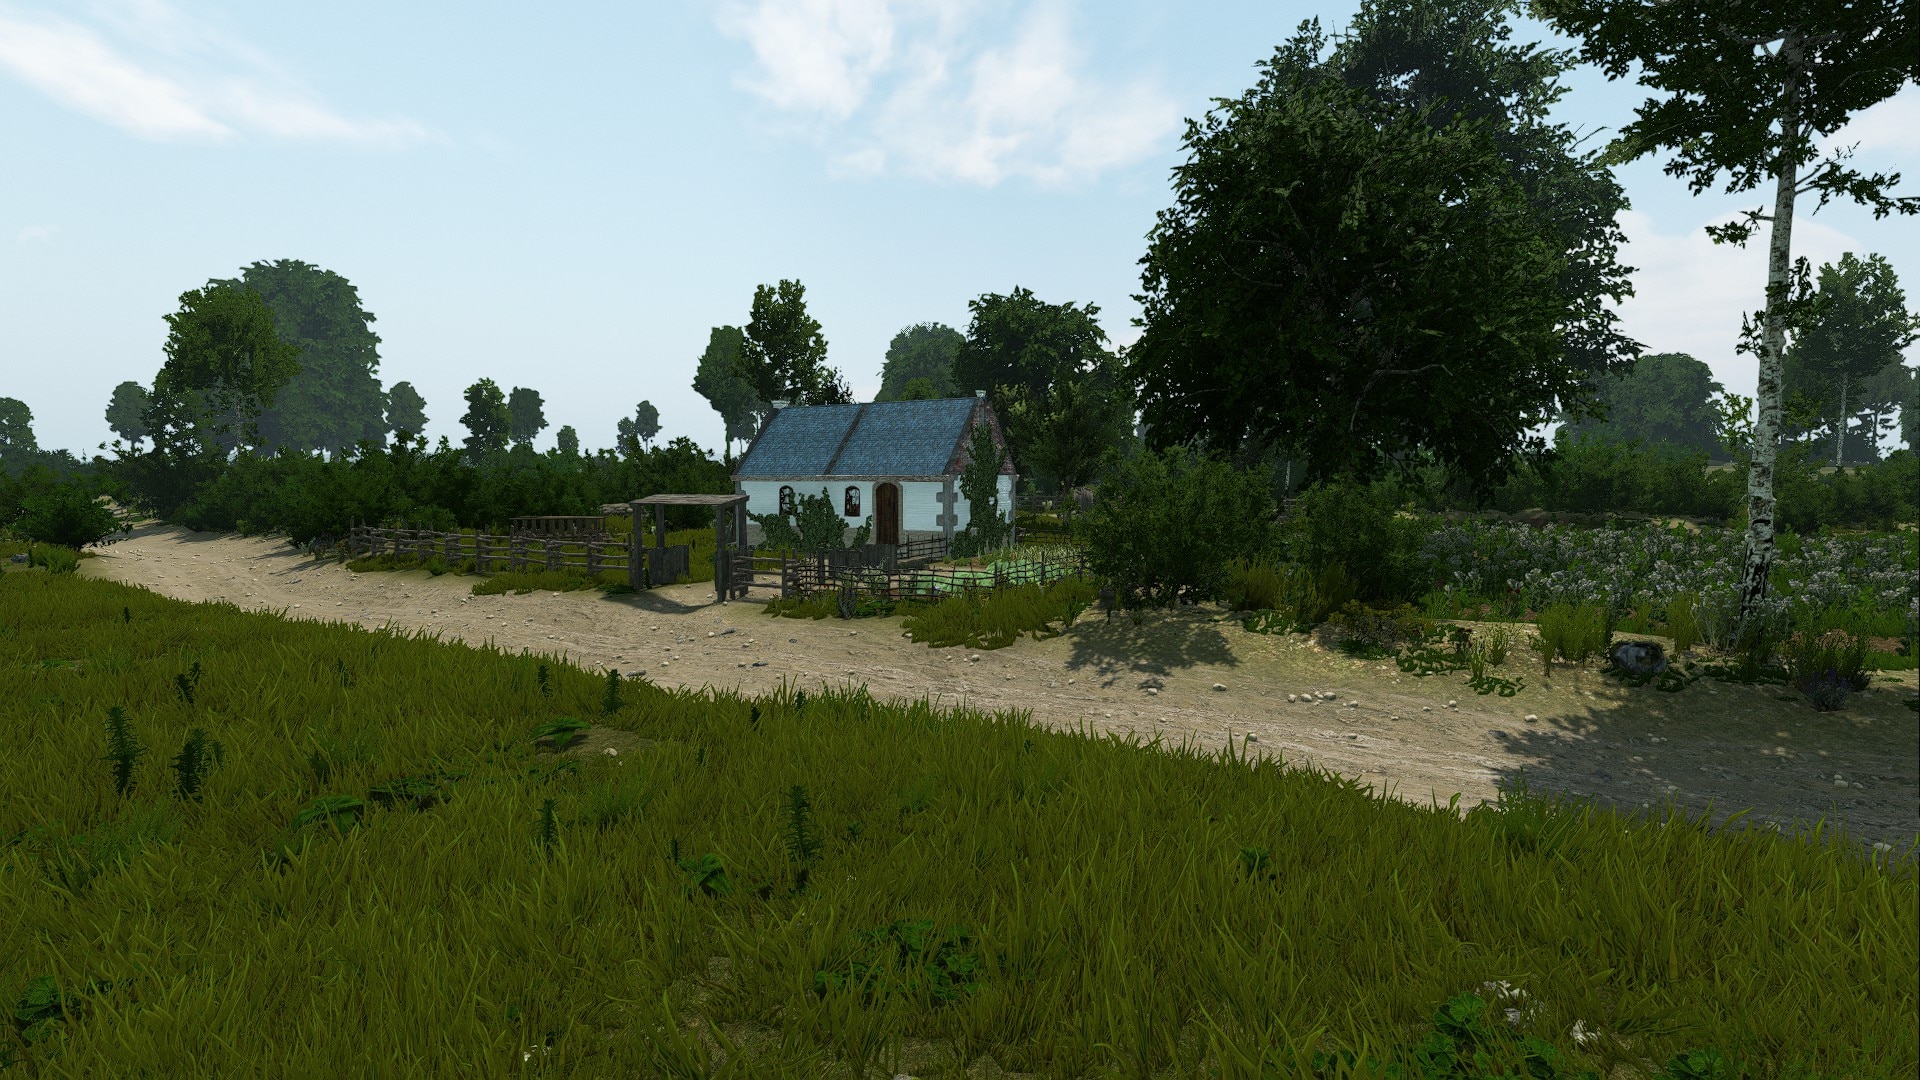
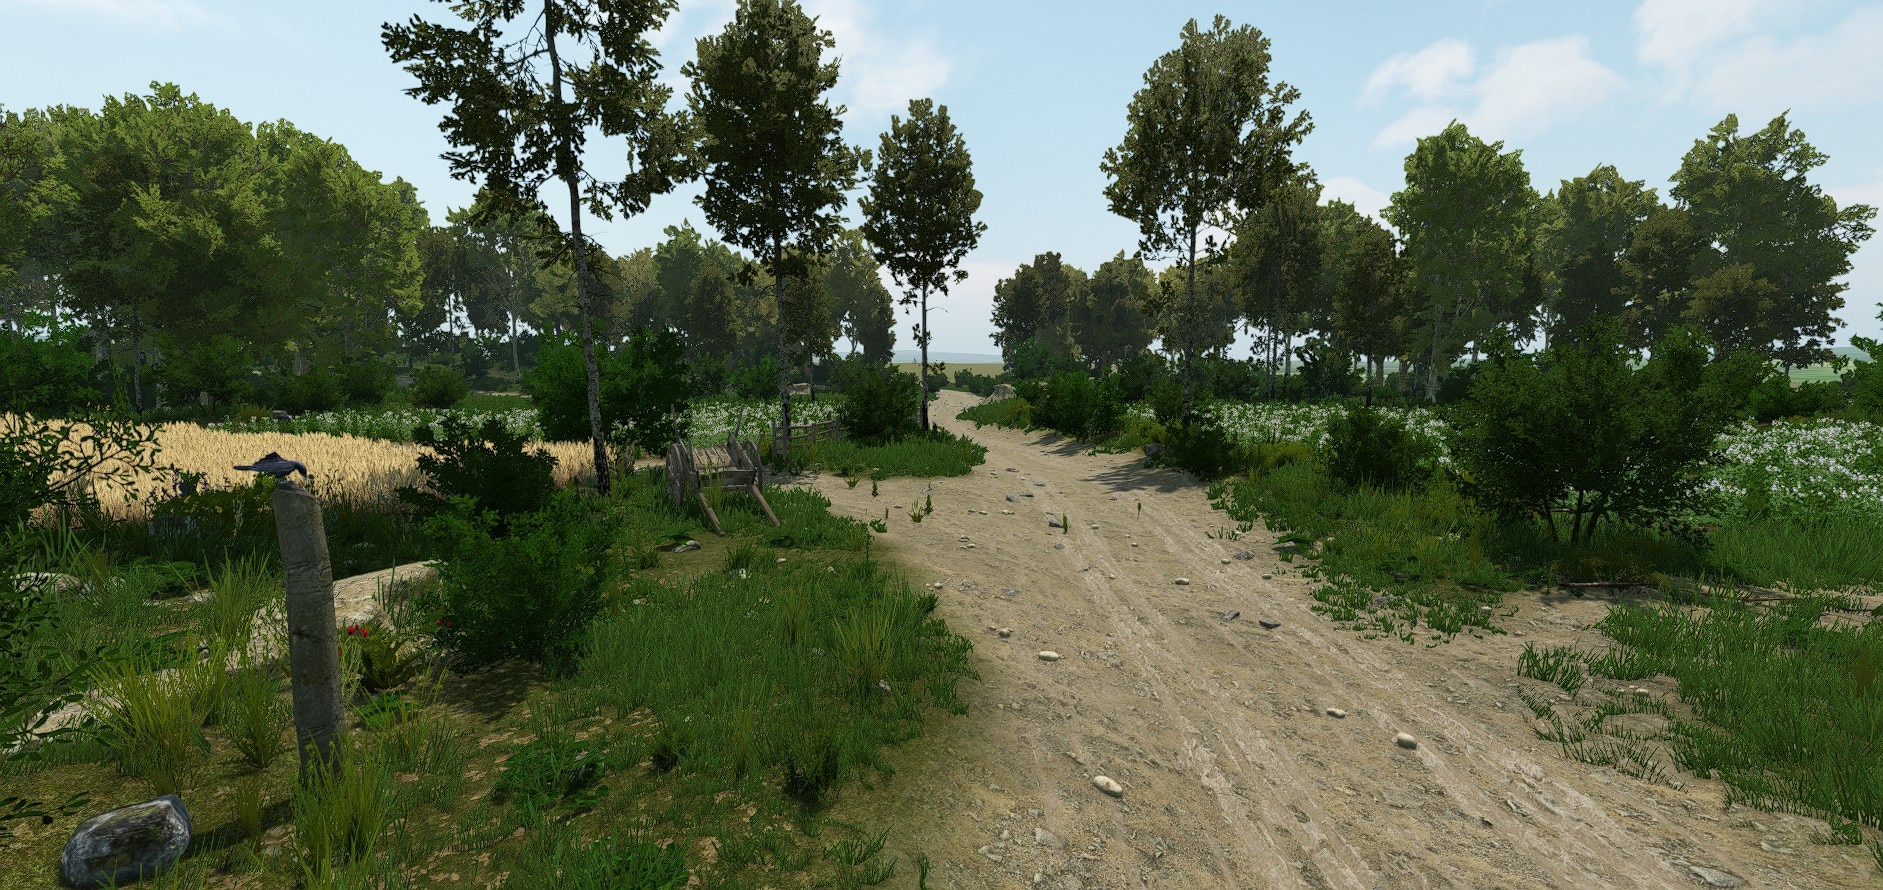
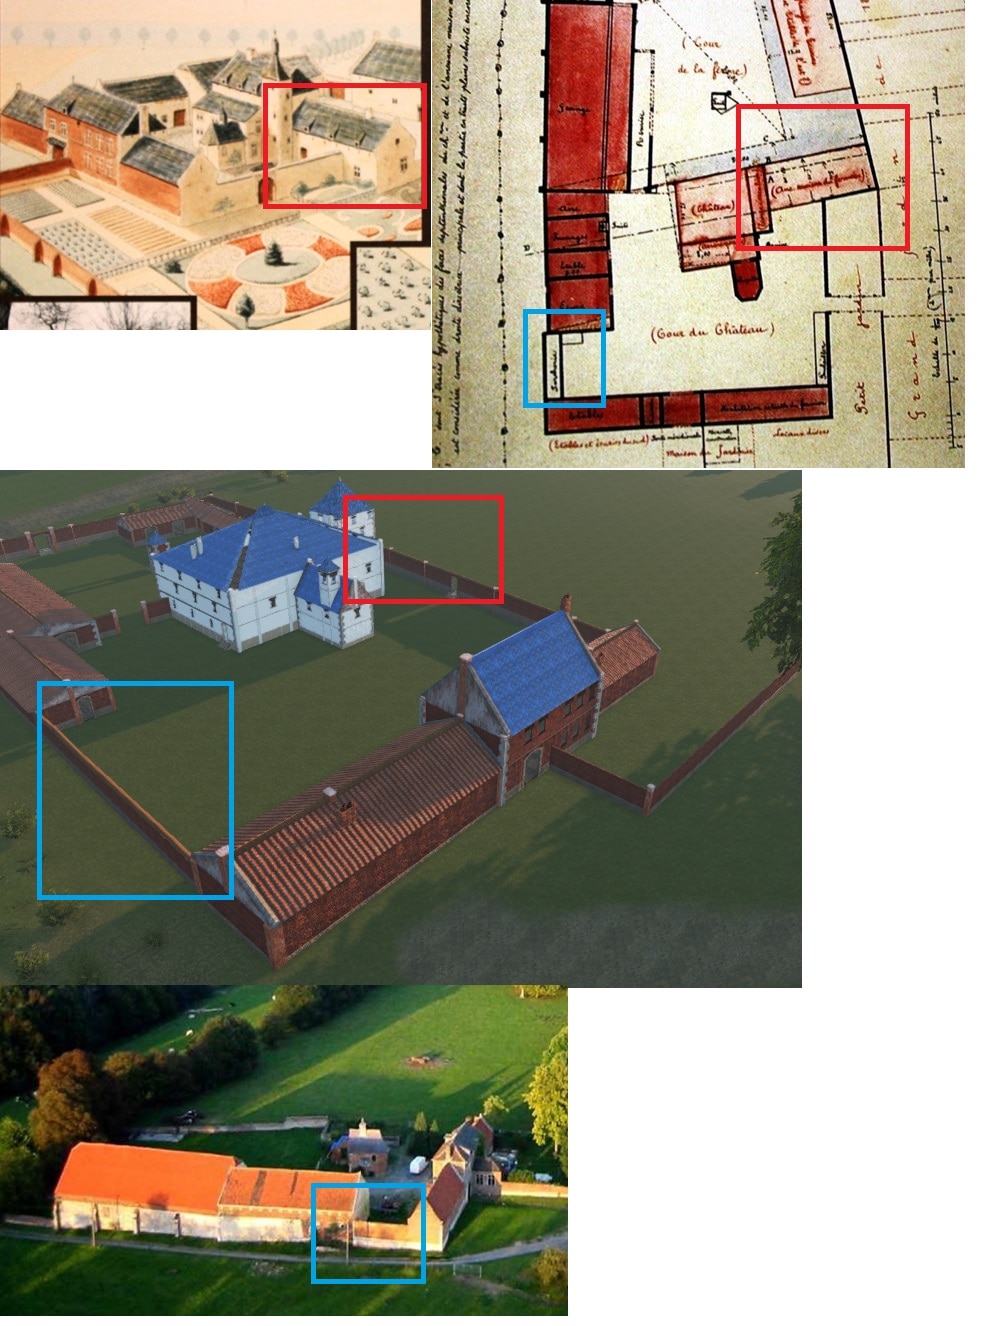
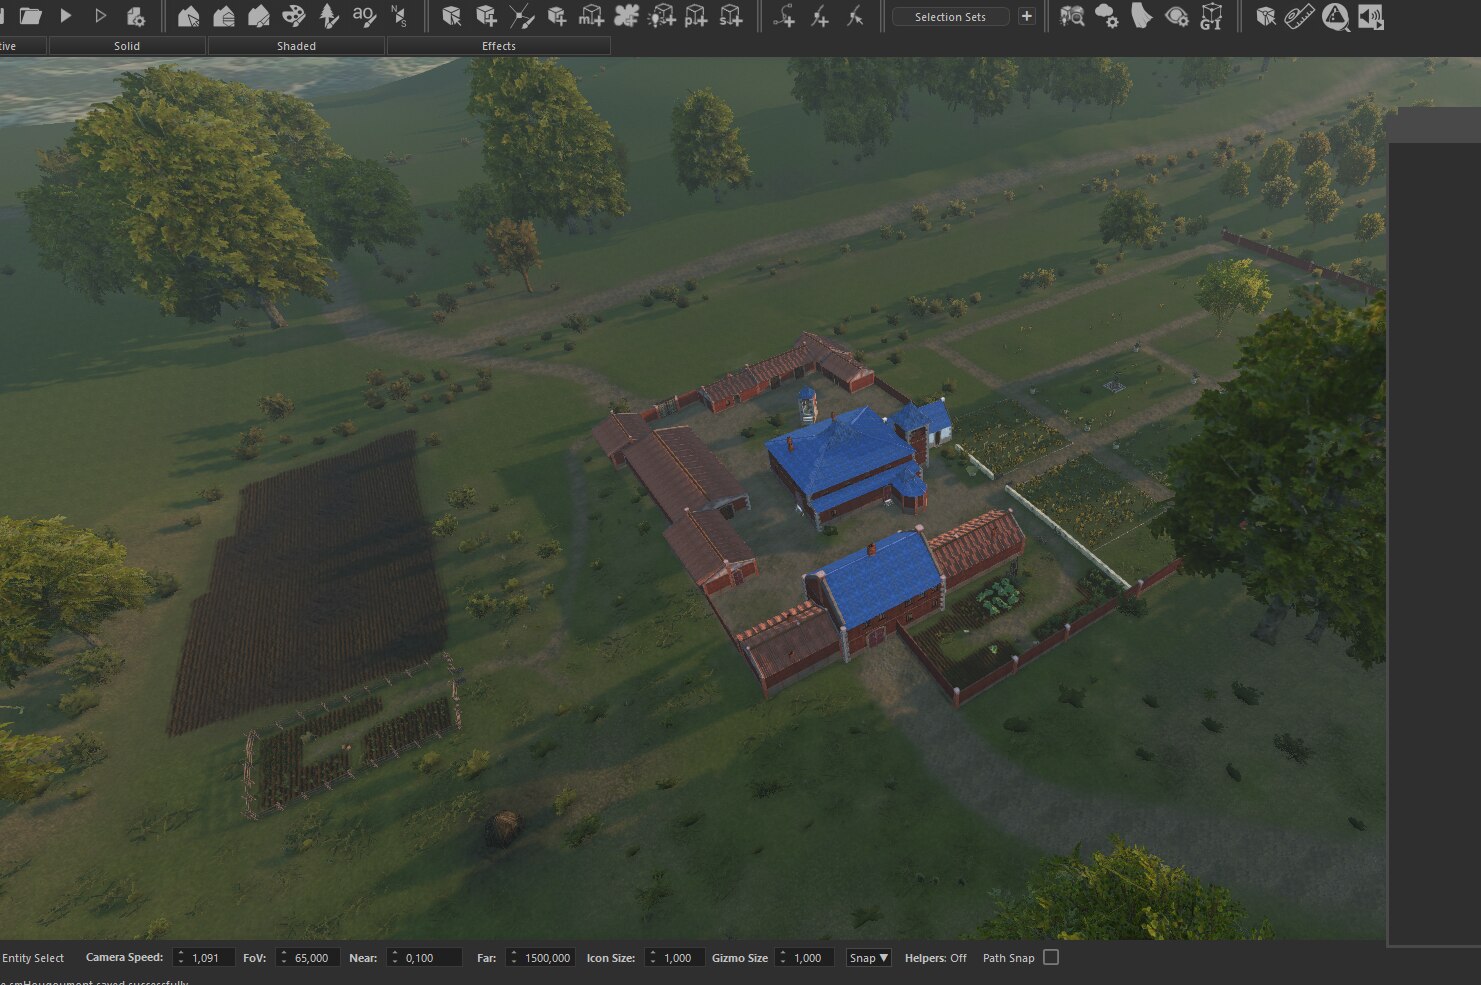
With base terrain in place, countless meetings with 3D staff followed to get the buildings done and realistic.
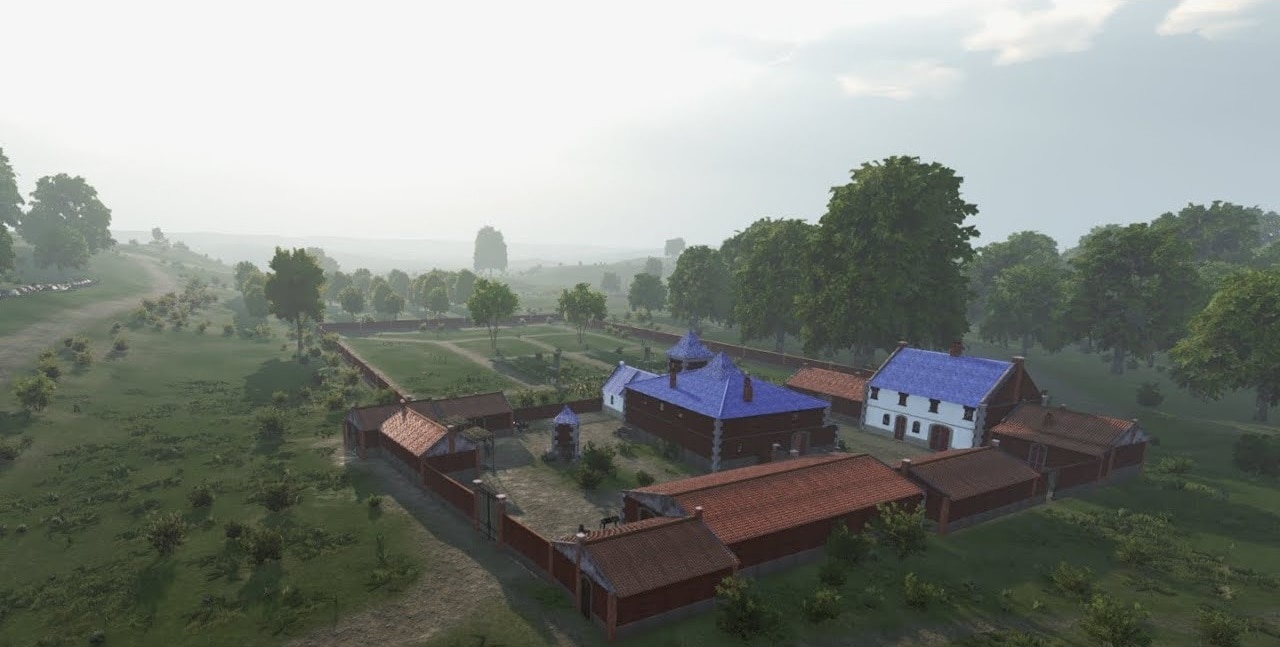
And, after a long journey with countless heights and lows, heated discussions, and things being thrown around, Hougoumont was finally there!
although I have not worked on Bannerlord for months due to its current development, I still wanted to share some pictures of how Hougoumont came to live for Sword & Musket.
The Bannerlord engine allows us to import texturelayers right away. Therefore, I decided to combine existing data into baselayers for the scene, allowing me and the 3D staff to achieve a maximum of historical accuracy while still being able to make modifications for an enjoyable fight.
I have never been to Waterloo myself. However, we could visit the scene virtually by lots of videos, pictures and maps posted online.
A combined overview from google maps and a topographic map from the battle served as base for the terrain.
Combining the same overview with a tactical map made a great base for starting positions and tactical considerations.
The maps were then scaled and imported as baselayer....
...for a first draft of terrain. This step was all about getting the heights and distances "real" (please note that this screenshot is rotated in comparison to the map above).
With base terrain in place, countless meetings with 3D staff followed to get the buildings done and realistic.
And, after a long journey with countless heights and lows, heated discussions, and things being thrown around, Hougoumont was finally there!
Last edited:


")