


poomtang
Knight at Arms

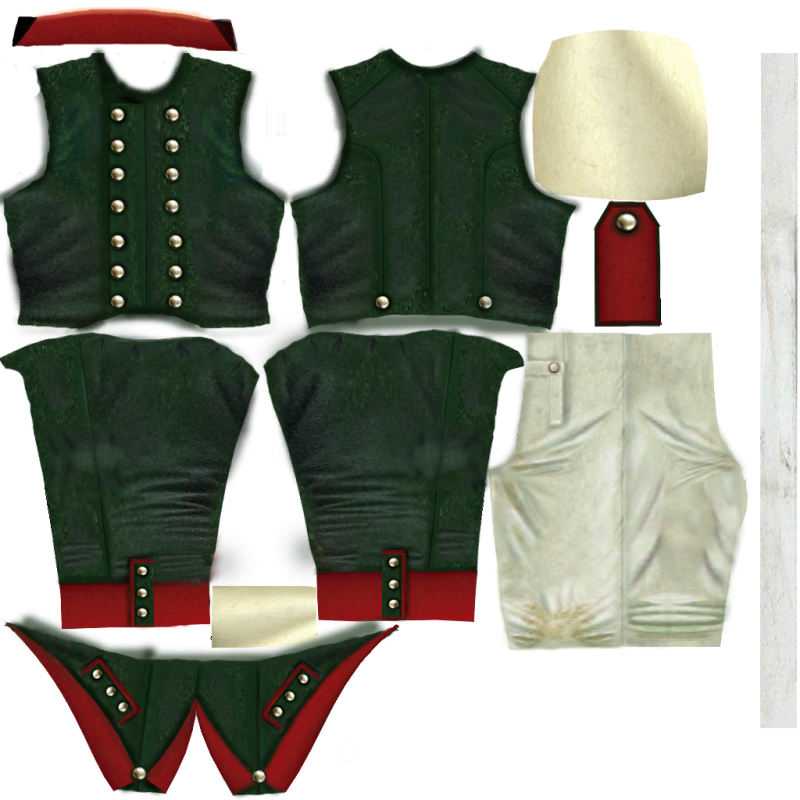
OK here's where we left off, we've finished the texturing of our model, followed all of the guidlines in tutorial 1 and now we want to move on to normal mapping.
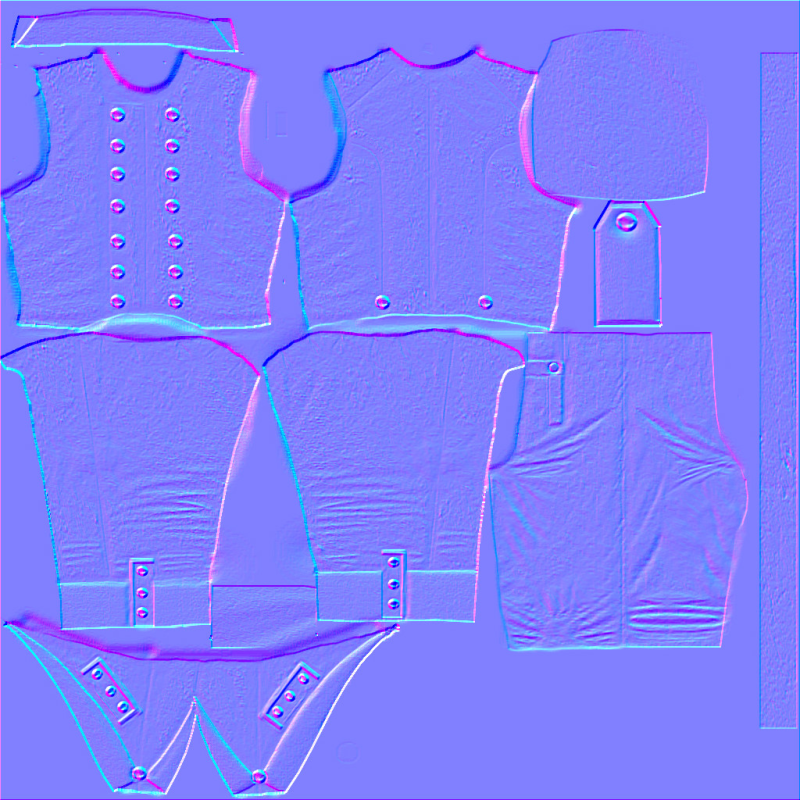
In 3D computer graphics, normal mapping, or "Dot3 bump mapping", is a technique used for faking the lighting of bumps and dents. It is used to add details without using more polygons. A common use of this technique is to greatly enhance the appearance and details of a low polygon model by generating a normal map from a high polygon model.
Normal mapping or bump mapping as some people call it is a process that allows you to put some extra fine detail into your creation, by showing up all those folds and creases you've just worked on. This is read by your computer, as a normal map and that is what we are about to create for our texture.
The first thing you'll need is a copy of "smart normal" S.M. which you can get from this link, this is a freeware normal map generator and its very good and so easy to use.
http://www.google.co.uk/url?sa=t&rct=j&q=smart%20normal%20download&source=web&cd=1&ved=0CGQQFjAA&url=http%3A%2F%2Fwww.adobe.com%2Fcfusion%2Fexchange%2Findex.cfm%3Fevent%3DextensionDetail%26extid%3D1817528&ei=wPGsT5OAHcOg0QXPh_WTCQ&usg=AFQjCNGUsQTy5qYDXdJaUbjIuQpb7cb4qg
Next we need to get our finished texture map, which we have saved as a DDS file, we need to re-save it but this time as a JPEG file, which is what smart normal needs to work.
OK, Ive saved my texture map as a JPEG and I've opend it up in SM. What I do is use around 20% bias, 0% blur and set the filter to solbel. Sometimes you may have to make two normal maps and cut and paste from one to the other if the bump map isn't quite what you're after, you can change things using the invert source button, but it iverts the whole map, not just the parts you might be interested in.
OK once at this stage you need to re-save the map, for example your DDS file was "russian_infantryman.dds" you now need to save the normalmap as something like "russian_infantryman_n.dds" So, you change back from a JPEG to a DDS format. Once you have done this you need to import you new texture into your mod using Open BRF and place it in the materials editor of your mod, which you can find in open BRF under materials. More about that later.
more shortly

 This is for those having trouble downloading the one u made, it's the same tool, set the bias to ~2


