@Al_Mansur:
You should do a special version of the diffuse for the normalmap making, without those shadows, as rgcotl pointed out.
All that because the filter identifies height like this: the brighter, the higher; the darker, the lower.
When you apply the normalmap filter in an unprepared diffuse, the shadows count as negative height, so, instead of looking like this:
___
___|
It ends up looking like this:
___ ___
\_/
^
|
(shadow)
It's good to have the shadows, light, base texture, scratches and base color all in different layers, so you can render them in different layers and control their intensity via opacity and overlay in a layered normalmap file (usually .psd).
I generally do the following:
1) In the main file, I turn off all the layers (shadowing included) but the wanted piece and
save that to a .jpg;
2) I apply the normalmap filter in that resulting .jgp image, select all, copy and paste it to a .psd, where I have all the rest of the parts done this way in layers;
(
note 1: I do those two steps that way because when pasting the entire image the piece will be perfectly on place, so there's no need for manual adjustments, just delete the outside background color)
(
note 2: I do the same as noted in 1) and 2) for all pieces and each texture, shadow/light, etc.)
3) When you have a case of overlapping pieces of metal, you apply a slight brightness to the upper piece (it's in a layer now

) and there you are, the shader will read it as 'higher'. Bingo.
4) Make your scratches and dents all black by applying a black color overlay (double click on respective layer to open 'Blending options'-> select 'Color overlay' and black as the color);
5) For textures, shadows and imperfections you should save the .jpg for each with the base color below them (as the background is black -> imperfections and shadows are black, textures overlayed in black stay black -> no height generated at all);
6) Paste the results to the normalmap .psd and set the base textures and scratches to 'Overlay', then control their intensity by their opacity. Done (obviously you'll do this more than one time and not in that particular order, but well, it's just to have an idea of the process).
Another thing, try aplying a less higher number for the filter (3x3 would be fine for the PS plugin), with intensity around 5, it gives sharper and strong enough normals.
If it's too weak, duplicate the layer and set it to 'Overlay' in the .psd normalmap file.
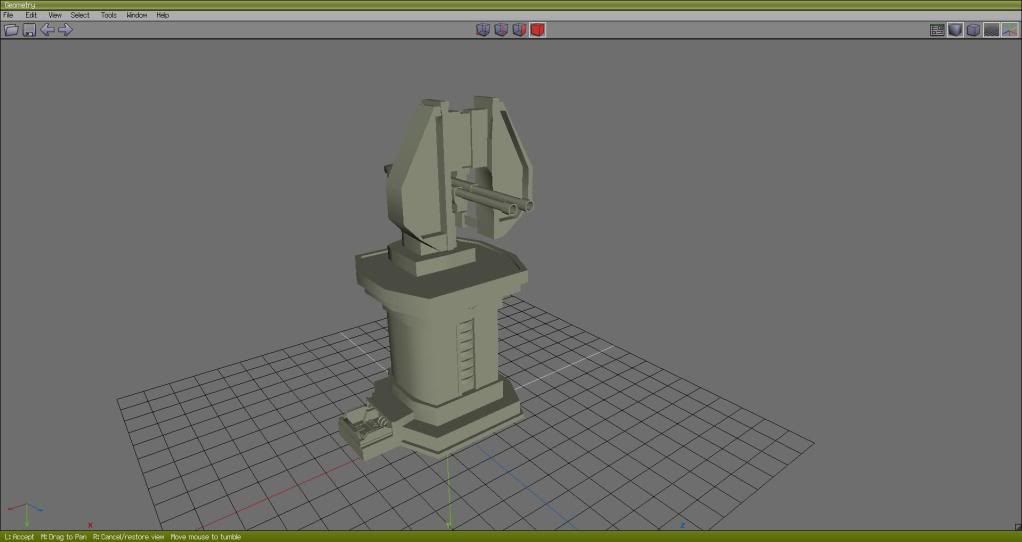
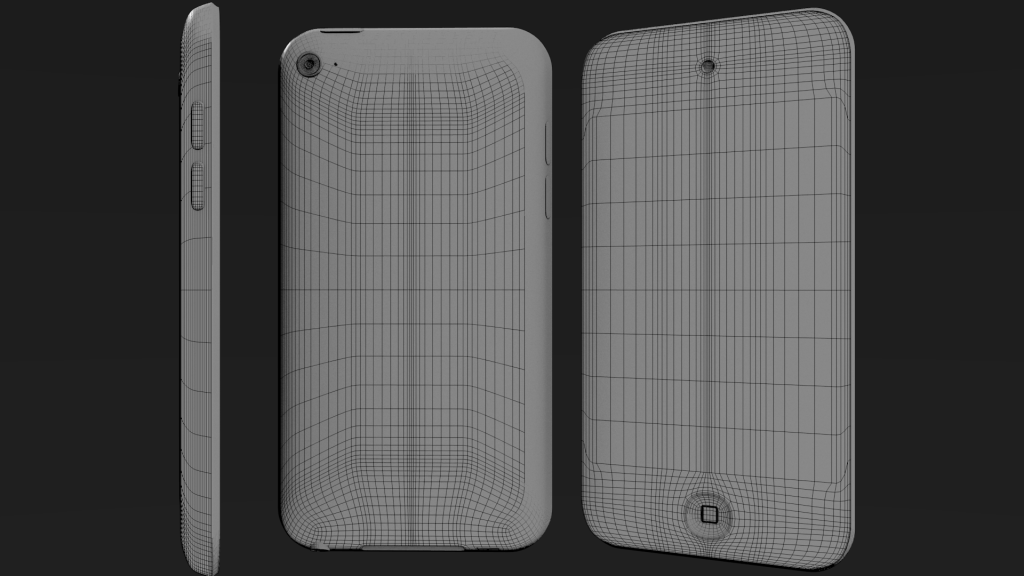
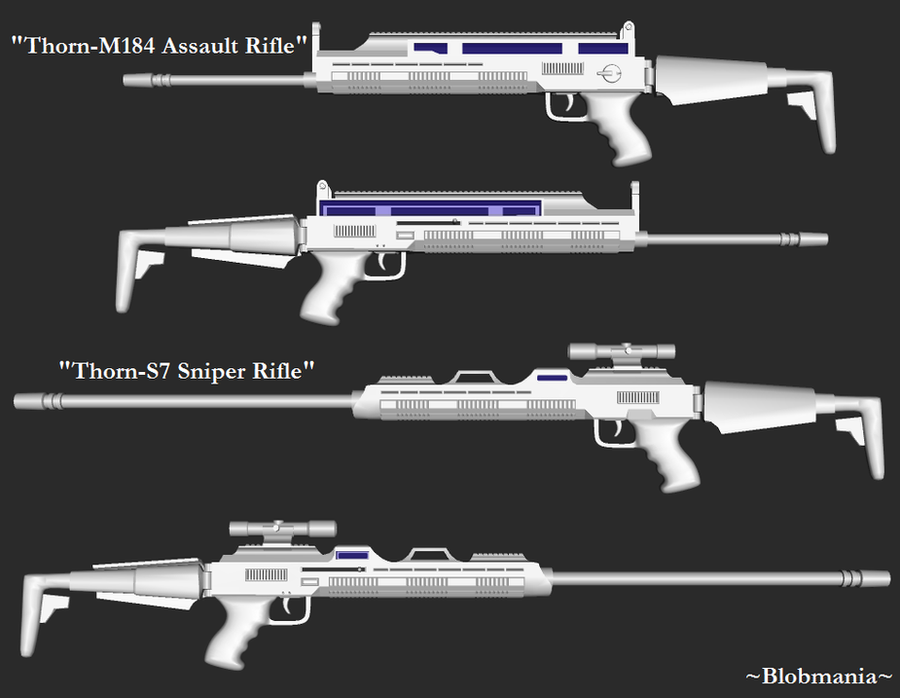
About using geometry, my opinion is: the more geometric your model is, the better it looks.
Obvioulsy you're not going to model rivets and such, but heck, that detail you made is perfectly fine to be modeled, even more when your model counts only about 900 faces that way