Requirements:
GIMP .xcf files:
Banner masks as layers
Blank banners sheet
An example of making a simple banner using GIMP:
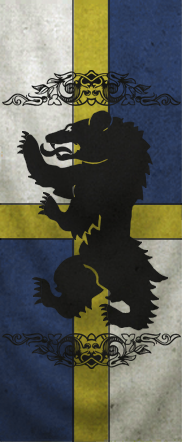
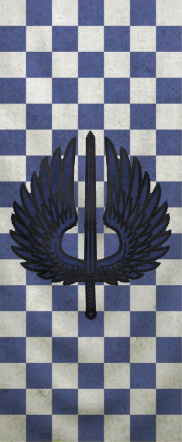
- This thread is for organisations or clans that have a new banner texture made and want it included in the PW download, so you can choose your custom banner when leading a faction; this is not for "personal" banners - like with native and other warband mods - since only factions can have banners in PW 4. Remember to check all the native banners already included to see if any of them would suit you, first.
- You must have created the image yourself or been given it from someone else who did: taking banners from other mods or games without permission is not acceptable. This is so you can "gift" the banner image to be released under the conditions of the PW module system licence, to be used in other sub mods as well if desired; I don't want to try maintain a huge list of attributions and conditions for the hundreds of banners included.
- The banner image should have dimensions of 140 pixels width and 341 height (though larger or a tiny bit smaller sizes might be possible to scale to fit).
- The image should preferably be in a lossless or uncompressed format like .png (not something like .jpg, which can look blocky when scaled up on the armor).
- Specify the background color you want used: this will be used for the back of heraldic armors, and lightened slightly by the code for faction color in the chat and player stats chart. The banner will look best on armor if the color you choose is the main one around the edges of your banner, but another color on the banner could be used if you want it.
- The banner generally looks best if the main design is central and doesn't stretch right to the edges, or it will be partially cut off on the banner and armor items in game; and also if the design is fairly bold and simple, since intricate details will not be easily visible on enemy soldiers or the flag on a distant castle.
| White banner | Black banner | Stats chart mask (approximate) | Flag mask (approximate) |

| 
| 
| 
|
GIMP .xcf files:
Banner masks as layers
Blank banners sheet
An example of making a simple banner using GIMP:
- Save one of the above white or black banner images to your computer: choose the one closest to your target background color.
- Open it with GIMP.
- If you want to make a pattern of background colors, use tools to select the area of the image you want to colorize; if you want one solid background color, select all or don't select anything.
- Choose the "Colorize" tool from the "Colors" menu.
- Adjust the "Hue" slider for the desired color.
- Adjust the "Saturation" and "Lightness" sliders as necessary: they probably shouldn't be moved very far from the middle, to avoid washing out the details or looking fluorescent.
- You might want to experiment with opening the other starting banner (white or black) as a layer ("File" menu, "Open as Layers"), selecting that layer in the Layers window, and trying out the same Colorize operation as before, to see if the other type looks better.
- Repeat from step 3 for any other colored areas or shapes on the banner, possibly using sections from different (white or black) starting banners if suitable.
- Apply any other filters you like.
- Create new layers for any separate designs or small images to be overlaid; save the file with separate layers for easy modification later.
- To submit a completed banner image, use "Export" from the "File" menu, and give your file a .png extension (type something like "myclanbanner.png" as the file name).