


You are using an out of date browser. It may not display this or other websites correctly.
You should upgrade or use an alternative browser.
You should upgrade or use an alternative browser.
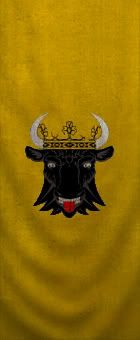
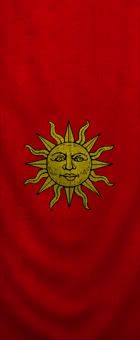
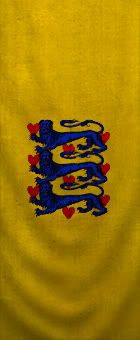
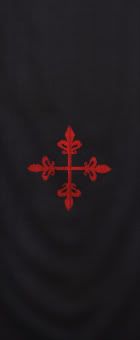
Requests for custom banners, surcoats and shields
- Thread starter Feerspoir
- Start date
Users who are viewing this thread
Total: 2 (members: 0, guests: 2)


I probably could smooth it out easily if I knew how. I'm not very good with Paint.NET or Photoshop, all I can do is change hues/saturations and apply pre-defined filters and merge layers. But it looks fine enough for my tastes so I'll smooth it out if anyone requests it (or at least attempt to...).
baloneyman7
Recruit

says i cant convert to .dds because the size is not a power of 2, any ideas how to fix this?
Well there are some ways to smooth the edges, but they're way too much work (tracing with the pen tool and such), IMO the best way to get a smooth image is to start with a smooth image, that is to say a large one. Such as this: http://www.local1488.com/shop/catalog/images/Viking_Raven.jpgHaesso said:I probably could smooth it out easily if I knew how. I'm not very good with Paint.NET or Photoshop, all I can do is change hues/saturations and apply pre-defined filters and merge layers. But it looks fine enough for my tastes so I'll smooth it out if anyone requests it (or at least attempt to...).
You can level the heck out of that until you get a pure black raven on a pure white background with nice smooth edges, then use a mask to cut it out (never ever use the magic wand for this if you can at all help it), scale it down, and bam, there you go.
Edit: Like so:

Hokay, a quick primer on the levels command:
Go to Image -> Adjustments -> Levels, that brings up the big old levels dialog box.

The big graph in the middle is called a histogram and it shows you the brightness values in the image. This, incidentally, is the histogram of the raven banner image I gave you a link to. You can see we have almost no pure black, a lot of very dark greys, virtually no midtones, a lot of very light greys, and some pure white. You can just grab the little triangular handles and drag them around, it should be pretty obvious what they do. The one on the left sets the black point, that is to say as you pull it inwards it throws away those dark greys and replaces them with pure black. The right handle does the same thing, only for whites. Since we want a pure black raven on pure white background, just move the handles inward so that the two humps are on the outside.
Then get rid of the banner border, use a brush or the lasso tool or whatever you want, doesn't matter. Once you have just the raven hit ctrl+a to select the whole thing, ctrl+c to copy it to the clipboard, and ctrl+d to deselect again.
Next up, masks. A mask is a black and white image associated with a layer that determines the layer's transparency. Areas in the mask that are black are transparent, whites are opaque, and greys are translucent. You get a mask by selecting a layer and clicking the little "circle in a box" icon at the bottom of the layers palette.
Since we want a red raven (presumably), go ahead and create a new fill layer (Layers -> New Fill Layer -> Solid Color). It'll ask you for a name and then give you the color picker dialog box, so pick whichever color you want. Then select the new layer, make a layer mask and go to the channels palette. You'll see the RGB composite along with its components red, green, and blue, and at the bottom another channel called mask. Make sure it's selected and visible (that's important) and ctrl+v to paste the raven into it. The only problem is that the raven is black, so now you have a red layer with a raven-shaped hole in it. Press ctrl+i to invert the mask while it's selected to remedy the problem, hide the mask channel and select the RGB composite again. And that's it.
The kicker is that now you can change the color of your raven simply by double-clicking the fill layer's thumbnail. That'll give you the color picker back and you can dial in a new color. Nifty, eh?
Go to Image -> Adjustments -> Levels, that brings up the big old levels dialog box.
The big graph in the middle is called a histogram and it shows you the brightness values in the image. This, incidentally, is the histogram of the raven banner image I gave you a link to. You can see we have almost no pure black, a lot of very dark greys, virtually no midtones, a lot of very light greys, and some pure white. You can just grab the little triangular handles and drag them around, it should be pretty obvious what they do. The one on the left sets the black point, that is to say as you pull it inwards it throws away those dark greys and replaces them with pure black. The right handle does the same thing, only for whites. Since we want a pure black raven on pure white background, just move the handles inward so that the two humps are on the outside.
Then get rid of the banner border, use a brush or the lasso tool or whatever you want, doesn't matter. Once you have just the raven hit ctrl+a to select the whole thing, ctrl+c to copy it to the clipboard, and ctrl+d to deselect again.
Next up, masks. A mask is a black and white image associated with a layer that determines the layer's transparency. Areas in the mask that are black are transparent, whites are opaque, and greys are translucent. You get a mask by selecting a layer and clicking the little "circle in a box" icon at the bottom of the layers palette.
Since we want a red raven (presumably), go ahead and create a new fill layer (Layers -> New Fill Layer -> Solid Color). It'll ask you for a name and then give you the color picker dialog box, so pick whichever color you want. Then select the new layer, make a layer mask and go to the channels palette. You'll see the RGB composite along with its components red, green, and blue, and at the bottom another channel called mask. Make sure it's selected and visible (that's important) and ctrl+v to paste the raven into it. The only problem is that the raven is black, so now you have a red layer with a raven-shaped hole in it. Press ctrl+i to invert the mask while it's selected to remedy the problem, hide the mask channel and select the RGB composite again. And that's it.
The kicker is that now you can change the color of your raven simply by double-clicking the fill layer's thumbnail. That'll give you the color picker back and you can dial in a new color. Nifty, eh?
alcibiades
Regular

great tips!
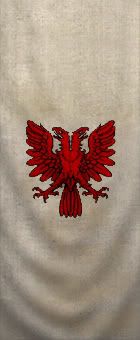
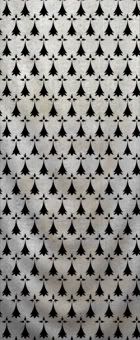
Here are some banners of a mostly Nordic nature. They are 132x330 (standardized banners format) though they can be resized to native with a little work. Enjoy!
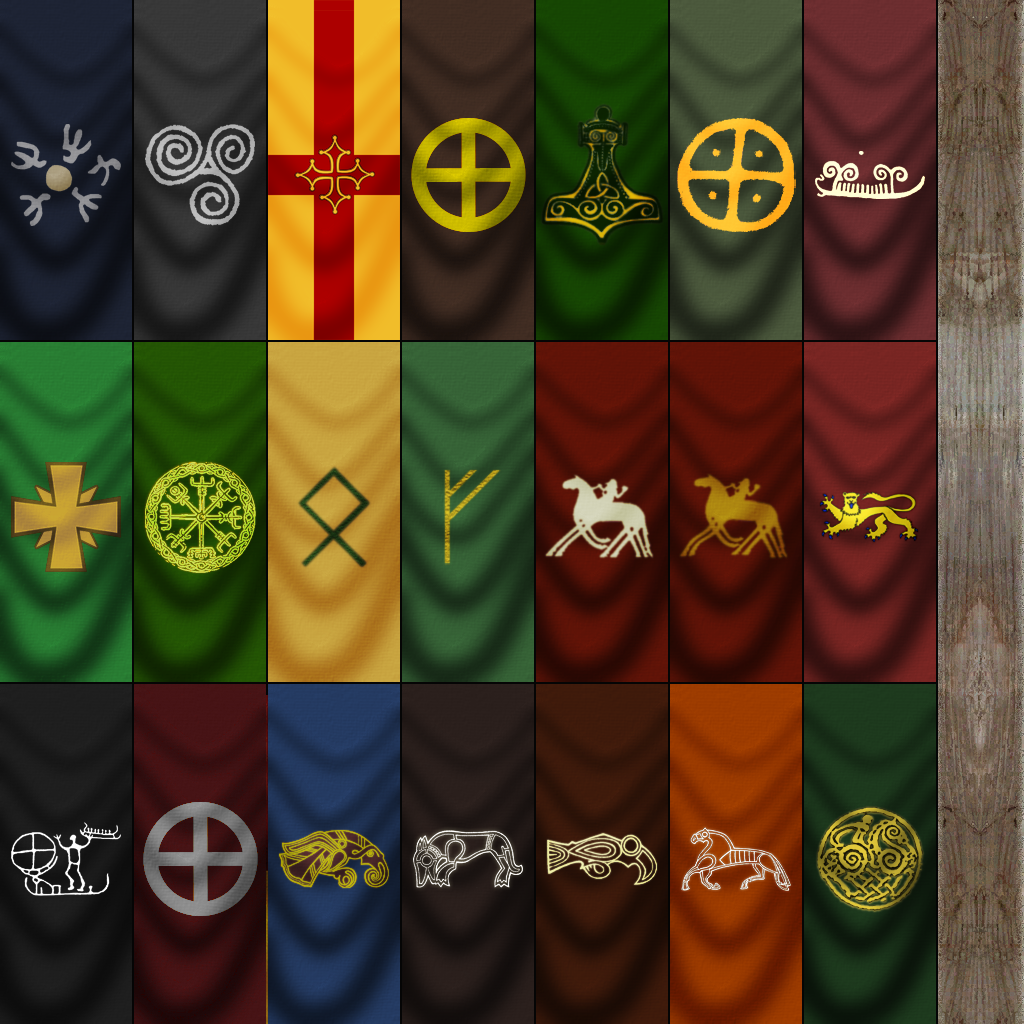
Here are some banners of a mostly Nordic nature. They are 132x330 (standardized banners format) though they can be resized to native with a little work. Enjoy!
the_fugіtіve
 Banned


Lizard_man
Master Knight


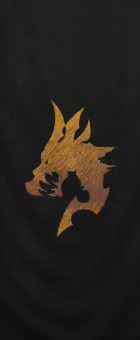
just messin about, bored


littlepuppy9194
Recruit
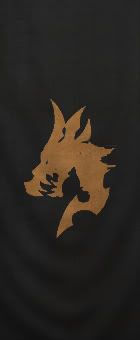
How 'bout this banner? But I need the "D" to be removed. Thanks 


Varric said:experiment

Ooh, I like. Very cool effect with the fade.
littlepuppy9194
Recruit
Haesso said:Is one of these what you wanted?
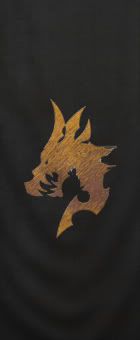
Nice! Love the second one. But can you make the background like the first? Thanks a lot!
littlepuppy9194 said:Nice! Love the second one. But can you make the background like the first? Thanks a lot!
This one more to your liking?
littlepuppy9194
Recruit
Yeah! Thanks a bunch! Now all I need to do now is to find out how to change banners. Thanks again!
Similar threads
- Replies
- 78
- Views
- 5K